Views🔗
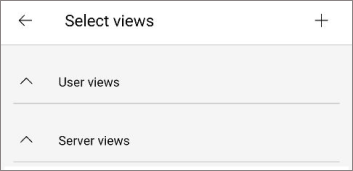
This tab displays user and server views, which can be collapsed if needed.
Note
Server-side views are read-only.
To reorder user views, press and hold, then drag.
By tapping  button it is possible to change User views. The following actions are available:
Rename: Change the view’s name.
Change settings: Adjust camera selection and positioning.
Delete: Remove the selected view.

Each view shows:
Preview
Note
If the server fails to provide a frame, a gray placeholder with a crossed-out camera icon.
View name
Number of cameras
Viewing view🔗
Selecting a view opens its screen grid.

A screen grid is a camera grid with 1 to 4 columns. The frame rate depends on the number of cameras displayed on screen.
Supports both portrait and landscape orientations
If the number of cameras is less than 14, video streams update normally. If 14 or more cameras are active, updates switch to sequential frame-by-frame mode.
As you scroll and change the number of columns, the cameras are updated.
You can zoom in/out to change the number of columns, but these changes reset after exiting the view.
Swipe left/right to switch between different views.
Tap a camera to enter full-screen mode. Swipe left/right to cycle through all cameras in the view.
Note
Camera names are shown if fewer than four columns are displayed.
Tap the  button in the top-right corner to:
Change the grid and camera positions
Change settings
Optimize grid.
Grid optimization maximizes screen space by dynamically adjusting cell sizes to fit camera feeds. This option can also be configured in the More tab in Video section.
The images below compares standard and optimized grid layouts.

Note
Exiting the view editor returns you to view view, with the grid automatically updating to reflect your changes.
For server views, only grid optimization is available.
Creating view🔗
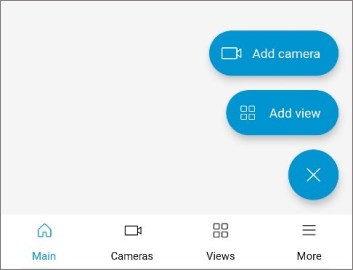
To create view, tap the  button in the lower-right corner of the screen.
In the opened window enter a view name.

Than select cameras.

After adding cameras for the view, a camera placement window will open.
Use gestures to adjust the size of the displayed camera cells. Use long-press to swap camera cells. Next, tap the  and mark the created view in the Views tab.

The view will then be added to the Main page.