Main🔗
After successfully connecting to the server, the Main page of the app will be displayed.

For the first connection, when no cameras or views have been added to the Main yet, it is necessary to tap on Add cameras or Add views button.
For further addition of cameras and views, tap the 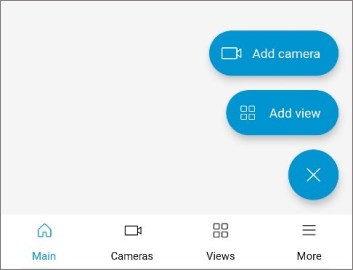 button located in the bottom-right corner of the screen.

Adding cameras🔗
When you tap  Cameras, the cameras adding window opens. A checked camera or camera folder is added to the Main page.

At the bottom of the page, there's a button displaying the number of selected cameras. Tapping this button will open a list of cameras that can be deleted.


Note
After selecting cameras, tap the  . The selected cameras will be added to the Main.
When selecting cameras, you can:
View them in list or tile mode.
Use search to find cameras and folders.
Select or deselect cameras in the current folder, including those in subfolders, by tapping the
 in the top-right corner of the screen.
Cameras can also be added through the Cameras tab.
Adding Views🔗
When you tap  Views, the views adding window opens. A checked view is added to the Main.

At the bottom of the page, there’s a button displaying the number of selected views. Tapping this button will open a list of views that can be deleted.

Note
After selecting views, tap the . The selected views will be added to the Main.
Widget edition mode🔗
To edit widgets, tap the in the top-right corner. The window for changing the Main will open.

In this window, two options are available:
Edit items: allows you to remove or swap items and widgets.
When deleting a widget, a confirmation window will appear.

Edit widget stack: allows you to reorder widgets by pressing and holding them.
Viewing Cameras🔗
Tapping any camera on the Main will open it in full-screen mode.

Note
You can switch between cameras by swiping left and right. To exit full-screen mode, swipe up or down, or use the back button.
Viewing Views🔗
Tapping any view on the Main will open it in full-screen mode.

Note
When you tap on a camera within a view, it will open in full-screen mode. You can switch between cameras by swiping left and right.
In the top-left corner, there is a button that opens the view settings menu for adjusting view settings.

Caching🔗
If the real-time configuration update option is enabled, when a new configuration is detected, all elements on the Main page will update, and items that are no longer available to the user will be removed.