Configuring the Sabotage Detection module🔗
To use the module, enable and set up the software motion detector, then enable and set up the module itself.
Launch the Eocortex Configurator, go to the  Cameras tab, select a camera in the list located on the left side of the page, and set up the motion detector on the Motion detector tab on the right side of the page.
Then switch to the Analytics tab and enable the module using the  toggle.
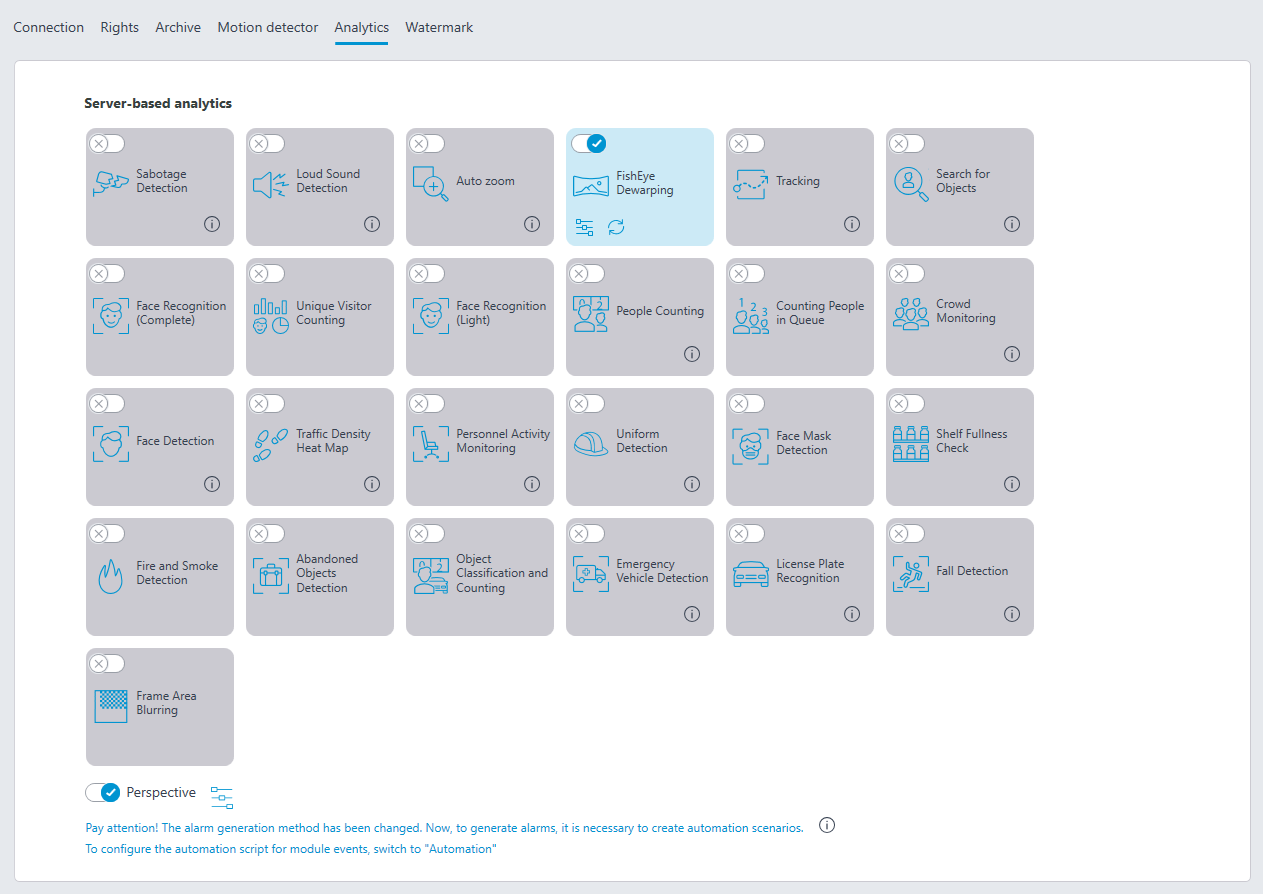
Clicking the  button opens the module setup window.
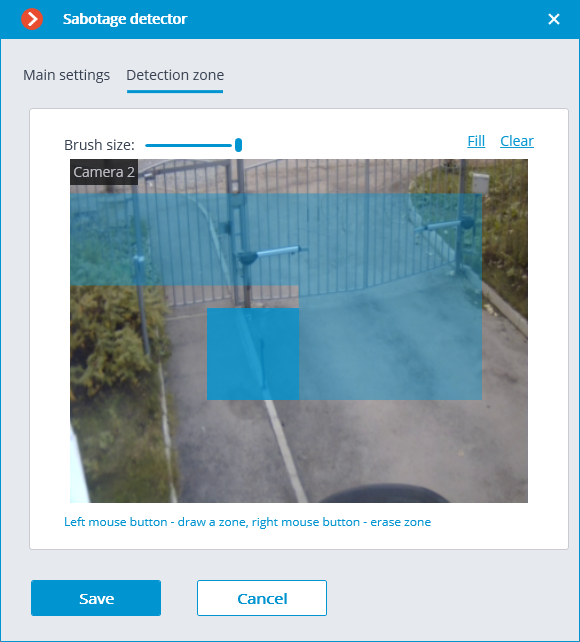
It is required to make the following settings on the appropriate tabs in the window that opens:
Main settings: enabling detectors and adjusting Sensitivity of any of them.
Note
The higher the value of the Sensitivity parameter, the greater the likelihood of detecting a sabotage. If the detector raises false alarms, the value of this parameter needs to be decreased.

Detection area is the zone of the frame filled with the semitransparent blue fill in the settings window. The mouse is used for modifying the zone: the left mouse button serves for filling the zone, and the right one is used for clearing it. With the help of the Fill and Clear buttons, the whole area of the frame be can filled or cleared. The corresponding slider is used to modify the Brush size.
Warning
Do not turn on the module on the cameras that are equipped with the automatic focus or focal distance control, and on the PTZ cameras.
Warning
The module will start working only when the settings are applied.