Cameras🔗
This page allows you to view cameras and folders displayed in a file system format.
There are two viewing modes available: a list  mode and a tile
  mode. You can switch between modes using the buttons in the upper right corner of the screen.
In tile mode, cameras are displayed as previews. If a frame request fails while opening a folder, you will see a gray background with a crossed-out camera instead of the preview.
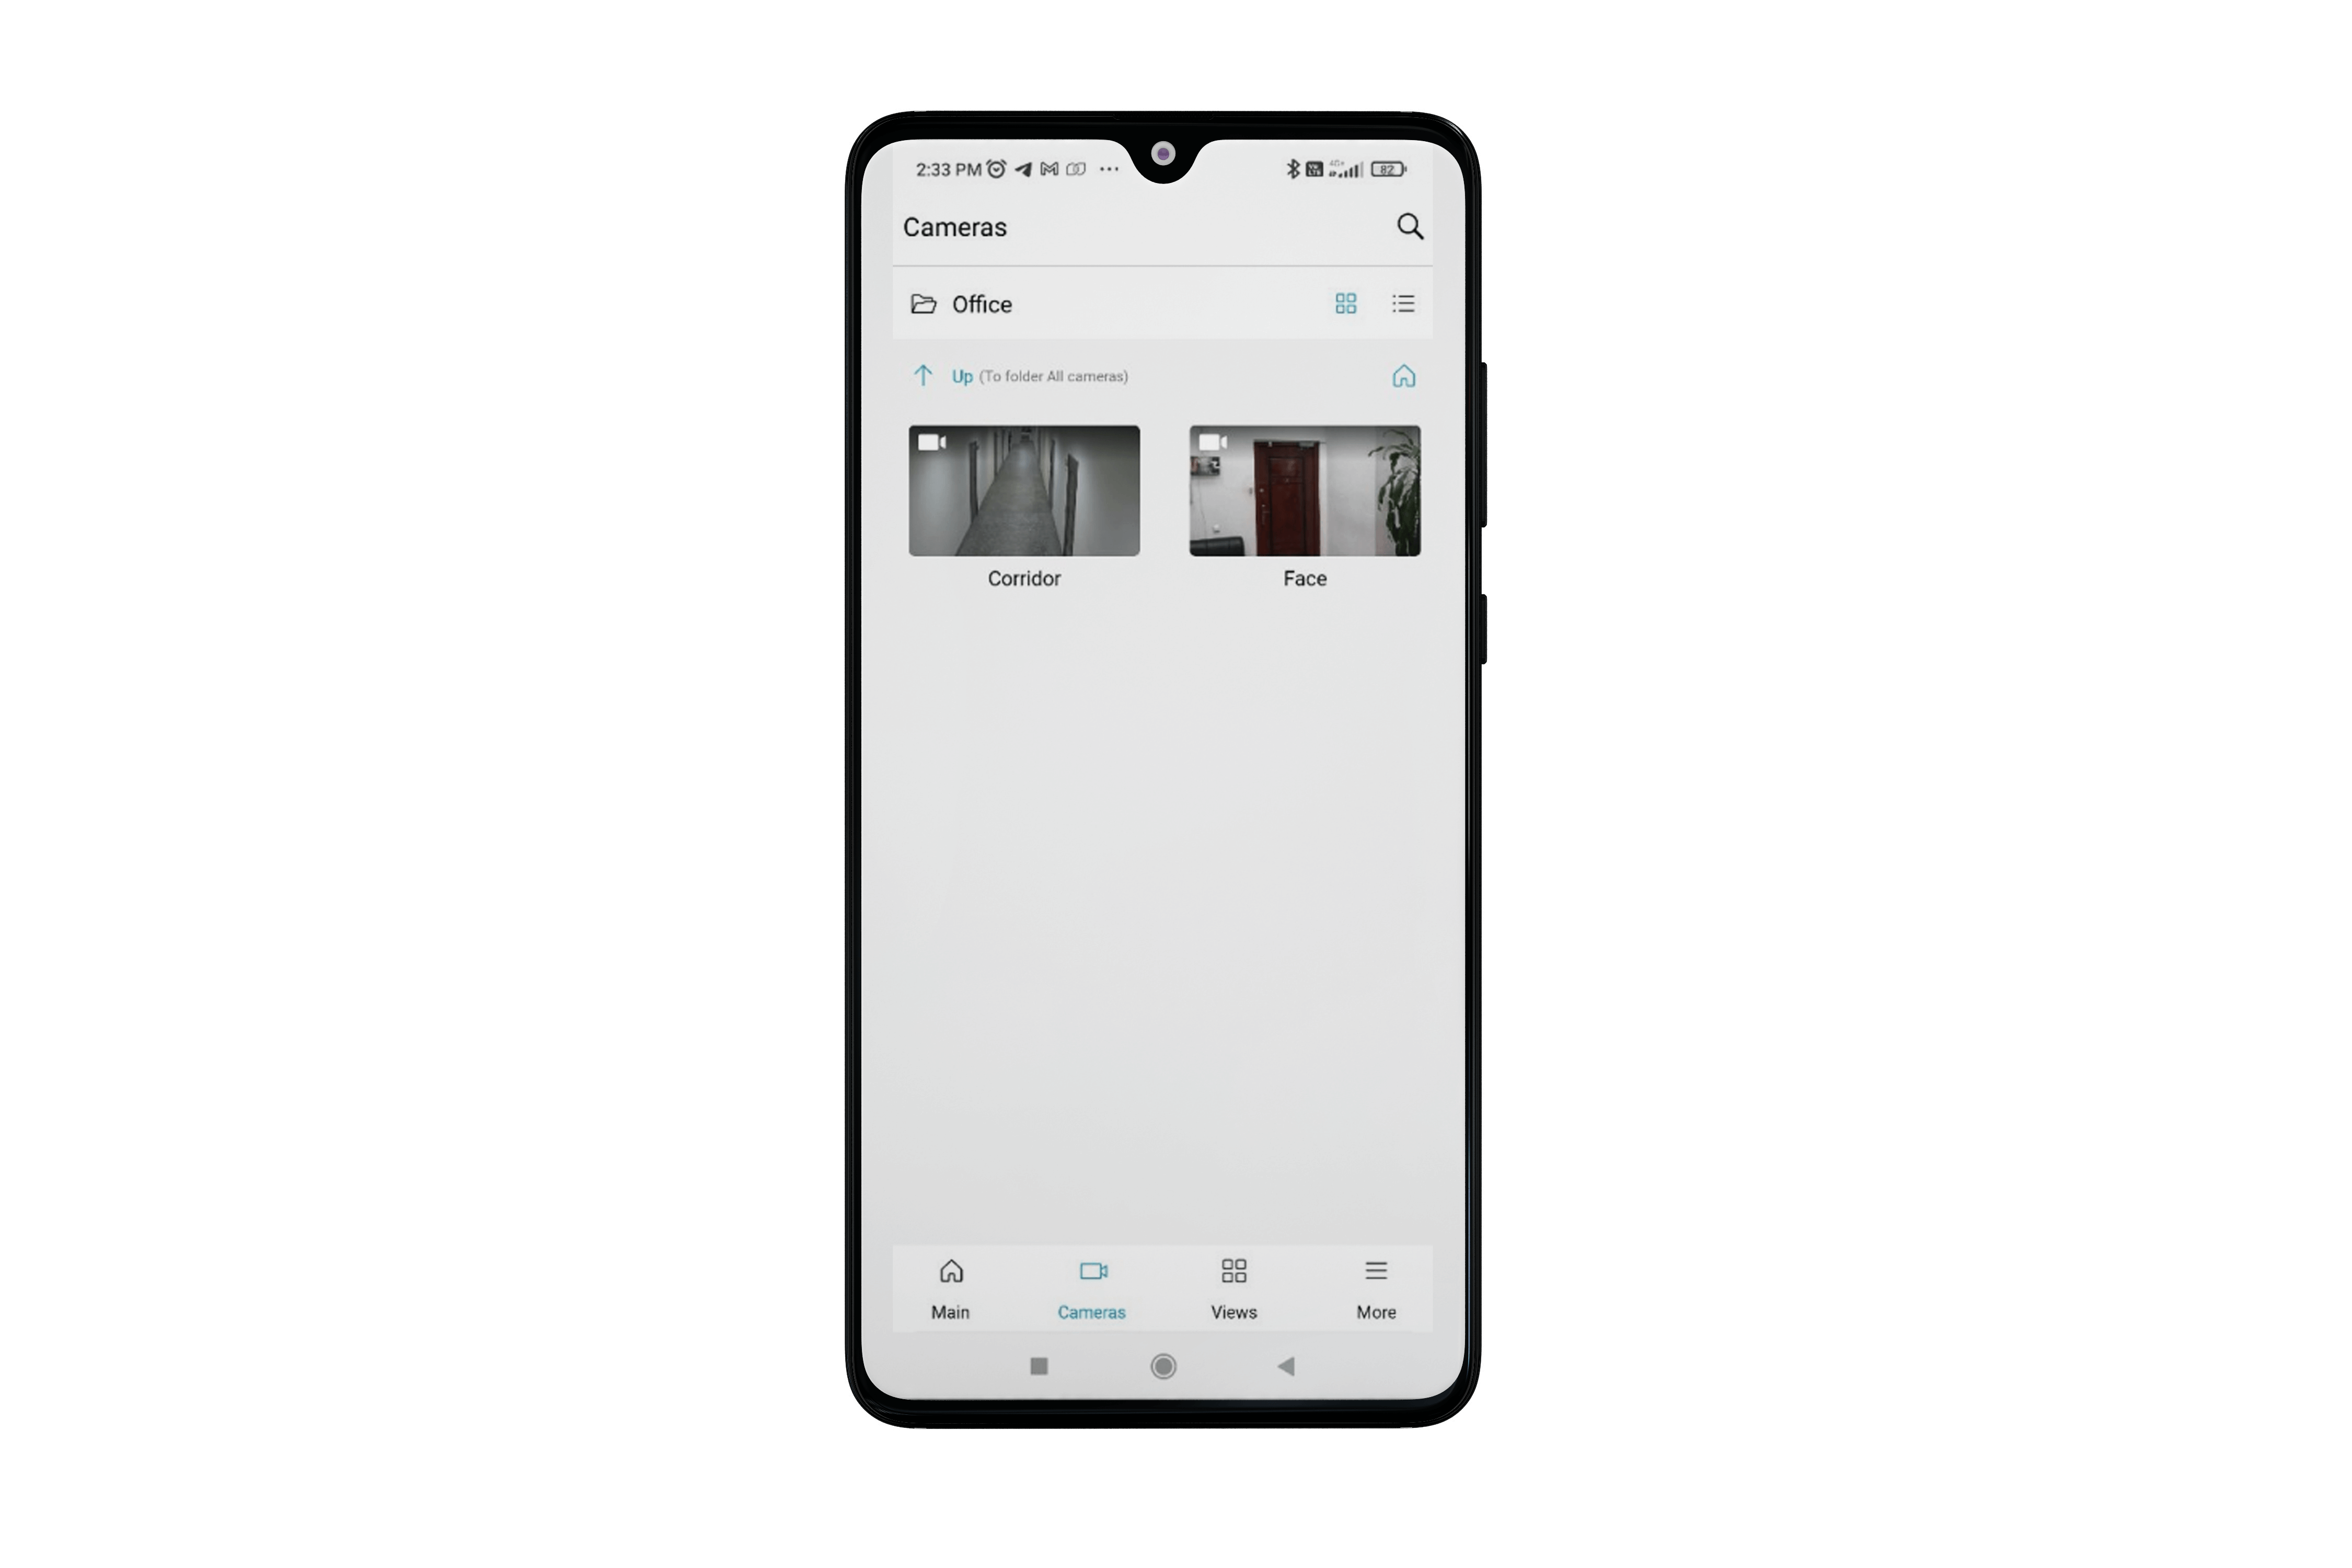
When opening a folder, the name of the current folder appears at the top of the screen. Also, there is a navigation panel below offering the following options:
Go up one level to the parent folder;
Go to root folder by tapping the
 button.
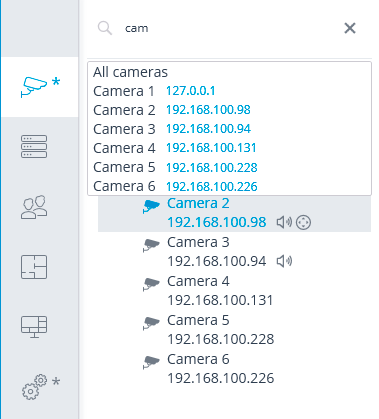
Search🔗
To perform a search, tap the  button in the upper right corner.
The search operates as follows:
The search works through all folders and cameras indiscriminately.
The search is case-insensitive.
Results prioritize folders first, followed by cameras.
Search results can be viewed in both list and grid modes.
Viewing cameras🔗
When selecting a camera, it will enter full-screen mode, which can be exited by swiping up or down.
Choosing a camera from a folder activates a full-screen mode, allowing you to view other cameras within the folder by swiping left or right.
Viewing is available in both portrait and landscape orientations of the device.
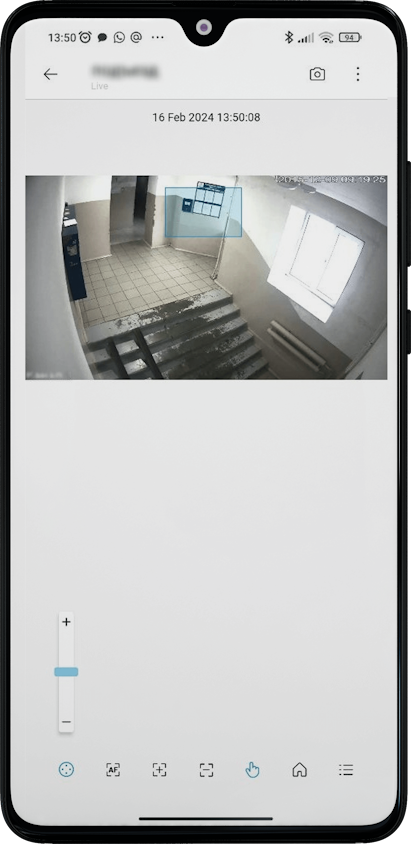
When viewing a camera, the video is displayed in full-screen mode while maintaining its aspect ratio.
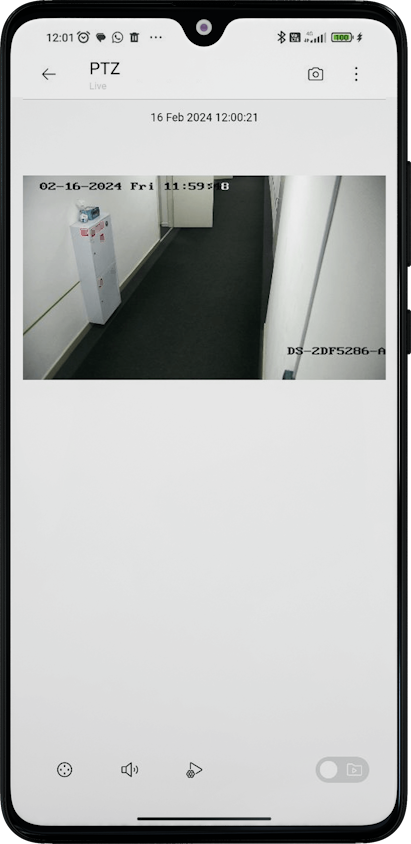
The following information can also be displayed:
Date and time.
The video stream format and resolution when the corresponding option is enabled in the app settings.
The loading indicator.
Statuses: Connection Lost, No Access and End of Archive.
Also, the following buttons:
 : Save frame.
 : Select video stream.
 : PTZ camera control.
 : Controls the sound of the video stream.
Note
The same feature is available in the archive via
. : Manage user scripts.
Note
If there is only one task, it will start running immediately after you tap the button. If there are more than one task, the select list will appear.
 : Switch to archive.
Gestures🔗
The following gestures are available in full-screen camera view mode:
Single tap: hides all interface elements.
Swipe left/right: allows you to browse cameras within a single view or folder.
Warning
Swiping left/right is not available when opening the camera on the Main page.
Swipe up/down: closes full-screen mode.
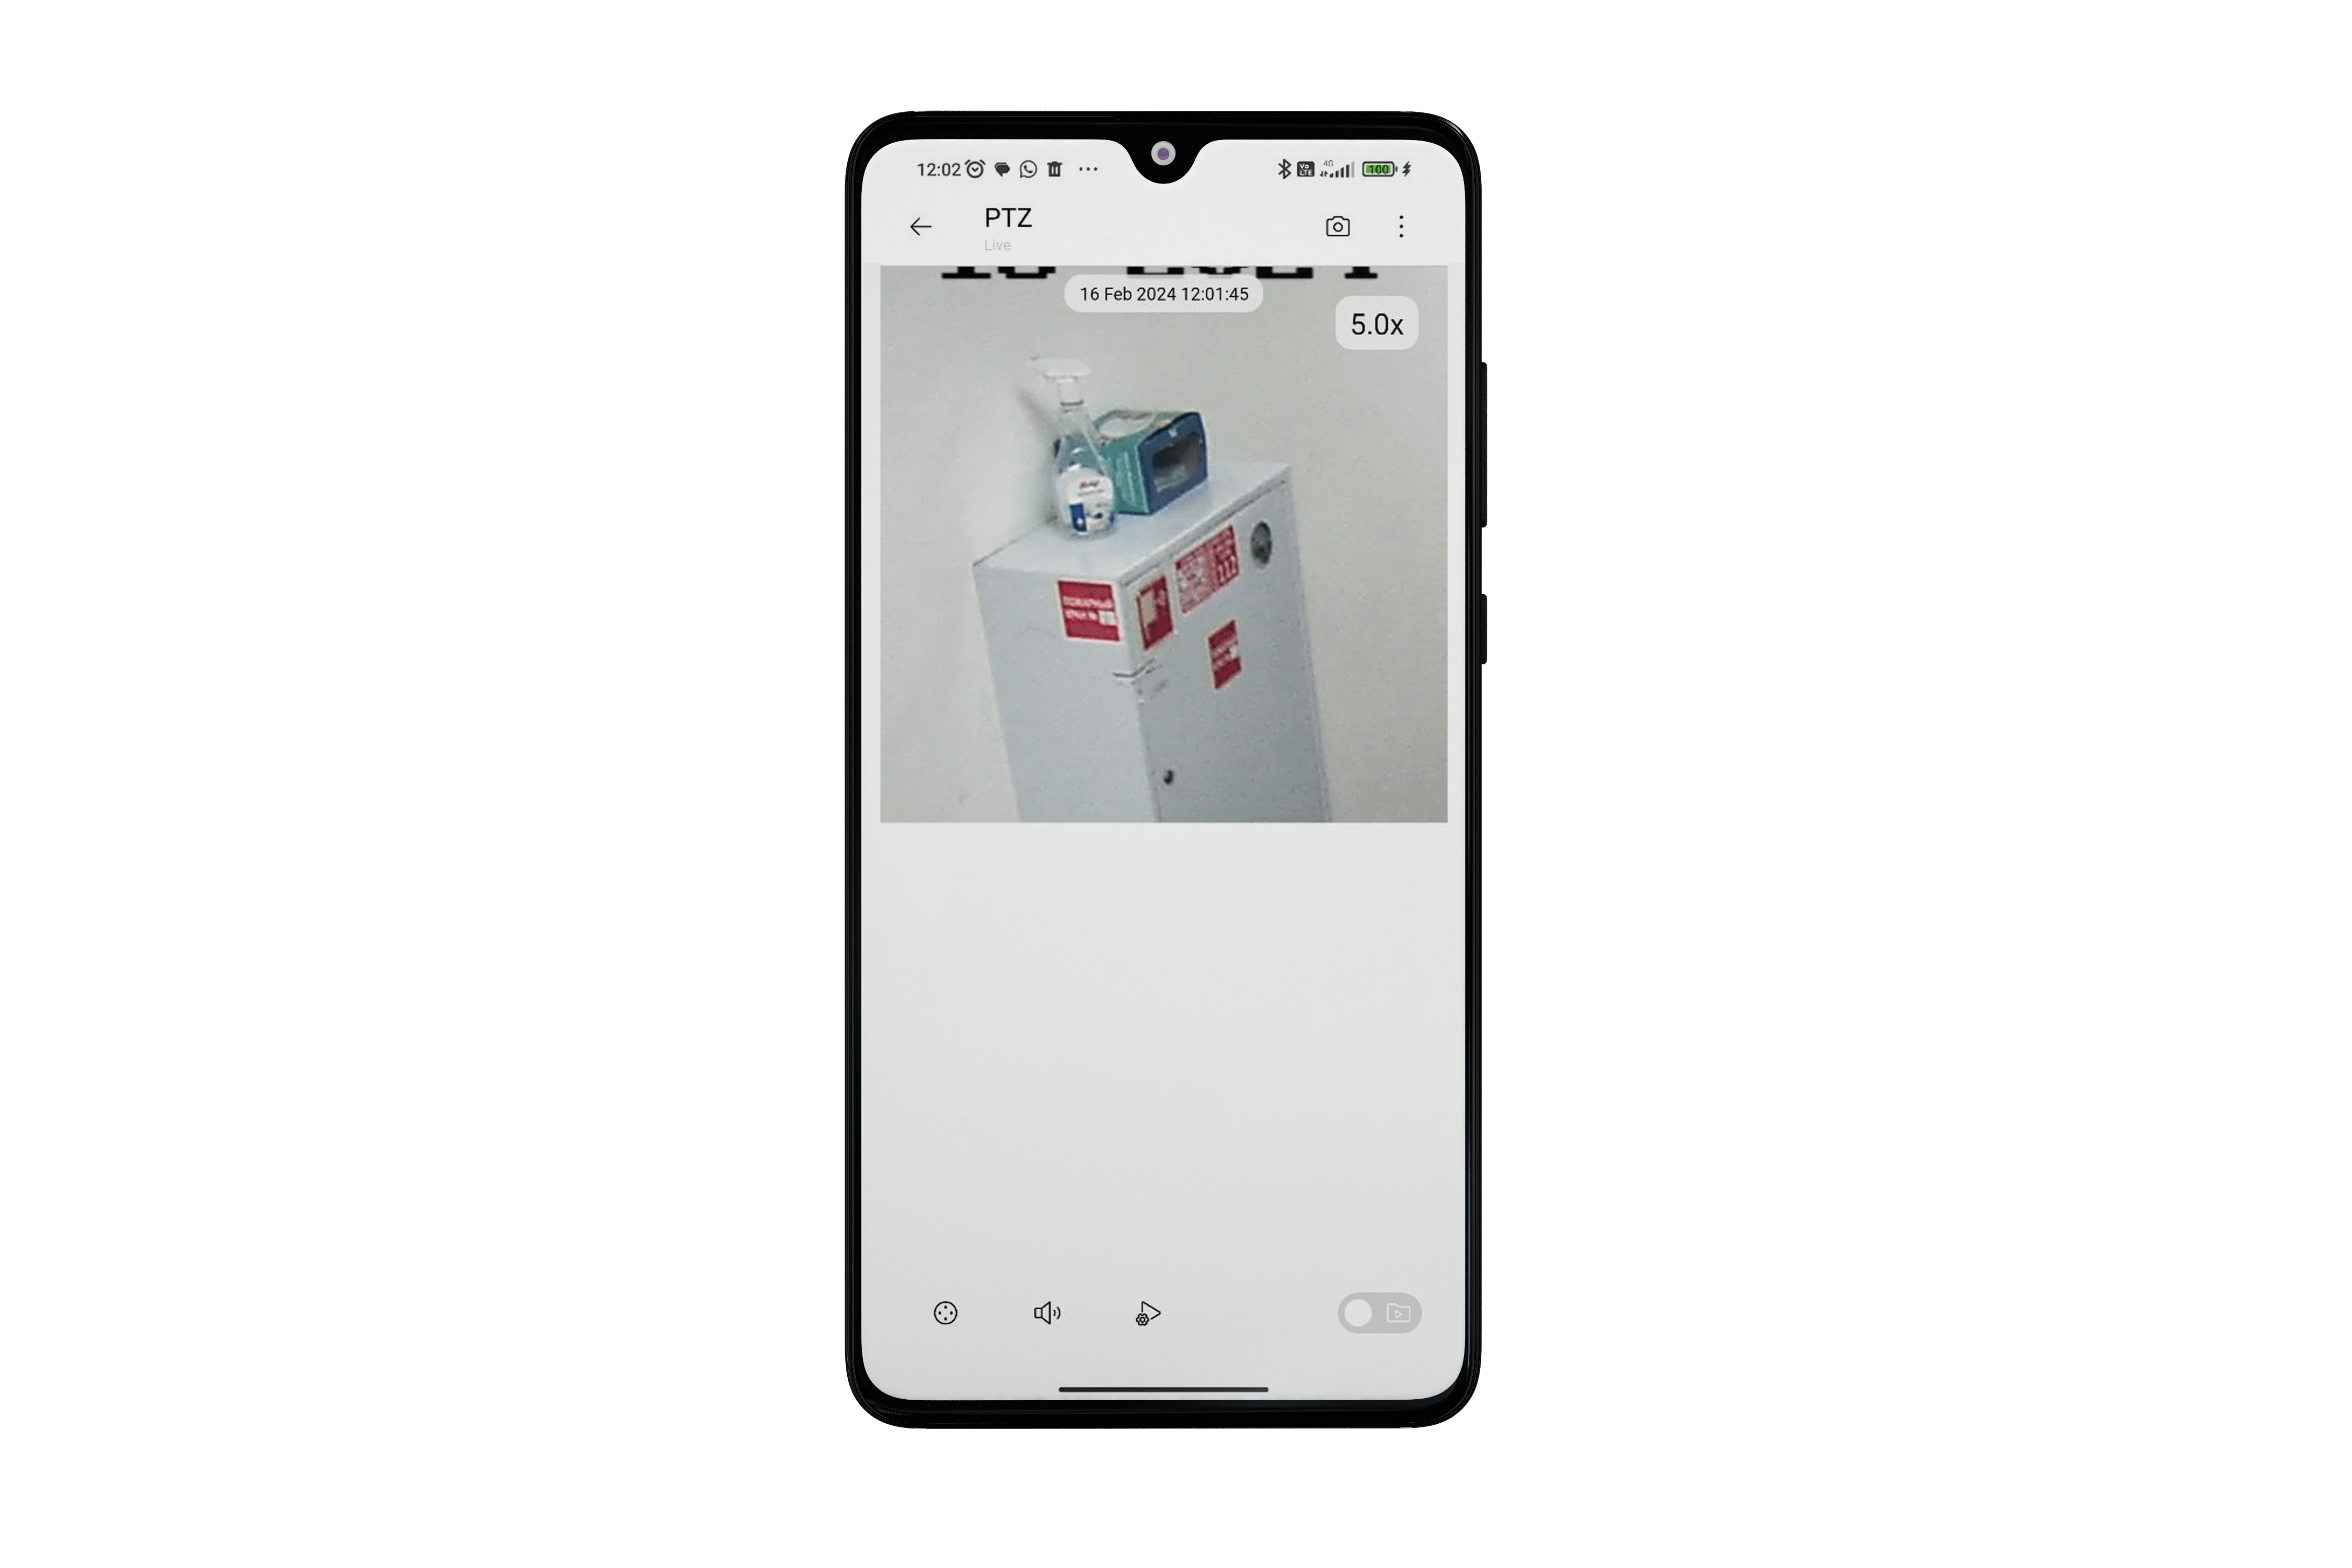
Software zoom🔗
When viewing a live or archived camera, the software zoom feature is available. There are several ways to use zooming:
Double-tap the screen: each time you tap, the image will zoom in 5x, 10x, or back to the original 1x scale.
Using two fingers to zoom in.
Note
When you rotate the device, the zoom size and position of the image are preserved.
The zoom size is displayed in the upper right corner of the screen.
PTZ control🔗
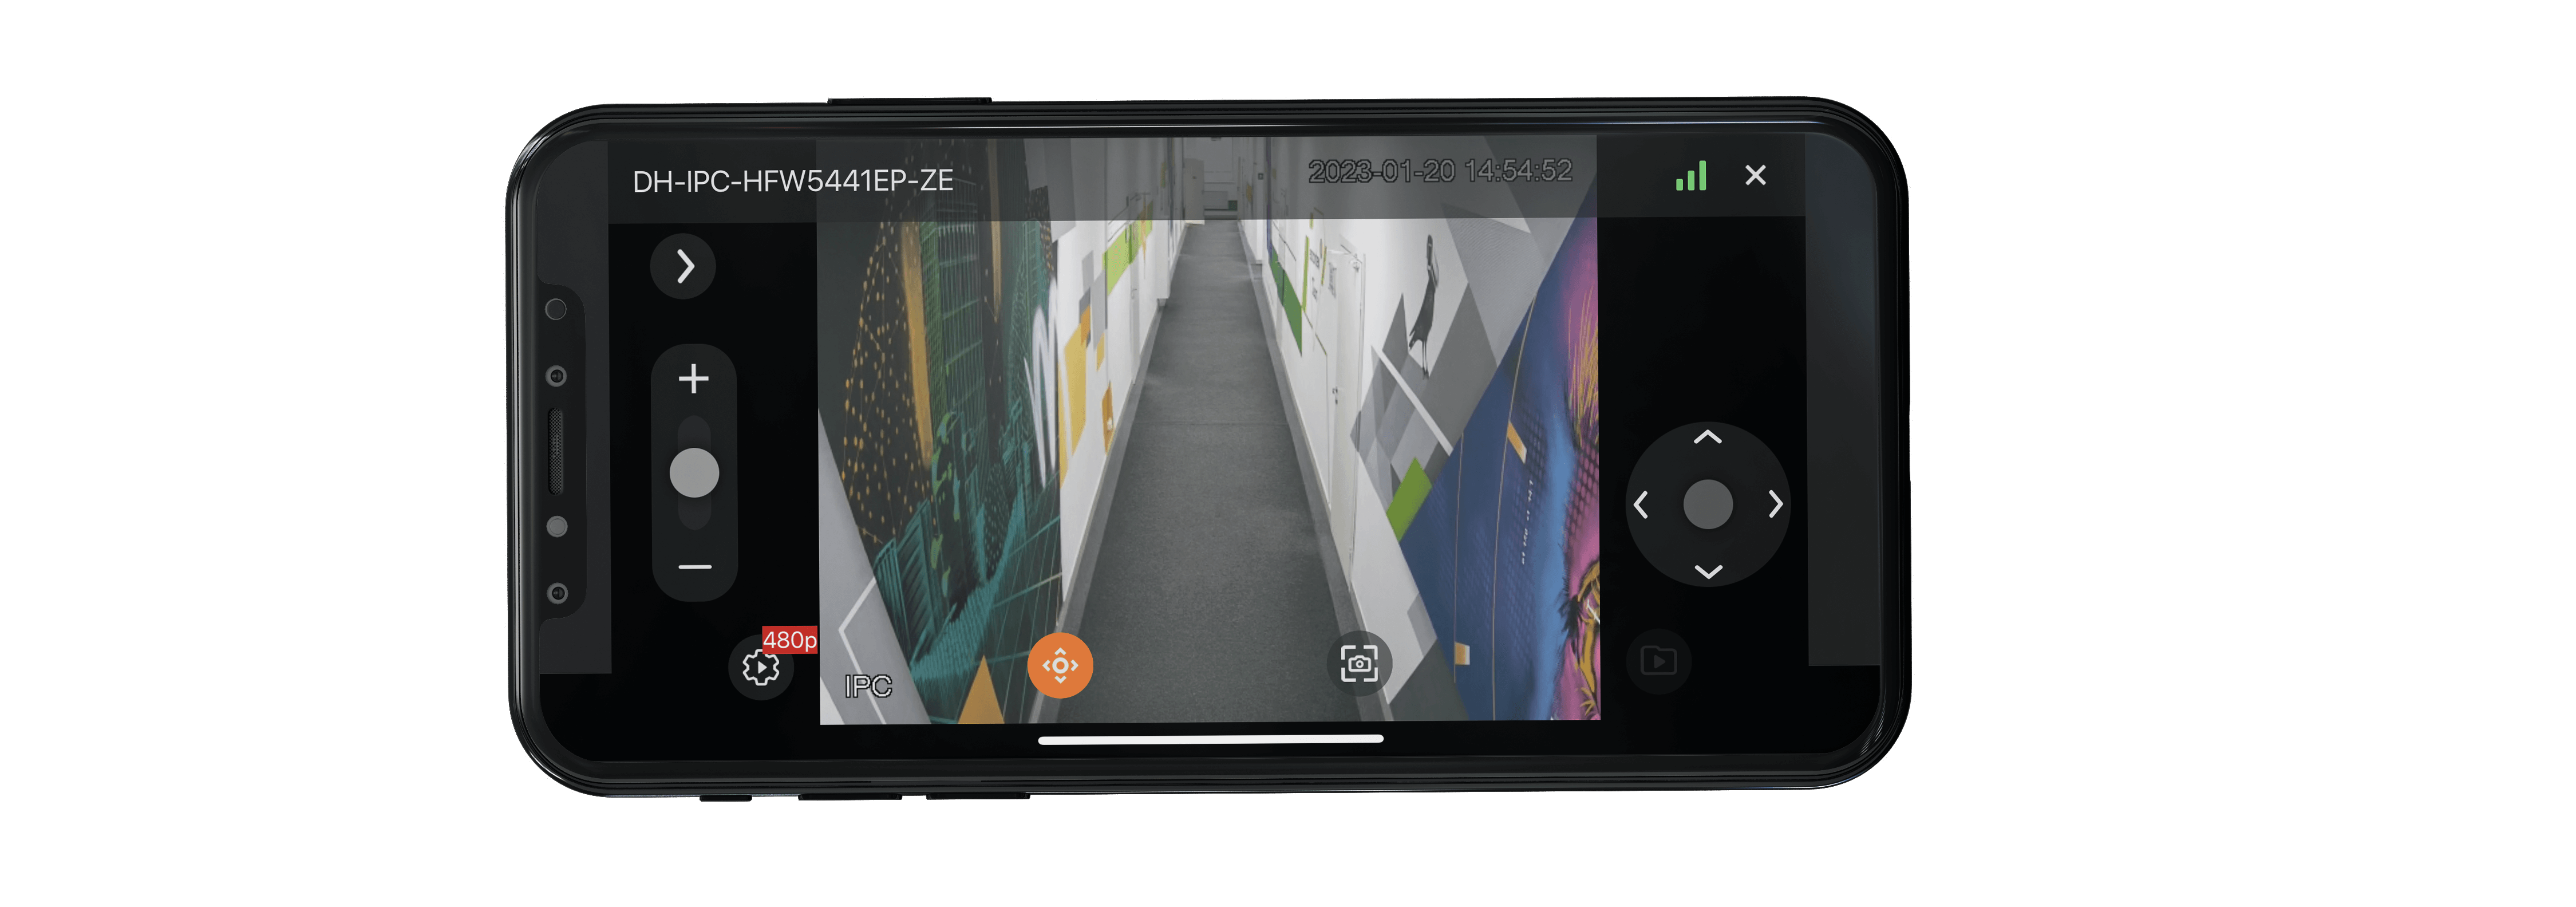
Selecting mode opens the PTZ camera control panel. The panel displays controls depending on the available options:
Joystick.
Slider for adjusting the zoom.
Buttons:
 : Manage presets.
 : Return to the default position.
 : Enable positioning mode.
The joystick is not available in this mode. The camera is controlled by interacting with the screen.
Two interaction methods are available:
A single tap moves the camera according to the coordinates of the tap point.
Selecting an area moves the camera to the center of the selected area and enlarges the frame to the size of that area.


 : Focus and autofocus controls.
- : Exit PTZ mode.
Note
If any features are unavailable, the corresponding buttons will be hidden.
Audio transmission to the camera🔗
Recording and transmitting sound to the camera in live mode. When using this option, it is possible to establish two-way voice communication through the camera using the device's microphone.
The following conditions must be met to use this option:
The camera must support audio playback.
Warning
If the camera supports audio playback but does not have the appropriate playback devices (e.g., internal or external speaker), audio transmission to the camera will be available in the mobile app, but the audio will not be played back.
In the Eocortex Configurator application, the Sound transmission option must be set for the camera.
The Broadcast sound to camera right must be enabled for the user.
If all conditions for using the option are met, the microphone control button  will appear when opening the camera in live mode.

To transmit sound using the microphone of a mobile device, the Eocortex app requests the appropriate access permissions.
To allow the app Eocortex to access the microphone, tap the microphone button .
After that, dialog boxes will appear. In these boxes, you should allow access to sound recording, the device's microphone, and the Bluetooth headset.

Warning
To transmit sound to the camera, it is required to enable audio recording.
Once access to audio recording has been allowed, the microphone button will change to  , and audio transmission to the camera will become available.

Warning
If the Eocortex app is denied access to audio recording, audio transmission will be unavailable and the microphone button will remain in its original state.
If you tap the microphone button again, an information message will appear stating that you need to grant permission to access the microphone.

Warning
Starting with Android 12, a second dialog box appears requesting permission to use a Bluetooth headset. Permission to use a Bluetooth headset can only be requested for audio and microphone access with an already connected headset. The Eocortex app cannot search for other devices or locate them.
If access to the Bluetooth headset is denied, only the device's microphone will be used. However, the Bluetooth headset's speakers will still work. You can enable access to the Bluetooth headset in the system settings.
When using a Bluetooth headset, please pay attention to the following terms:
The Bluetooth headset must be connected to the device before tapping the microphone button and disconnected after the audio recording is complete.
The Eocortex app can't connect to or disconnect from a Bluetooth headset during audio recording and transmission.
If you connect a Bluetooth headset after tapping the microphone button
, recording will continue from the device's microphone.If you disconnect the Bluetooth headset during audio transmission, depending on the device, either silence will be recorded, or the system will automatically switch to the device's microphone.
To transmit audio to the camera, tap the microphone button . The button status will change to  , and audio recording and transmission to the server will begin simultaneously.

Warning
The audio recording is transmitted to the server with a delay of 1 to several seconds, depending on the network speed.
To finish recording and transmitting the audio to the server, tap the button. The button will switch to .
Warning
When you exit live mode, close the Eocortex application, or a dialog box appears, audio recording and transmission is stopped.
Warning
The button is only displayed in live mode. When you switch to the archive, the button will be hidden.
The microphone button can be hidden for a specific camera. To do this, open the camera context menu using the button and select Disable microphone display.

To enable the button display, go to the camera context menu using the button. Select Enable microphone display from the list of options.

Caching🔗
When a new configuration is detected, if the real-time configuration update option is enabled, the following will occur:
Update the list of all cameras, as well as their previews, for the currently selected folder.
If there are no cameras in the folder or if the folder itself is absent, the user will be moved to the root folder.