Receiving streams in Eocortex server🔗
To receive the stream transmitted by the Eocortex Virtual IP Camera utility in the Eocortex Server, follow the steps below:
Run the Eocortex Configurator application and switch to the
 Cameras section.
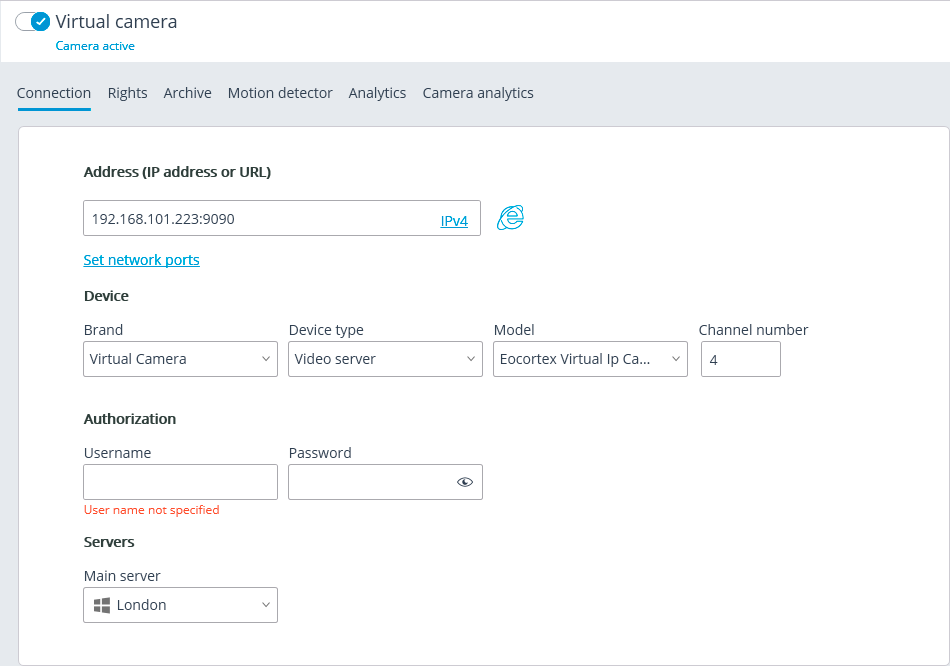
Add a camera and switch to the Connection tab.
In the Address field, set the IP address or domain name of the computer on which the Eocortex Virtual IP Camera utility is running.
In the Brand menu, select the Virtual Camera item.
In the Device type menu, select the Video server item.
In the Model menu, select the Eocortex Virtual IP Camera item.
In the Channel number field, set the number under which the selected channel exists in the Eocortex Virtual IP Camera utility.
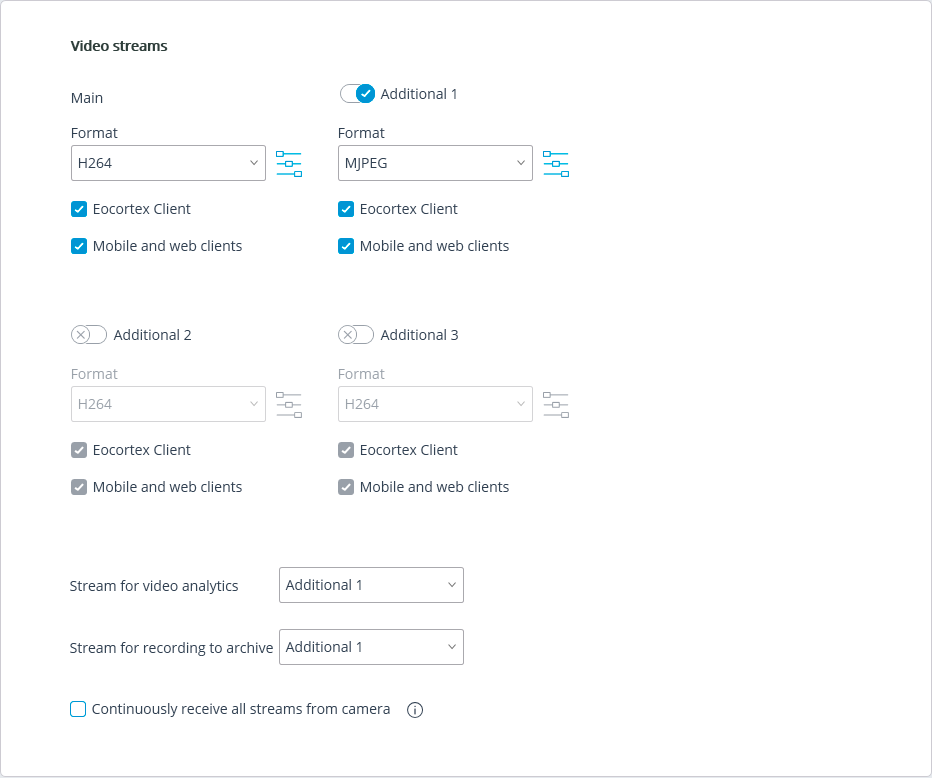
In the Video streams section, set the settings according to the number of streams and their codecs of the received channel.
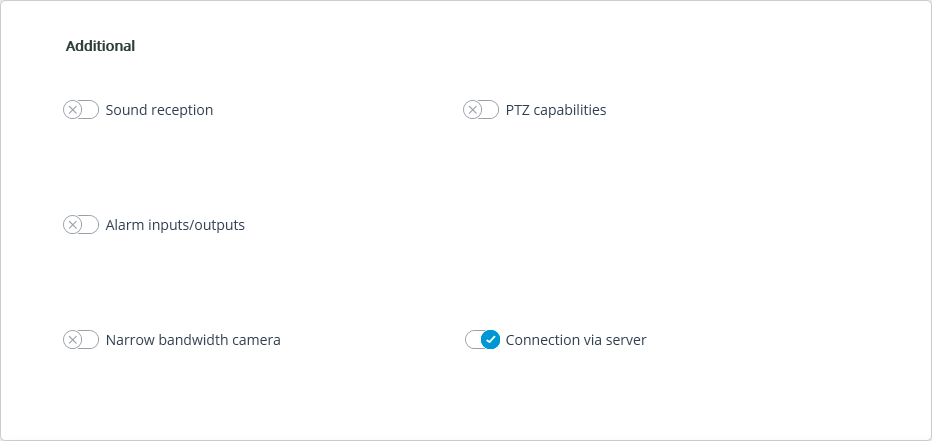
In the Additional section, enable the Connect via server option.
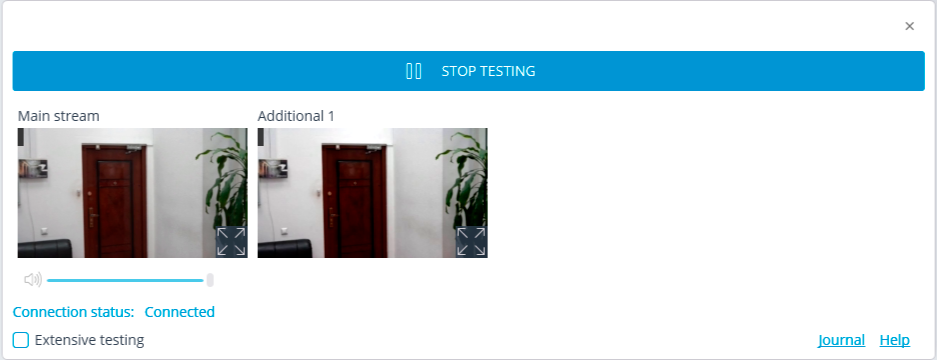
After setting the connection settings, test the connection with the utility by clicking the Test camera button. If all settings are correct and connection is successful, the video from the selected channel will be displayed in the preview window.
If necessary, configure other processing parameters for this channel on the corresponding tabs.
Warning
Reception of video streams by the Eocortex server will start only after applying the settings.