Main🔗
After successful connection to the video system, the Main page of the app is displayed.
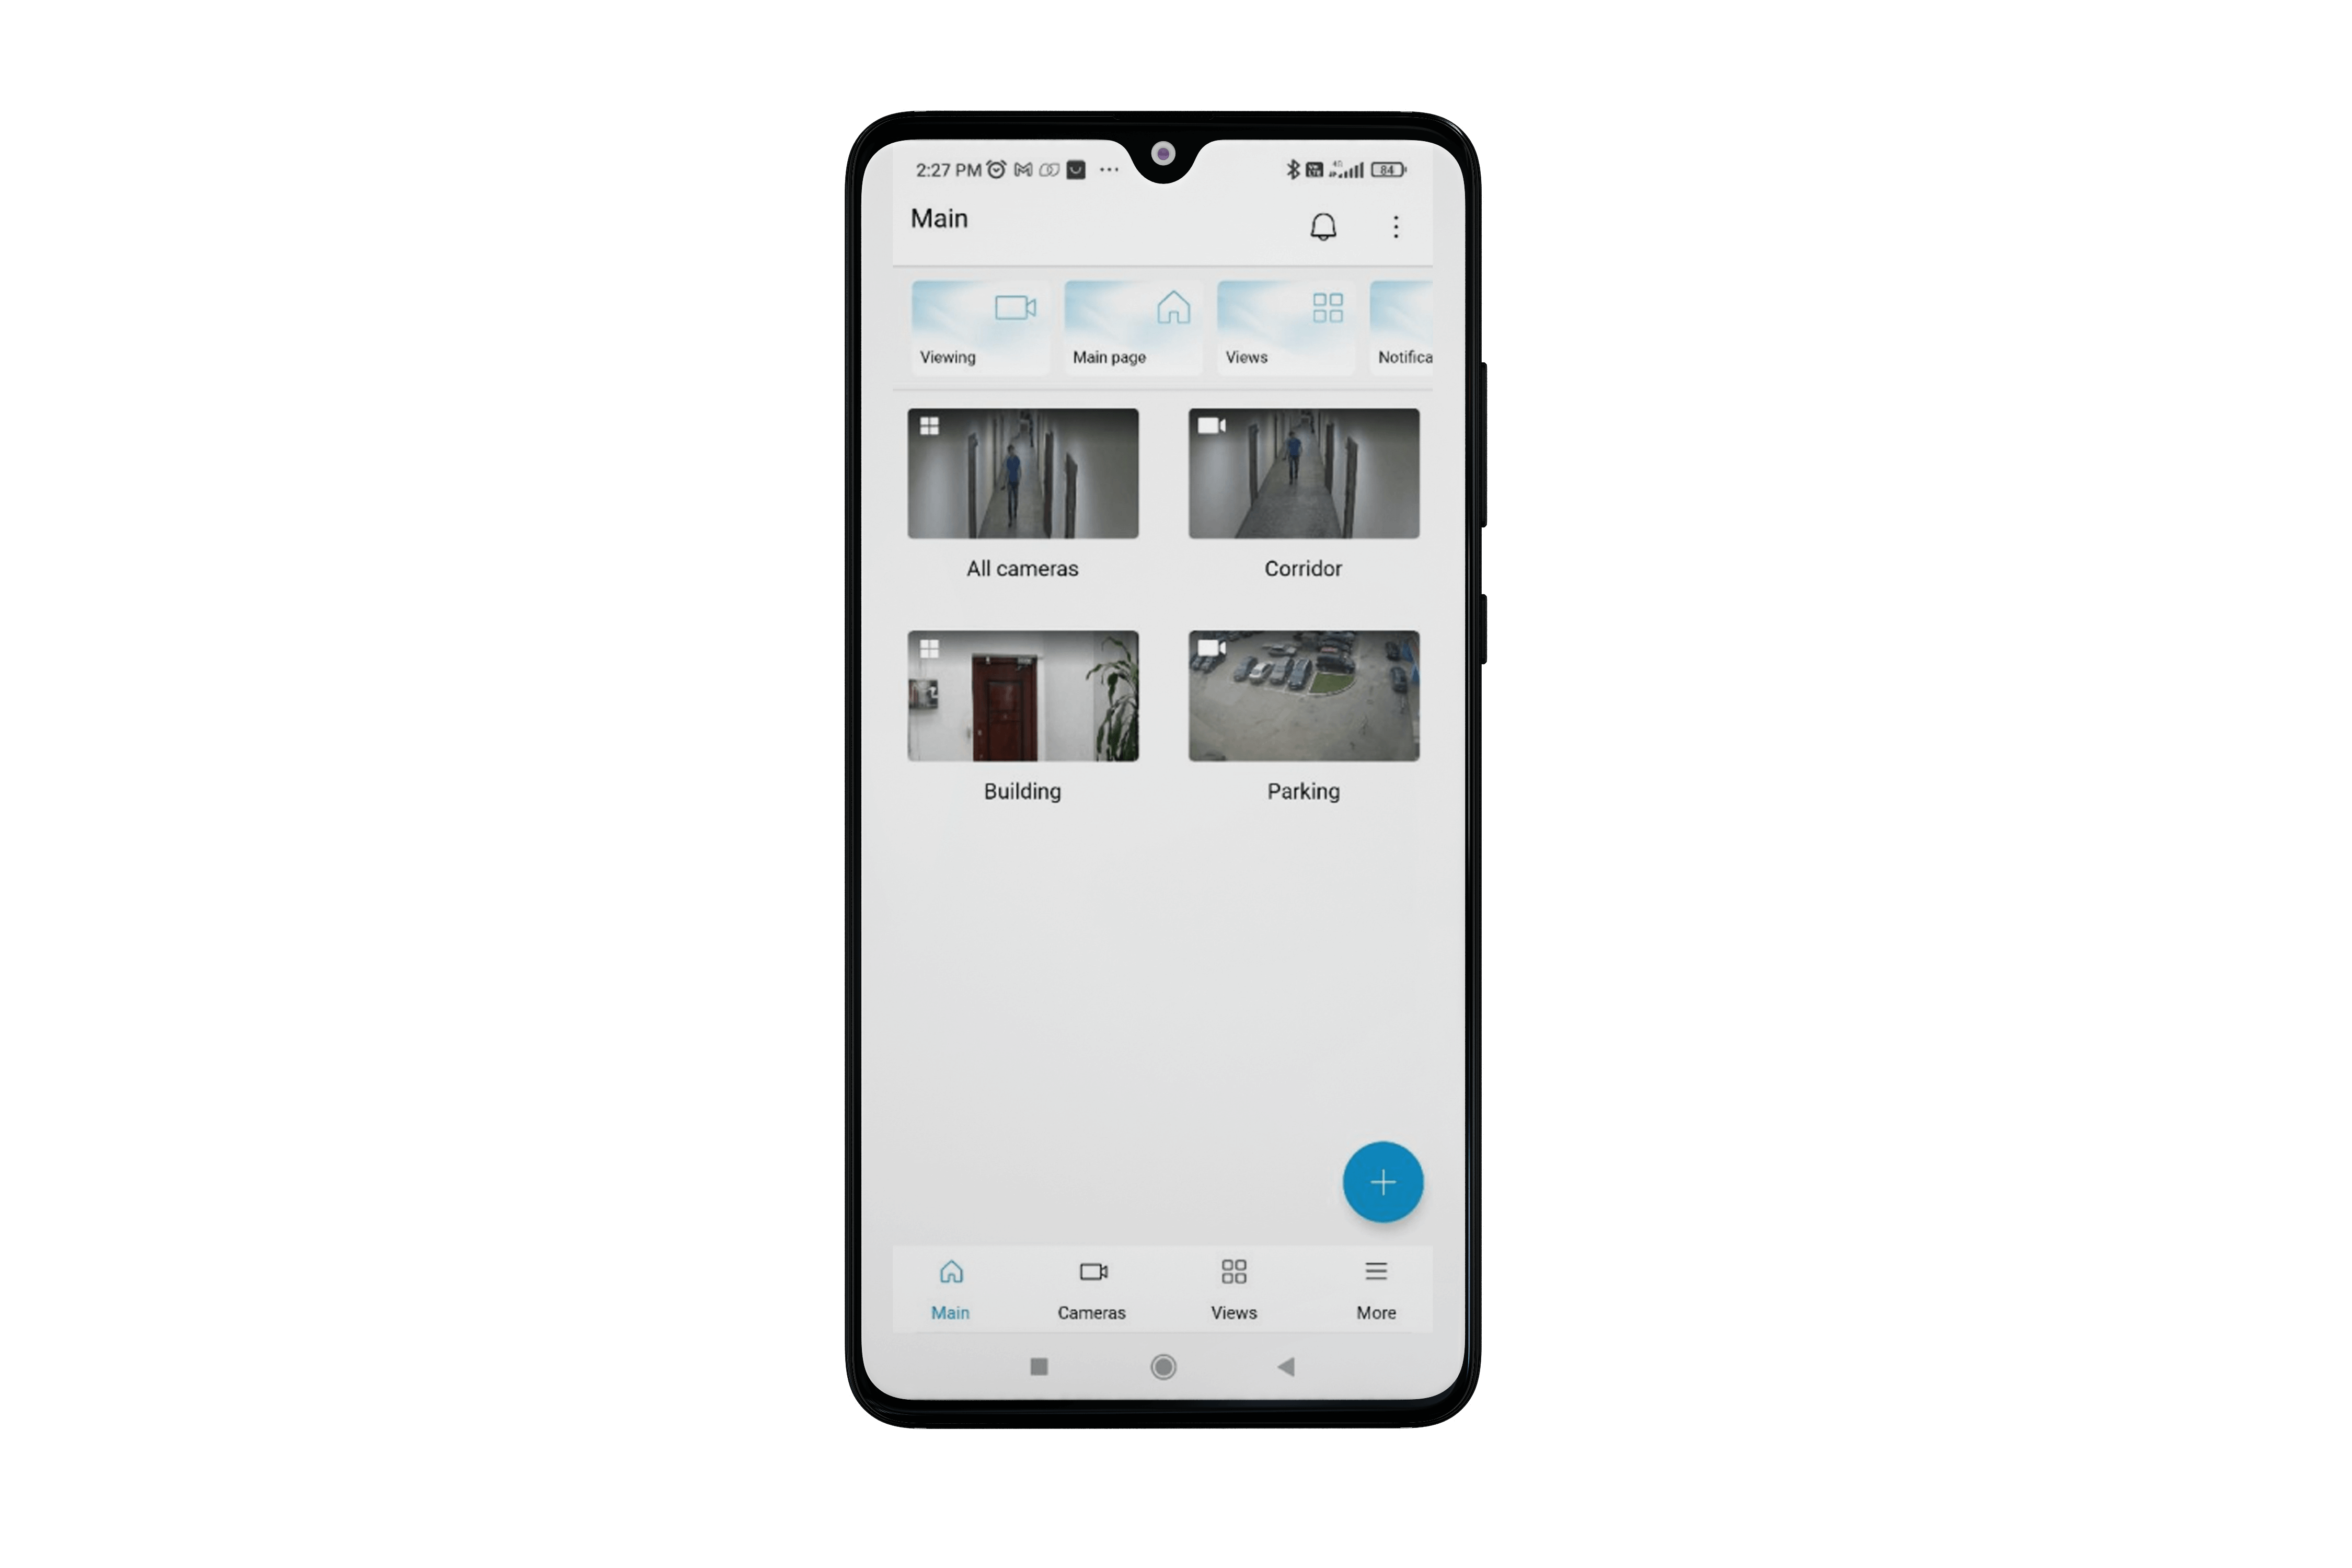
On this page, there is a Moments panel at the top, and below — there are important cameras and views that you can quickly navigate to.
To add views and cameras, tap on the  button in the bottom right corner of the screen.

Note
If views are being added to the Main page for the first time, the View widget will be suggested in the list of items to add:

Add cameras🔗
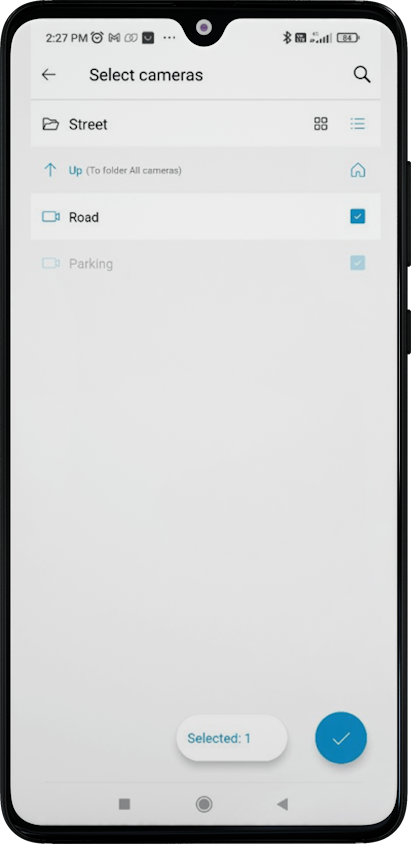
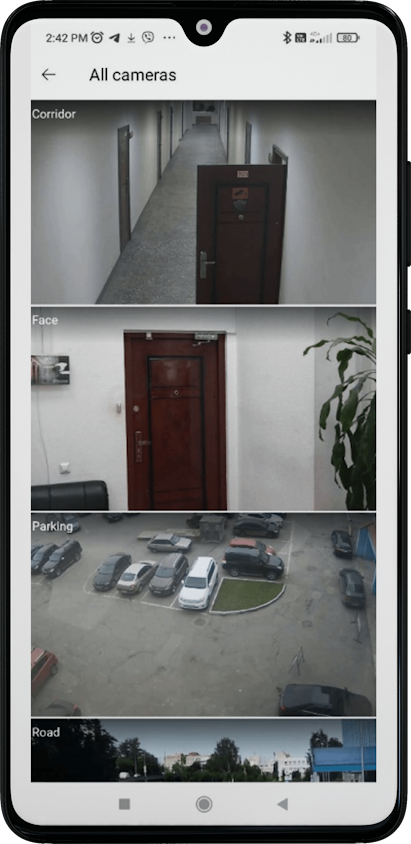
By tapping on the Add cameras button, the add camera window opens. The checked camera or camera folder is added to the Main page. If you need to search for a specific camera or folder, you can also use the checkbox to mark it.
Note
Cameras that were previously added to the Main page are displayed as unavailable.
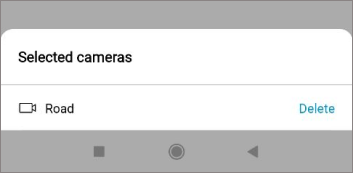
The Selected button shows the number of selected cameras. Tapping this button opens the camera list.

To remove cameras from the list, use the  button located opposite the camera name.
After selecting the cameras, tap the  button. In this case, the selected cameras will be added to the top of the Main page.
Add views🔗
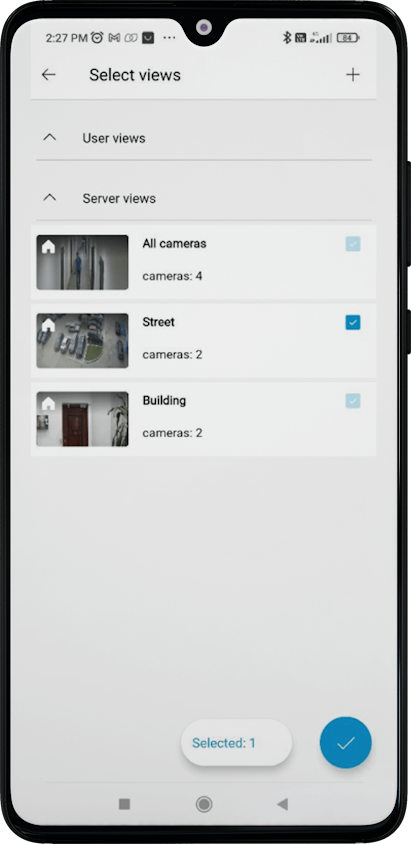
By tapping on the Add views button, a window for adding views opens. The marked view is added to the Main page.
Note
Views previously added to the Main page are displayed as unavailable.
The Selected button shows the number of selected cameras. Tapping this button opens the list of cameras that you can delete.

To remove views from the list, use the button located opposite the view name.
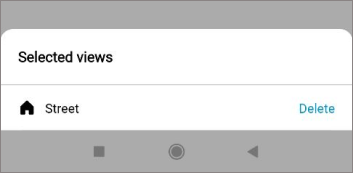
After selecting the views, tap the button. In this case, the selected views will be added to the top of the Main page.
Changing widgets mode🔗
To change widgets, tap the  in the top right corner. The context menu for changing the Main page will open.
Note
You can also change the widget with a long tap on it.

The following commands are available in the context menu:
Edit items🔗
Allows you to delete and swap items and widgets.

Note
In change mode, the contents of widgets are displayed in full.
In changing widgets mode, the following actions are available:
Deleting objects using the
button.Change the order of items. Allows you to swap items by long pressing.
Note
When deleting a widget, a delete confirmation dialog will appear. If all elements are deleted, the editing mode will automatically end.
To apply the changes, tap the button.
Edit widget order🔗
Allows you to swap widgets by long press.

To apply the changes, tap the button.
Configure Moments🔗
Allows you to switch to the Moments settings.
Viewing cameras🔗
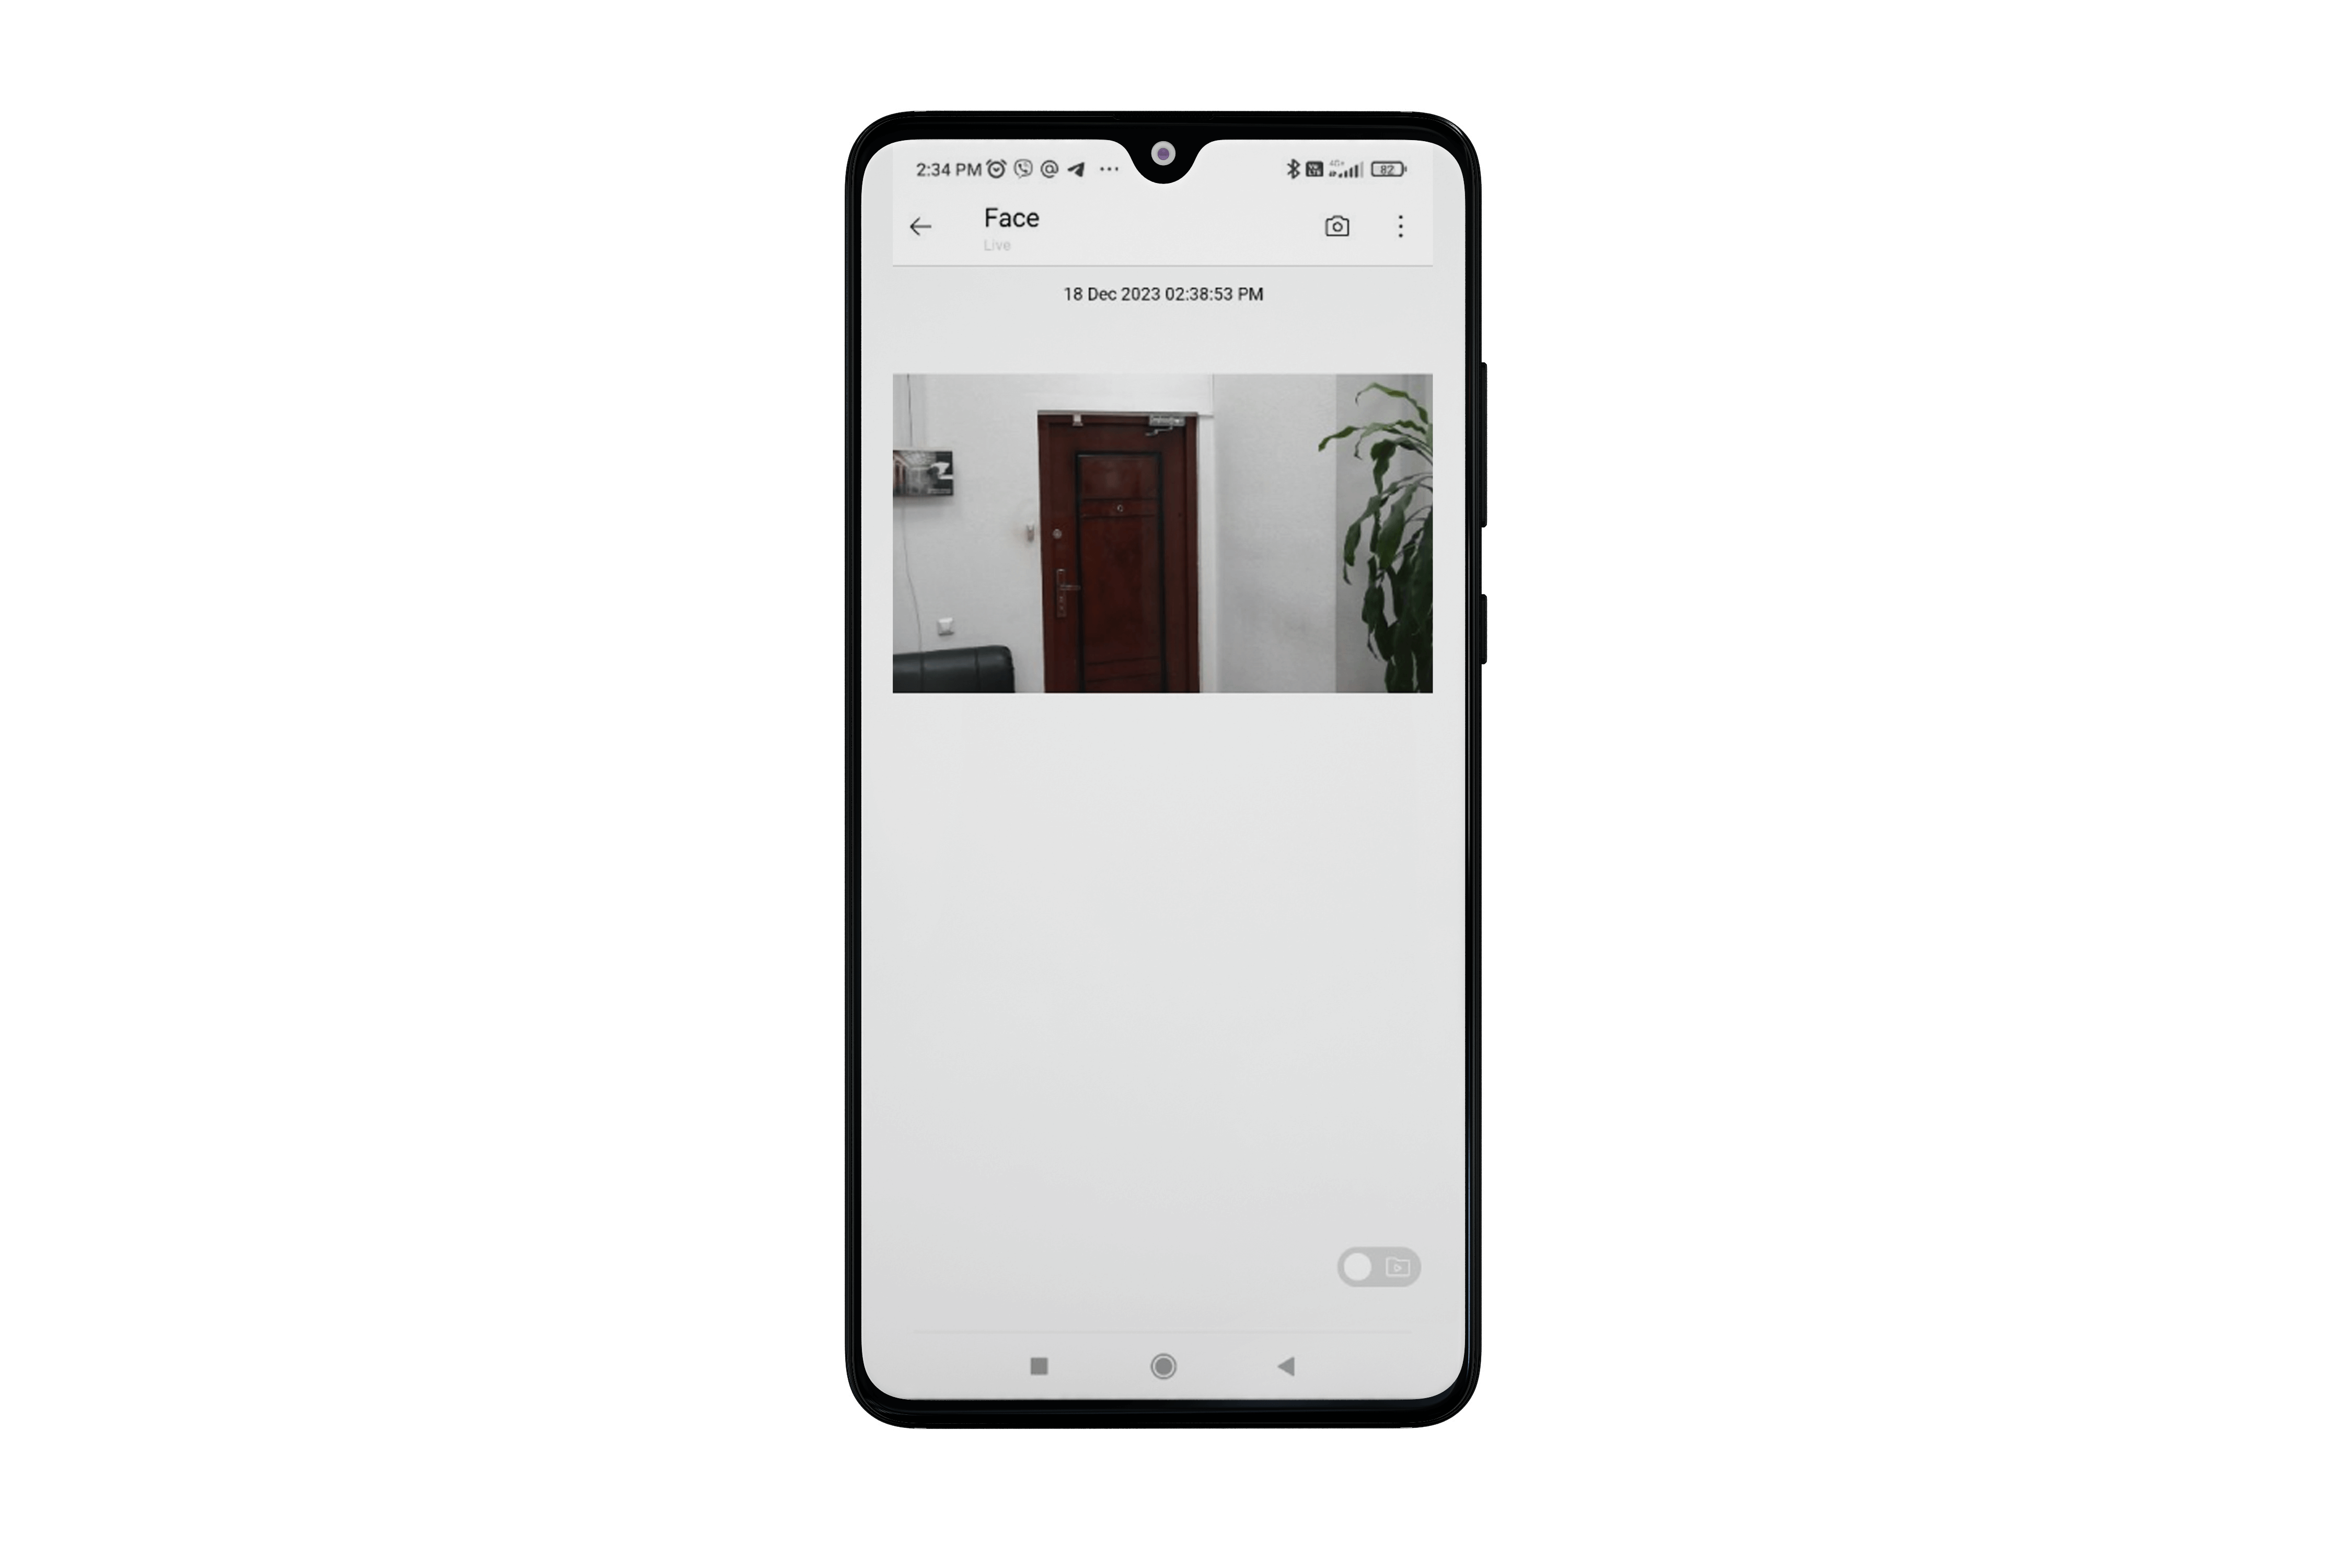
If you tap on a camera on the Main page, it opens in full-screen mode.
Warning
The camera is displayed in single mode, and there is no option to swipe left or right.
Note
You can close the camera by swiping up or down.
Viewing views🔗
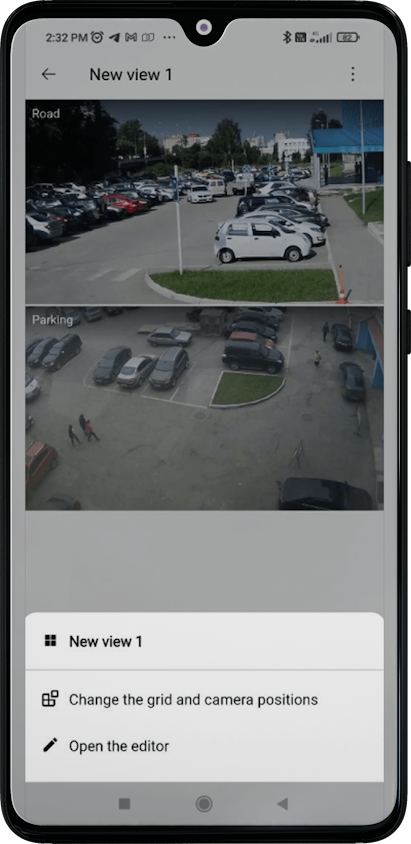
When you tap on a view on the Main page, it opens in full-screen mode.
Warning
The view is displayed in single mode, and there is no option to swipe left or right.
In view mode, the number of columns in the view can be changed by zooming. After closing the view mode, this change will be reset.
When tapping on the camera, it will be displayed in full-screen mode. You can see all the view cameras by swiping left to right.
If the client view is opened, the button appears in the corner. By pressing it, you can open the view menu and go to the view editor. Returning from the view editor will take you back to the opened view.
Caching🔗
If the real-time configuration update option is enabled, then upon detecting a new configuration, the user will experience the following:
Rename cameras and views and display them depending on access rights on the Main page, including in edit mode.
Changing camera or view parameters and subsequent restart of the video stream while viewing an individual camera on the Main page or a camera from a view. The full-screen mode will be closed if the camera is not accessed.
Changing camera parameters and their display depend on access rights in the view and subsequent restart of video streams. If there is no access to the view, the view will be closed.
Ending the camera view from the view and returning to the Main page after the view has become inaccessible.
Updating changes in real-time when on the add views or cameras page with the option to continue adding.
Updating changes in real-time when editing a custom view with the option to continue editing.


