Video wall🔗
Eocortex has implemented the possibility of building a video wall consisting of separate monitors, using neither extra devices nor software. It is possible to add up to 32 monitors. The monitors, which make the video wall, must be connected to the computers, with the running Eocortex Client application, connected to one of the Eocortex servers.
To increase efficiency, use client computers (Remote Work Station — RWS) with several monitors. However, the RWS hardware configuration must provide the performance required to show the set number of channels.
Note
This capability is not present in some types of licenses.
Note
To configure and manage the video wall, the user must have the appropriate rights, which are configured by the video surveillance system administrator in the Eocortex Configurator application.
Note
To use the video wall in the Eocortex Client application, the Video Wall option must be enabled in the Eocortex Configurator application (this option is enabled by default).
To do this, launch the Eocortex Configurator application, go to the  Servers page, select the General settings item, and open the Network settings. The Video Wall option must be enabled. For more details, see General settings: Network settings.
Video wall settings🔗
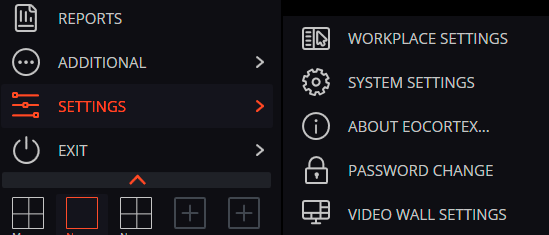
Before using the video wall, it is necessary to set it up. To do this, open the Control panel and select in the Main menu the  Settings option, then the
  Video wall settings suboption.
The main part of the opened setup page for the video wall is taken by the view window displaying the image from the selected monitor.
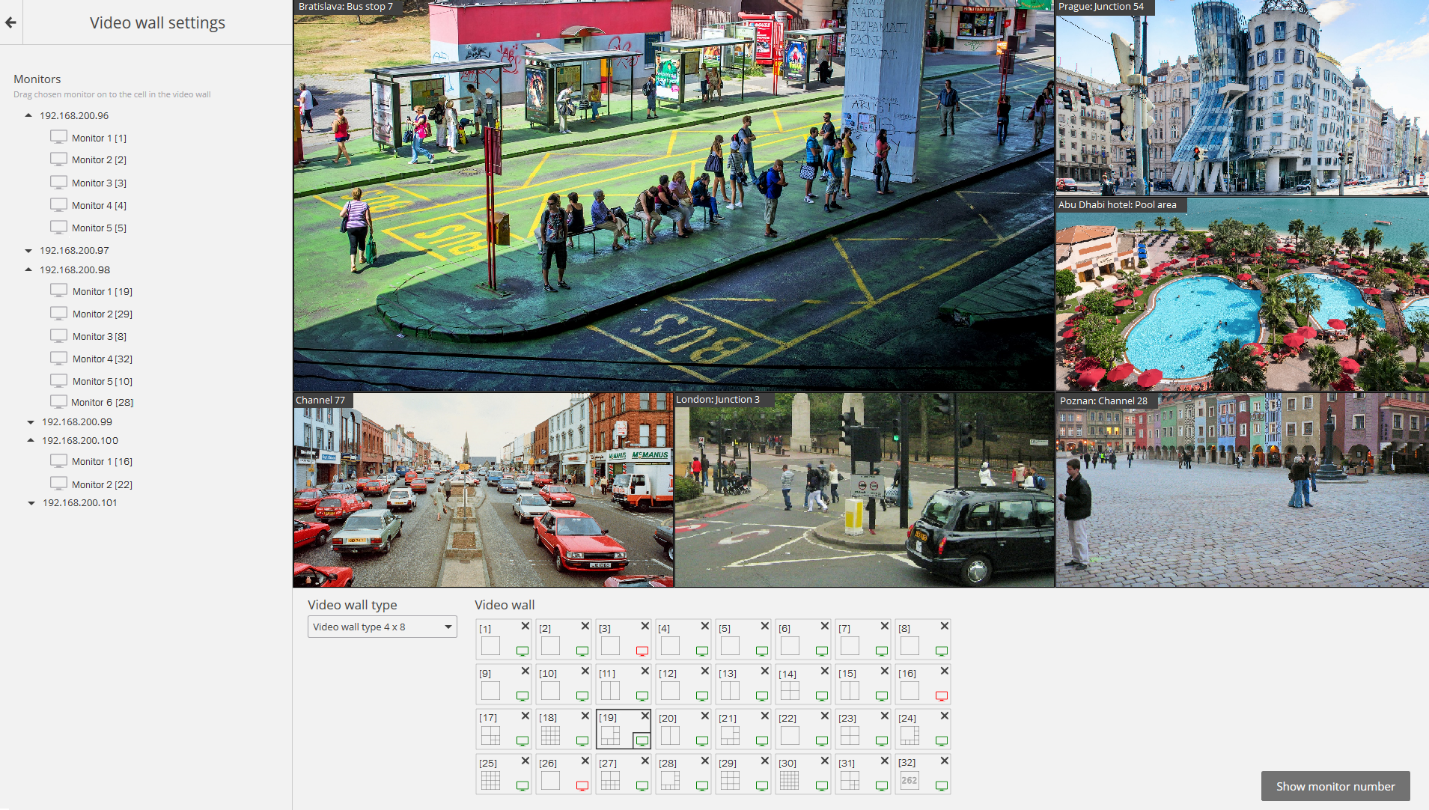
In the left part of the page is displayed the hierarchical list of IP addresses of the connected RWS system (client computers with the running Eocortex Client application) or servers displaying (Eocortex Standalone), and also connected to these RWS/servers monitors.
Note
The list shows only those RWS / servers and monitors which are currently running the Eocortex Client application and the view window is open.
To the right of each monitor, the serial number of the monitor in the video wall is indicated in square brackets. The Show monitor number button is used for visual control of the serial numbers of the monitors. Clicking on this button will display the serial number of each monitor in the video wall for a few seconds.
To form a video wall it is necessary to select one of the options in the Video wall type drop-down list, then, with the help of the mouse, move the monitors from the hierarchical list to the relevant cells located under the view window. Then, to set up grids and the displayed channels, it is necessary to move to Video wall management.
Note
Hereafter, during operation, separate RWS can be disconnected from the system. In this case, the pictograms of these monitors will be red.
Video wall management🔗
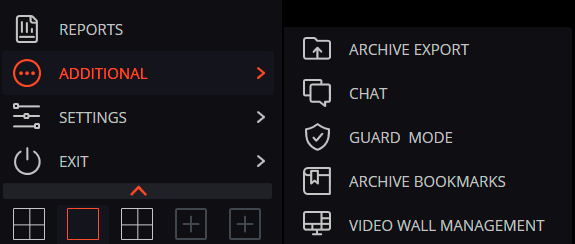
To manage the video wall, open the control panel and select the  Additional option, then the Video wall management suboption.
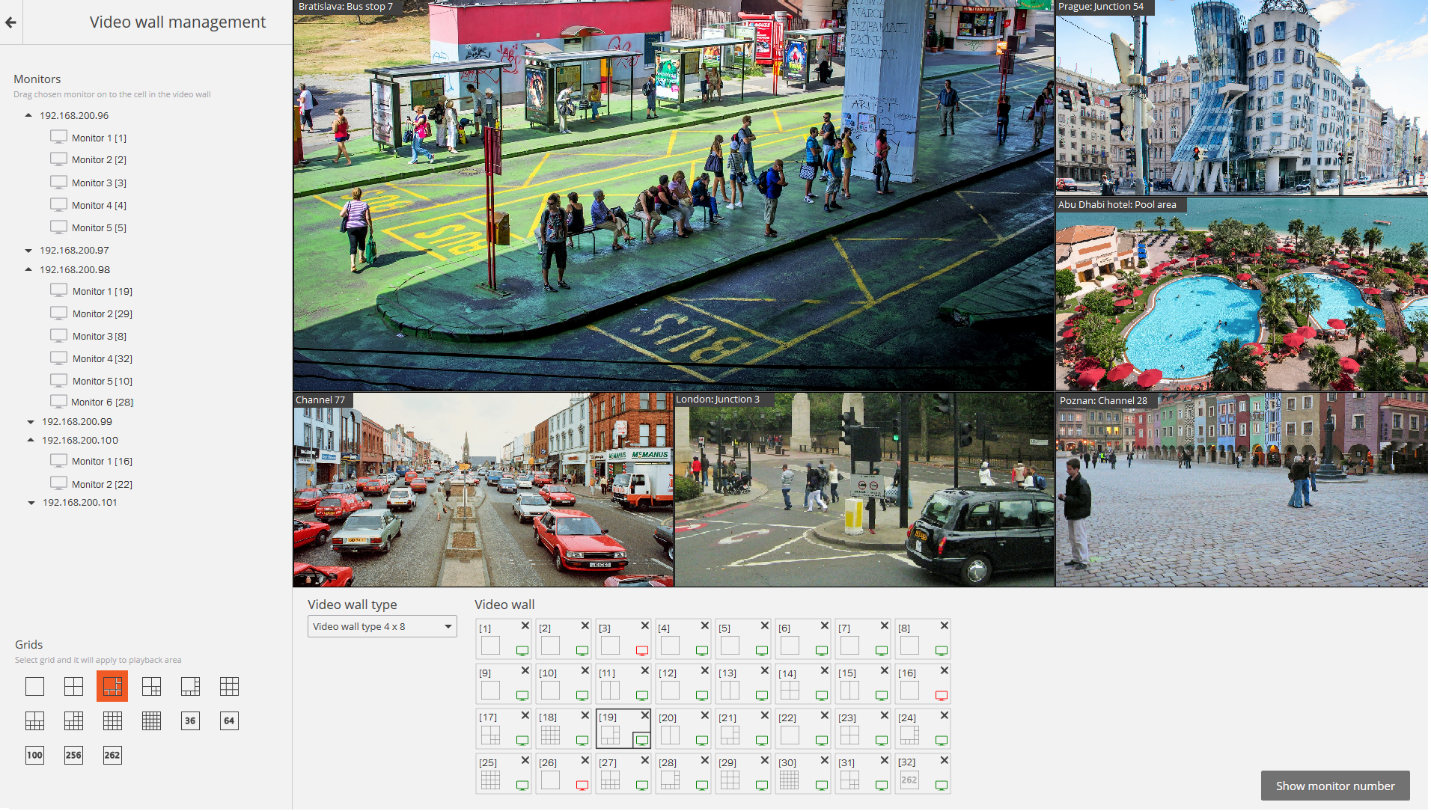
The main part of the opened page for video wall management is taken by the remote view window broadcasting the image from the selected monitor.
Note
Notifications can be displayed on the Video wall management page.
Monitor selection takes place in the panel located right under the view window. Each monitor has a position number (position number in the video wall) displayed in square brackets in the left top corner of the video wall cell.
The Show monitor number button is used for visual control over the monitor's position number; when pressed, each video wall monitor will show its position number for several seconds.
Note
If any of the monitors used in the video wall does not display the image in the remote view window, this means that the RWS, to which the monitor is connected, is not connected to the system (besides this, the pictogram of this monitor in the list will be red). In this case, run the Eocortex Client application on this RWS and connect to one of the Eocortex servers (if viewing is implemented on the server with Eocortex Standalone display — open the view window). The monitor which manages the video wall will also not broadcast images.
The left side of the page displays a hierarchical list of cameras connected to the system and the panel with the available channels. In a multiserver configuration, the list will show all cameras connected to all servers in the configuration.
Warning
If the Editing views right is disabled for a group of users, then when managing the video wall, the selection of the cell grid for the view will be unavailable.
To display a particular channel grid on a monitor, you must mark that monitor and then select the grid.
To place specific cameras in the grid cells, you can either drag these cameras into the relevant cells in the view window or select a camera using the cell context menu.

When managing the video wall, a list of preset server and client views is available.
If you change the view in the video wall for one of the monitors on the main monitor, the view will also change for the remote monitor used in the video wall. In this case, when you change the server view on the main monitor, the changed view will immediately be displayed on the remote monitor.
Warning
When switching to another view, all changes will be canceled.
If you create a new view for the monitor and add a camera to it, this view will be saved as a client view on the remote monitor. The saved view will be named Video Wall + sequential number.
Note
The view is applied to the remote monitor only after at least one camera has been added to it.
Warning
If any of the monitors in the Eocortex Client application is configured and used as an Alarm monitor, then management of such a monitor in the video wall will be unavailable.
Hotkeys🔗
For the video wall, in the Workstation settings, you can assign the following hotkeys:
Open video wall control
Open video wall settings