Installing, updating, and removing Episode archive🔗
Note
The most up-to-date version of Eocortex can be downloaded from the eocortex.com website at the Support / Software Installation Packages Supported page.
The Episode archive service provides the possibility to keep individual archive fragments for an unlimited time. Using the Episode archive service, you can be sure that important archive fragments will not be lost due to loop recording or corruption of the main archive.
Note
This feature is available only for Enterprise and ULTRA licenses.
The service can be installed on any computer without installing the Eocortex server on it.
Only one service instance can be configured for the entire system.
Installation🔗
Note
The service uses PostgreSQL 12 to manage the database. If the required DBMS version is not installed on the device, a prompt to install it will be given while the Setup Wizard is running.
Below are the steps to install the Episode archive service:
Download the Eocortex Services Installer software from the Download software page.
Run the EocortexServices Installer.exe file.
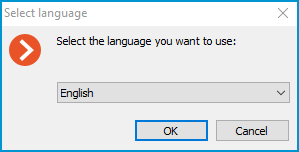
Select the installation language.
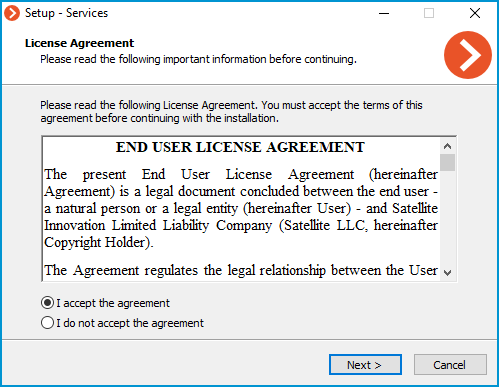
Read and accept the License Agreement.
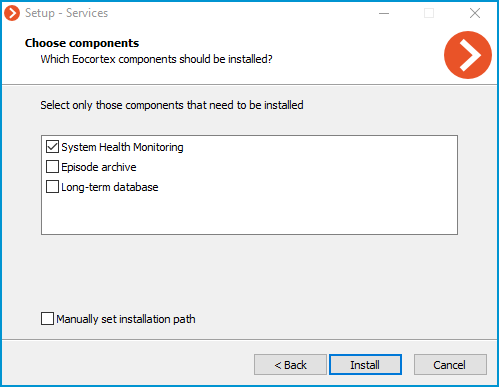
Select the service on the Choose components page, and then follow the steps of the Setup Wizard.
Note
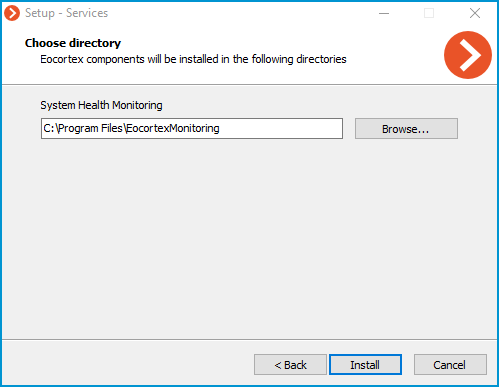
By default, the Episode archive service is installed at the C:\Program Files\EocortexArchiveEpisodesService directory.
In case if it is necessary to set a custom installation path, enable the Manually set installation path option in the Choose components screen.

With this option enabled, the possibility to set a custom installation path will be available on the next screen of the Setup Wizard.
Note
The service will register as a Windows service and will start automatically at OS startup.
Note
Service name: EocortexArchiveEpisodesService
Update🔗
The service update can be performed similarly to the installation process, just using a newer version of the installation package.
Uninstallation🔗
The service can be uninstalled using the standard Apps and Features snap-in from the Windows Control Panel.
Network settings of the service🔗
Warning
These settings should be made on the device where the service is installed.
Description🔗
As part of the installation process, a configuration file appsettings.json containing network settings will be created in the root directory of the service.
Default path:
C:\Program Files\EocortexArchiveEpisodesService\appsettings.json
Below is an example of default settings:
{
    "ConnectionStrings": {
        "DatabaseConnectionTemplateWithoutDbName": "Host=localhost; Port=5432;Database={0};Username=postgres;Password=masterkey"
    },
    "Serilog": {
        "MinimumLevel": {
            "Default": "Debug",
            "Override": {
                "Default": "Information",
                "Microsoft": "Warning",
                "Microsoft.Hosting.Lifetime": "Information"
            }
        },
        "WriteTo": [
            {
                "Name": "Logger",
                "Args": {
                    "configureLogger": {
                        "Filter": [
                            {
                                "Name": "ByIncludingOnly",
                                "Args": {
                                    "expression": "(@Level = 'Error' or @Level = 'Fatal' or @Level = 'Warning')"
                                }
                            }
                        ],
                        "WriteTo": [
                            {
                                "Name": "File",
                                "Args": {
                                    "path": "%LogsDir%/service.log",
                                    "rollOnFileSizeLimit": true,
                                    "fileSizeLimitBytes": "52428800",
                                    "retainedFileCountLimit": 10
                                }
                            }
                        ]
                    }
                }
            },
            {
                "Name": "Console",
                "Args": {
                    "outputTemplate": "===> {Timestamp:HH:mm:ss.fff zzz} [{Level}] {Message}{NewLine}{Exception}"
                }
            }
        ],
        "Enrich": [
            "FromLogContext",
            "WithMachineName",
            "WithThreadId"
        ],
        "Properties": {
            "Application": "LongTerArchiveService"
        }
    },
    "AllowedHosts": "\*",
    "EpisodesDbRelativePath": "ArchiveServiceData/episodes-database",
    "AlwaysRedirectToHttps": "false",
    "Network": {
        "Endpoints": {
            "Http": {
                "Url": "http://\*:8899"
            }
        }
    }
}
Change the HTTP port🔗
To change the HTTP port, find the following section in the configuration file:
"Network": {
    "Endpoints": {
        "Http": {
            "Url": "http://0.0.0.0:8899"
        }
    }
},
And set a custom port in the Url line instead of the default 8899.
Enable HTTPS connection🔗
To add an SSL certificate to the service configuration and enable HTTPS connection, change the Network section by one of the following ways:
"Network": {
    "Endpoints": {
        "Http": {
            "Url": "http://0.0.0.0:8899"
        },
        "Https": {
            "Url": "https://0.0.0.0:18899",
            "Certificate": {
                "Path": ".pfx file",
                "Password": "cert_password"
            }
        }
    }
}
Where:
Path: Location of the PFX file of the certificate.
Password: Password of the certificate.
"Network": {
    "Endpoints": {
        "Http": {
            "Url": "http://0.0.0.0:8899"
        },
        "HttpsInlineCertAndKeyFile": {
            "Url": "https://0.0.0.0:18899",
            "Certificate": {
                "Path": ".pem/.crt file",
                "KeyPath": ".key file",
                "Password": "cert_password"
            }
        }
    }
}
Where:
Path: Location of the .pem/.crt file of the certificate.
KeyPath: Location of the .key file of the certificate.
Password: Password of the certificate.
"Network": {
    "Endpoints": {
        "Http": {
            "Url": "http://0.0.0.0:8899"
        },
        "Https": {
            "Url": "https://0.0.0.0:18899",
            "Certificate": {
                "Subject": "Subject",
                "Store": "Store",
                "Location": "Location",
                "AllowInvalid": "true/false"
            }
        }
    }
}
Where:
Subject: Name of the certificate subject.
Store: Name of the certificate storage.
Location: Location of the certificate storage. By default, CurrentUser.
AllowInvalid: State of the policy of using invalid (e.g. self-signed) certificates. By default, it's false.
Note
Changing the HTTPS port can be done similarly to the HTTP port, but for the relevant section.
Forced redirect to HTTPS🔗
To enable forced redirection of all requests to the service to a secured connection, find and change the value from false to true for the following line:
"AlwaysRedirectToHttps": false,
Note
After saving the settings, the service must be restarted via the Services snap-in to take all changes into effect.
Warning
Changing other settings provided in the configuration file may cause the service to malfunction or fail. It is not recommended to change settings that are not described in the present documentation.