Main Window🔗
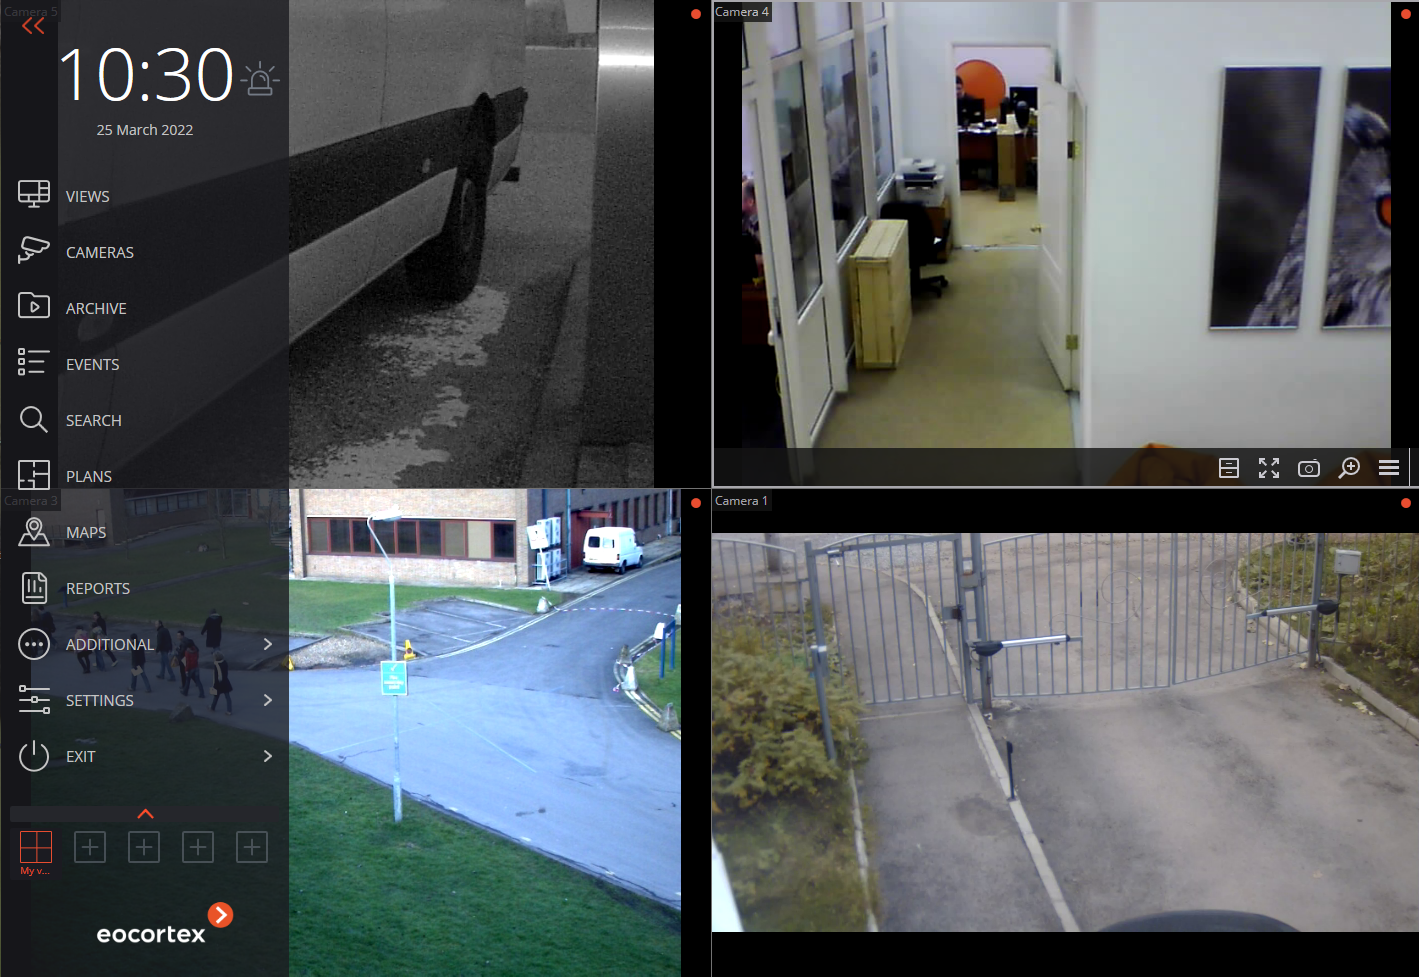
Eocortex Client main window consists of the Workstation (with the channel grid) and the Control Panel. The active cell in the channel grid is framed.
Control panel🔗
In order to display the control panel, it is required to click on the  button located in the upper left corner of the window.
The clock and the user alarm activation buttons are in the upper part of the control panel. The items of the main menu are under the clock. The view selection menu is in the lower part of the panel.
Note
Some items are only displayed when the corresponding features are available for the user.
The  Alarm activate/deactivate button that enables/disables the user alarm is placed to the right of a clock.
Note
The cameras for which the user alarm is enabled, the actions that are performed upon the activation of the user alarm, and the displaying of the  Alarm activate/deactivate button are set in the workstation settings.
Below you can find the description of the control panel items:
 Views opens the Views page.
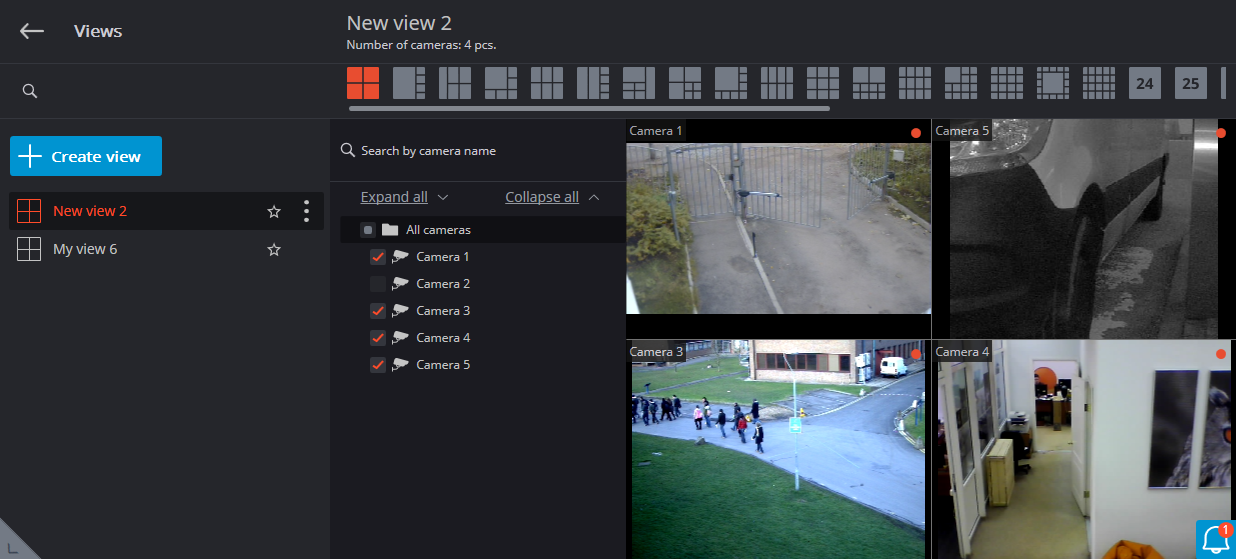
 Cameras item allows you to select the cameras you want to display on the screen.
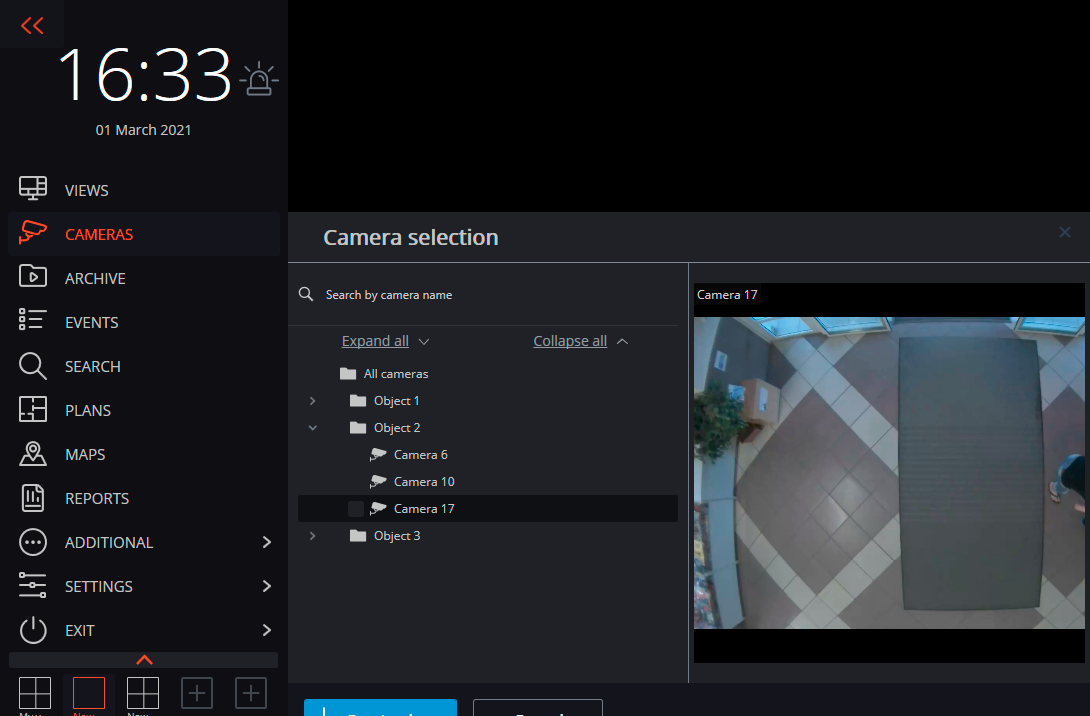
After selecting cameras, press the Create view button. That will display the selected cameras on the screen without names, using the most suitable grid.
 Archive opens the submenu that contains the following items:

 Synchronous archive opens the Simultaneous viewing of archive of multiple cameras.
 Fragment mode opens the Fragment mode page.
 Archive bookmarks opens the archive bookmark log.
 Archive export performs export of the archive.
 Events opens the Events log.
 Search opens the Search for Objects and Face Detection.
 Plans opens the Site plans.
 Maps opens the Interactive Maps.
 Reports permits to create reports available for the current user.
 Additional opens the submenu that contains the following items:
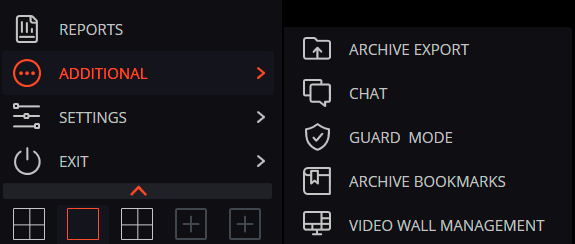
 Chat opens the internal chat.
 Guard mode allows setting up the guard mode.
 Video wall management permits to manage the video wall.
That submenu can also contain items that open the face and license plate recognition databases in case the corresponding modules are used in the system.
 Settings opens the submenu that contains the following items:
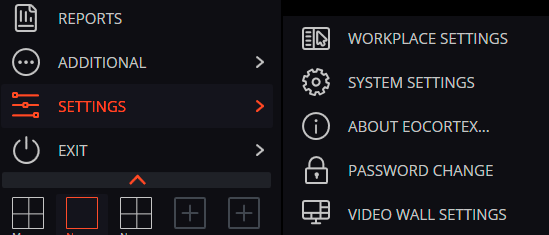
 Workstation settings opens the Current workstation settings.
 System settings launches the Eocortex Configurator application.
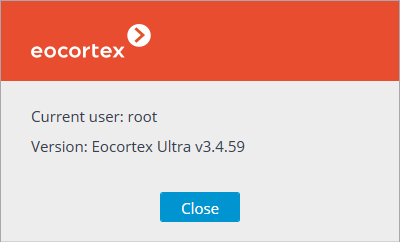
 About Eocortex... opens the information window.
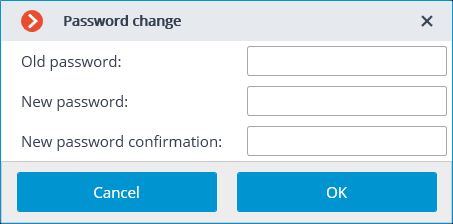
 Change password permits to change the password.
 Video wall settings allows to set up the video wall.
 Exit opens the submenu that contains the following items:

 Login as another user allows changing the user. When you select this item, the main window closes and the authorization window opens.
 Sign off shuts down the application.
 Reload restarts the application without the necessity to perform a reauthorization.
Selection of views🔗
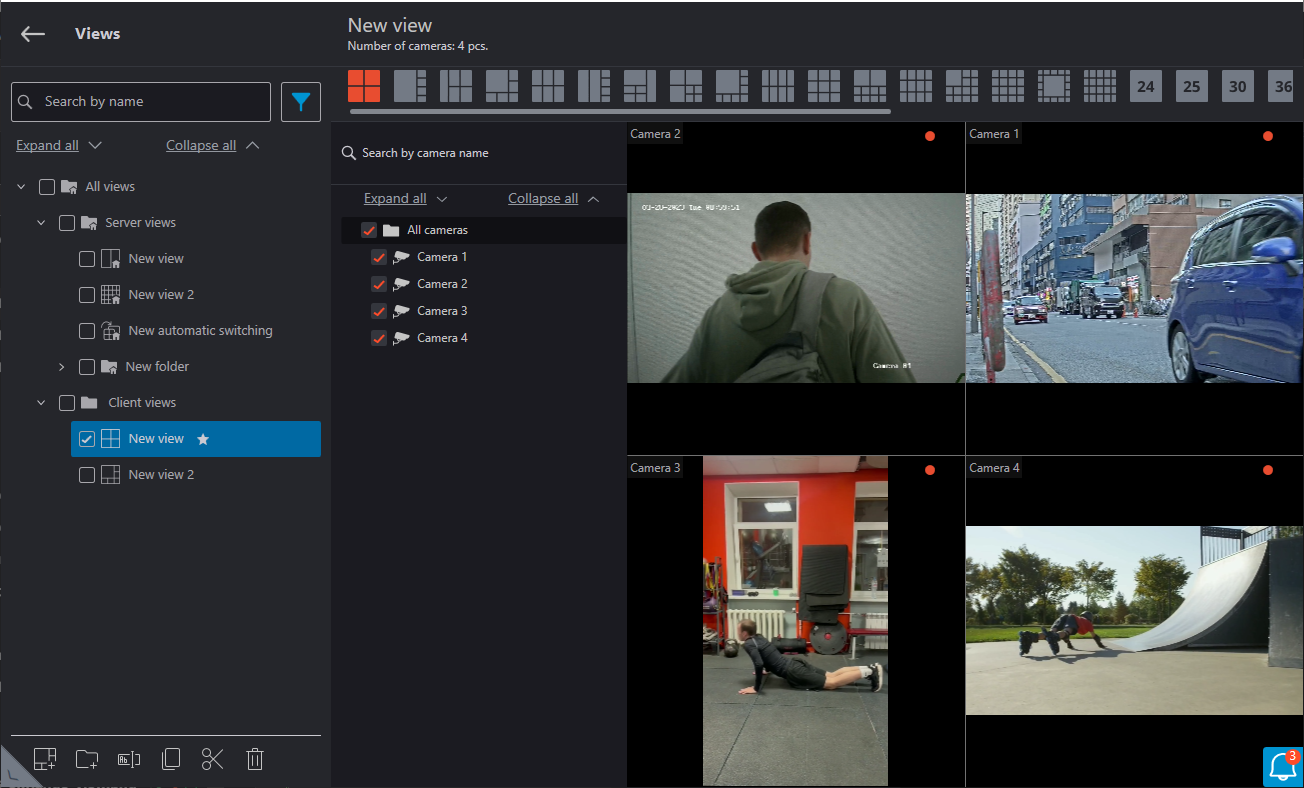
The sidebar displays a tree of views with the ability to filter and search for a specific tree item by name.
Note
Navigation through search results in the views tree is performed using  and
and  buttons.
Note
Server and client views are stored in folders of the same name. If there are no views, the corresponding folders will not be displayed.
If no client view has been created before, a default view containing 6 cameras will be automatically created in the Client views root folder.
The Client views folder is not displayed on the Views page if it has been deleted by the user. When a new view is added in the Eocortex Client application, the Client views folder is created automatically.
To change the location of client and server folders relative to each other in the tree, go to the Workplace settings tab.
The view and auto-shift tree includes the following features:
Display the first nested or previously viewed view or automatic shifting on the right side of the view editor when a folder is selected.
Drag-and-drop movement of individual views and automatic shiftings through the tree.
Search by name of views, automatic shiftings and folders.
Filtering by automatic shiftings and views, as well as by Server, Client and Favorite views folders.
Toolbar and context menu.
When the sidebar is minimized, only the preconfigured favorite views and automatic switchings are displayed.
Note
It is possible to add to favorites when hovering over a view by clicking on the star that appears.
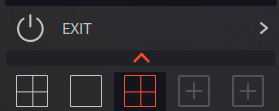
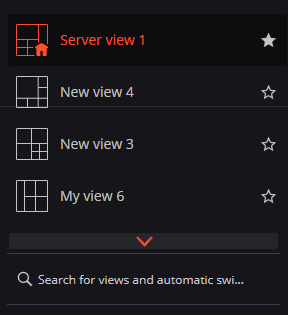
Note
This menu does not display views and automatic switches that do not contain any cameras available for the current user.
Warning
Views in the Eocortex Client application are not synchronized between different monitors.
Adding, modifying, and deleting views🔗
Note
Setting the server views and the automatic screen view switching lists is performed by the administrator of a video surveillance system in the Eocortex Configurator application. Set up client views in the view editor.
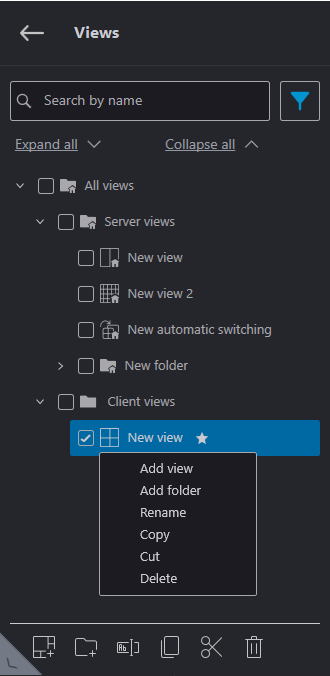
The commands available for views and automatic shiftings are listed below. These commands can be invoked either from the context menu, from the buttons at the bottom of the page, or from the links on the view and automatic shiftings page. Individual commands can be invoked in several ways, including using hotkeys.
Add view
Add folder
Rename
Copy
Cut
Paste
Delete
Save
Note
The Rename option is also available by single-clicking on the view name.
For server views and automatic switching, only the Copy command is available.
Warning
In some cases, the tooltips for the buttons at the bottom of the panel may not be displayed.
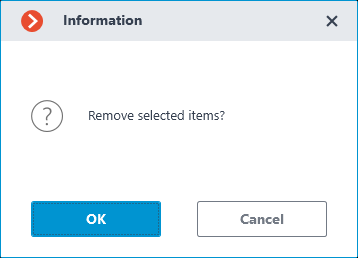
When items are deleted from the tree, a corresponding information window is displayed:
Automatically created views are views created in Chat, Cameras, Plans, Maps and Video Wall sections.
In order to save automatic views, it is necessary to specify the corresponding sections in the Workplace Settings tab. The automatic view will be labeled with a snowflake symbol in the tree and will be displayed at the bottom of the client views. To save the view, select it and click Save.
Warning
An automatic view will not be created if a view with the same grid and set of cameras already exists in the system.
Current view🔗
You can drag the cameras between the cells of the current view by holding the left mouse button. If the view cell is not empty, the cameras swap their places.
One of the cells of the view can be active. The active cell is highlighted by a frame. To activate a cell, click inside it with the mouse.
By clicking in the empty view cell, it is possible to select a camera in the opened list, or in the camera selection window.
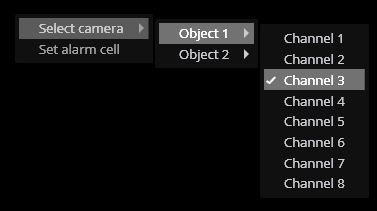
It is also possible to select a camera in the active cell using the context menu by opening it and choosing the Select camera item.
Warning
If you hide one or more cameras in the start view when opening the Eocortex Client application, then drag the camera to another cell on the Views page or add new cameras, and then reload the application, the changes to the start view will not be saved.
Hotkeys🔗
You can assign the following hotkeys to the main window in the Workstation settings:
Open views tab
Open the tab ...
Open syncrhronous archive
Open fragment mode
Open archive bookmarks
Open archive export
Open the event log
Open nearby cameras
Open maps
Open reports
Open guard mode
Open video wall control
Open video wall settings
Open workstation settings
Open system settings
Open chat
Change password
Change user
Restart client
Close application
Open information about the program
Show/Hide control panel
To perform many other tasks, it is possible to assign hotkeys.