Configuring the video surveillance server🔗
The Eocortex Configurator application is used to configure the Eocortex server, including activation of the license protection key.
Note
The Eocortex Configurator is included to all installation packages and is automatically installed when either the Eocortex server or client applications are installed.
Note
To work with the Eocortex Configurator application, it is recommended to use a screen resolution of at least 1024×768, as the application may not display properly on lower resolution screens.
Activating the license key🔗
Note
When activating the protection key, it is better that the server has access to the Internet, since the most convenient way to activate the key is automatic activation via the Internet. In this case, it is usually enough to follow the steps suggested by the License Installation wizard by default. It is this way of activating the USB license protection key that is described below.
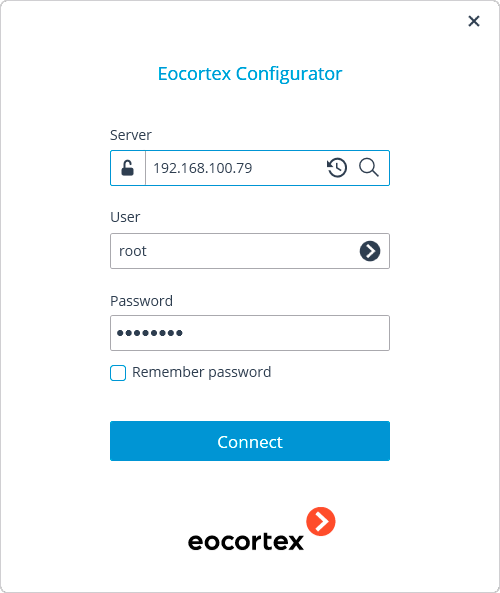
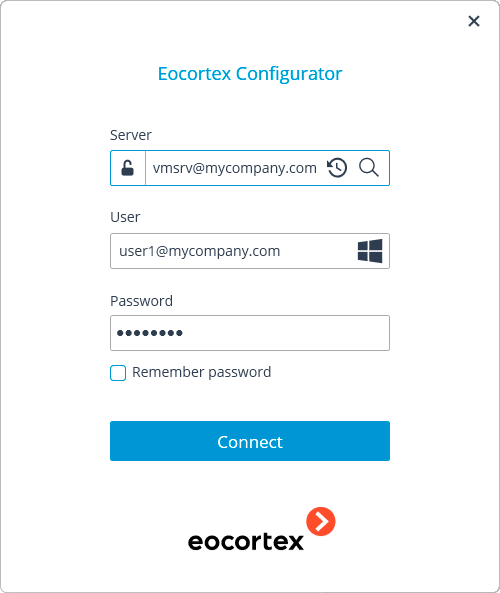
To activate the license key on the Eocortex server, run the Eocortex Configurator application. In the authorization window that opens, specify the address of the server to connect, set the name and password of a user with sufficient access rights to configure Eocortex and click OK.
If the license key is not activated on the server, then when connecting to the server, the Eocortex Configurator application will prompt to install a license. Clicking Yes will open the License Installation wizard window.

Note
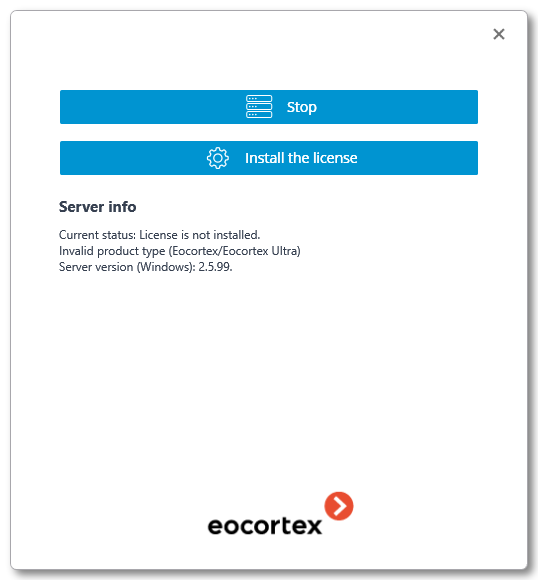
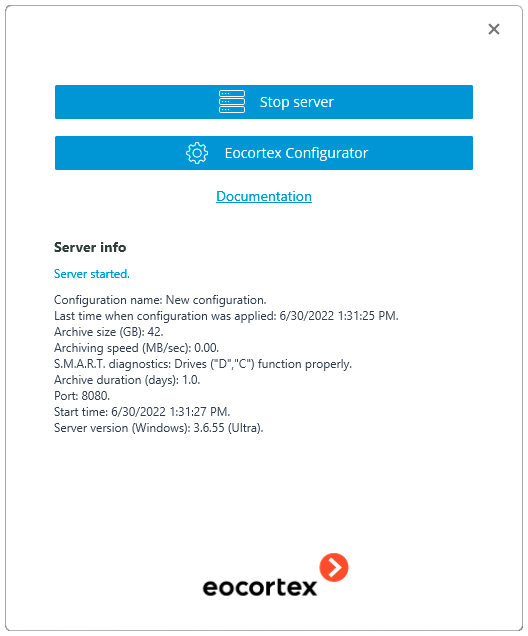
Another way to start the License Installation wizard is running it from the Eocortex Server Info window. If the license is not installed on the server, Eocortex Server Info will have an Install license button instead of Eocortex Configurator, clicking on which will open the wizard window.
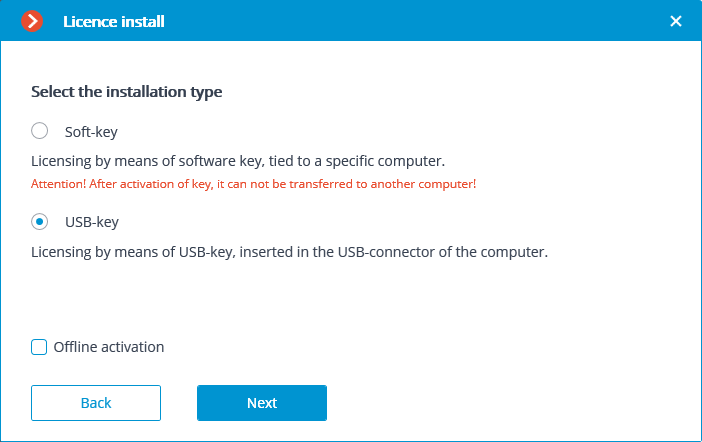
On the Select the installation type page, select the type of key and the activation method for the license to be installed. This example uses a license key on a USB dongle and online activation via the Internet, so select the USB-key option and click Next.
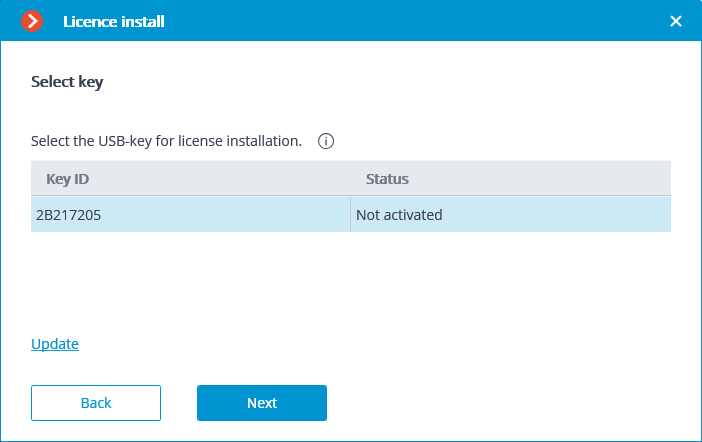
The Select key page will open with a list of USB dongles connected to the server. The Key ID column of the list displays the number printed on the side of the USB key. If the required dongle is not in the list, then it is not connected to the server's USB port; in this case, you need to connect the key to the server and after a few seconds, click Update — the list will be updated. To proceed with the installation, click Next.
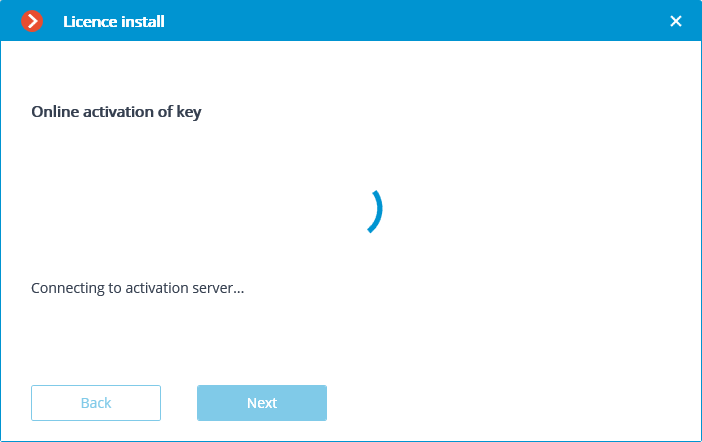
The next step, i.e., key activation, depends on the availability of the internet connection. If the Internet connection is available, the Eocortex server will connect to a remote license activation server and try to activate the key in automatic mode in accordance with the licenses assigned to the key. The Online activation of key page will be shown during the activation process. If the key is being activated for the first time, the USB key activation code will be requested.
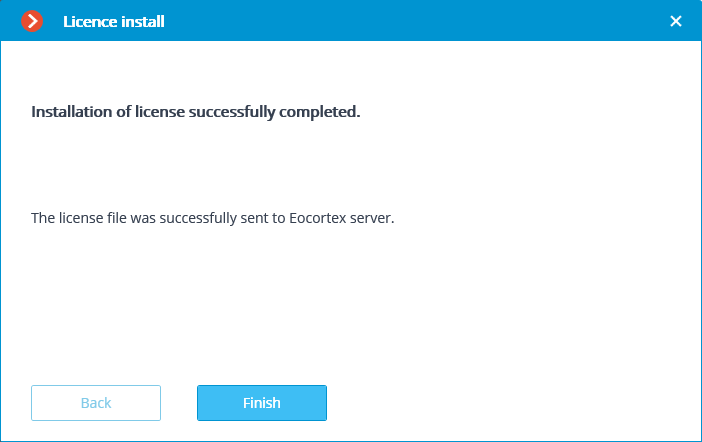
In case of successful activation, the License has been successfully installed window will appear. To exit the license installation wizard, click Finish.
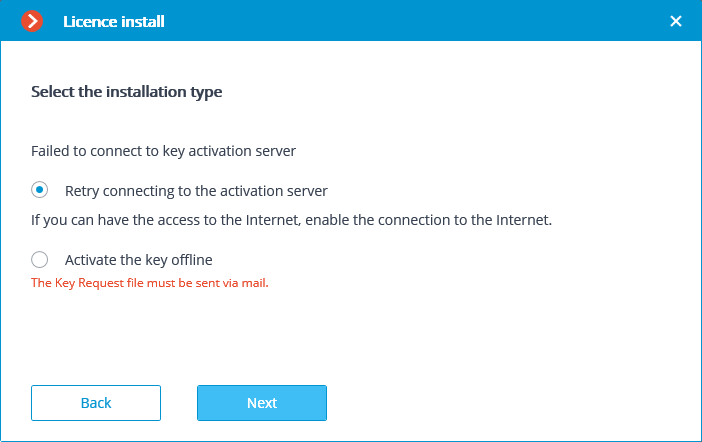
If an error occurs during activation, the Failed to install the license page will be displayed with two options: Retry connecting to the activation server and Activate the key offline. The second option will start the USB key offline activation procedure. Additionally, the activation of the key can be interrupted by closing the wizard window.
Note
Possible online activation errors:
Connection with the activation server was interrupted during the activation process; e.g., due to a connection problem, low connection speed, or due to a problem with one of the connection chain links.
The selected key has no assigned licenses. In such a situation, contact the license supplier (seller).
The selected key is intended for other software with the same protection system.
Launching Eocortex Configurator🔗
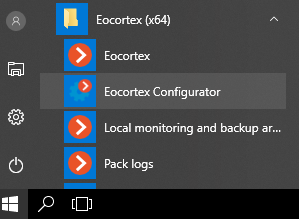
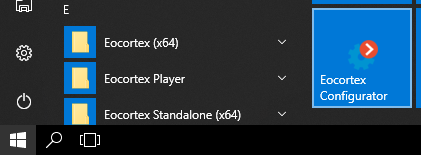
There are several ways to launch the Eocortex Configurator application:
From the
 Start menu.

From the Windows Start screen.
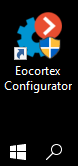
Using the shortcut on the Desktop.
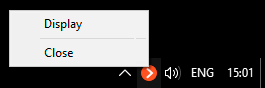
From the Eocortex Server Info utility window.
From the Eocortex Client application.
The authorization window will open. It is required to indicate the server address there in the Server field (or select the address in the dropdown list to the right of the input field) and the account type (only for Enterprise and ULTRA), username and password, then press the Connect button.
Account type:  Eocortex;
  Active Directory.
For Active Directory accounts, the user name is specified as: username@domain; where domain is the domain name, username is the name of the user in the domain.
Note
Registration under an Active Directory account is available not for all types of licenses.
Note
During the initial installation on the Eocortex server the root user with an empty password is created. This user has a full set of rights. When setting up user authorities, it is recommended to change the password of this user in the Eocortex Configurator application.
Note
Client connection port is 8080 by default; if required, it can be changed in the Eocortex Configurator application.
Following the successful authorization, the main window of the Eocortex Configurator application will open.
Connecting and configuring cameras🔗
To connect a camera, first obtain the following information about it:
Camera address (IP or URI).
Camera manufacturer (brand) and model, or information about camera support for ONVIF or PSIA.
Username and password for connecting to the camera (not to be confused with the username and password of the Eocortex user), most often the camera administrator name and password are used.
Number of streams (One or more) from the camera and the codec ( H.264, MJPEG, MPEG-4, H.265, MxPEG) for each stream.
Availability of additional options: sound reception, PTZ and others.
Below is an example of a basic connection between a camera and a Eocortex server. For more details on connecting and configuring cameras, see the full documentation for the product.
To connect a camera to the Eocortex server, run the Eocortex Configurator and login to the server.
The main Eocortex Configurator window will open.
Follow the steps to connect and configure the camera as listed below:
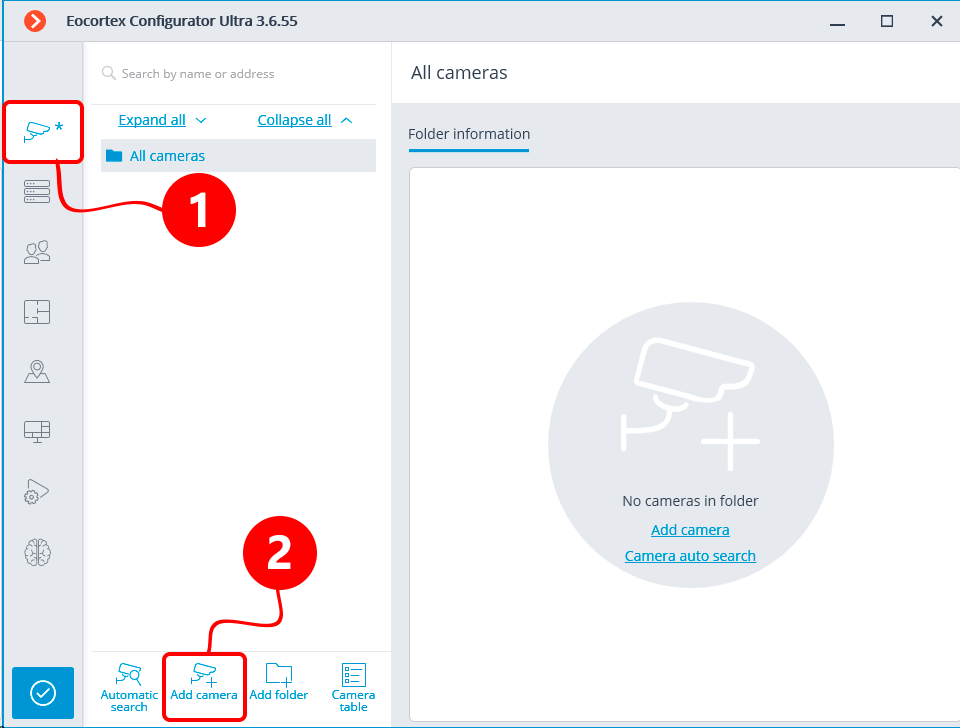
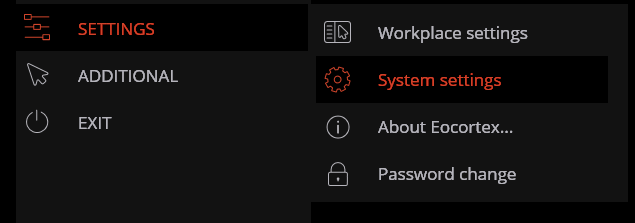
In the Eocortex Configurator, switch to the
 Cameras page.
Click the
 Add camera button. The new item Camera 1 will be created in the list.
Next, on the Connection tab, configure the connection to the camera, as well as the settings for the video streams received from the camera.
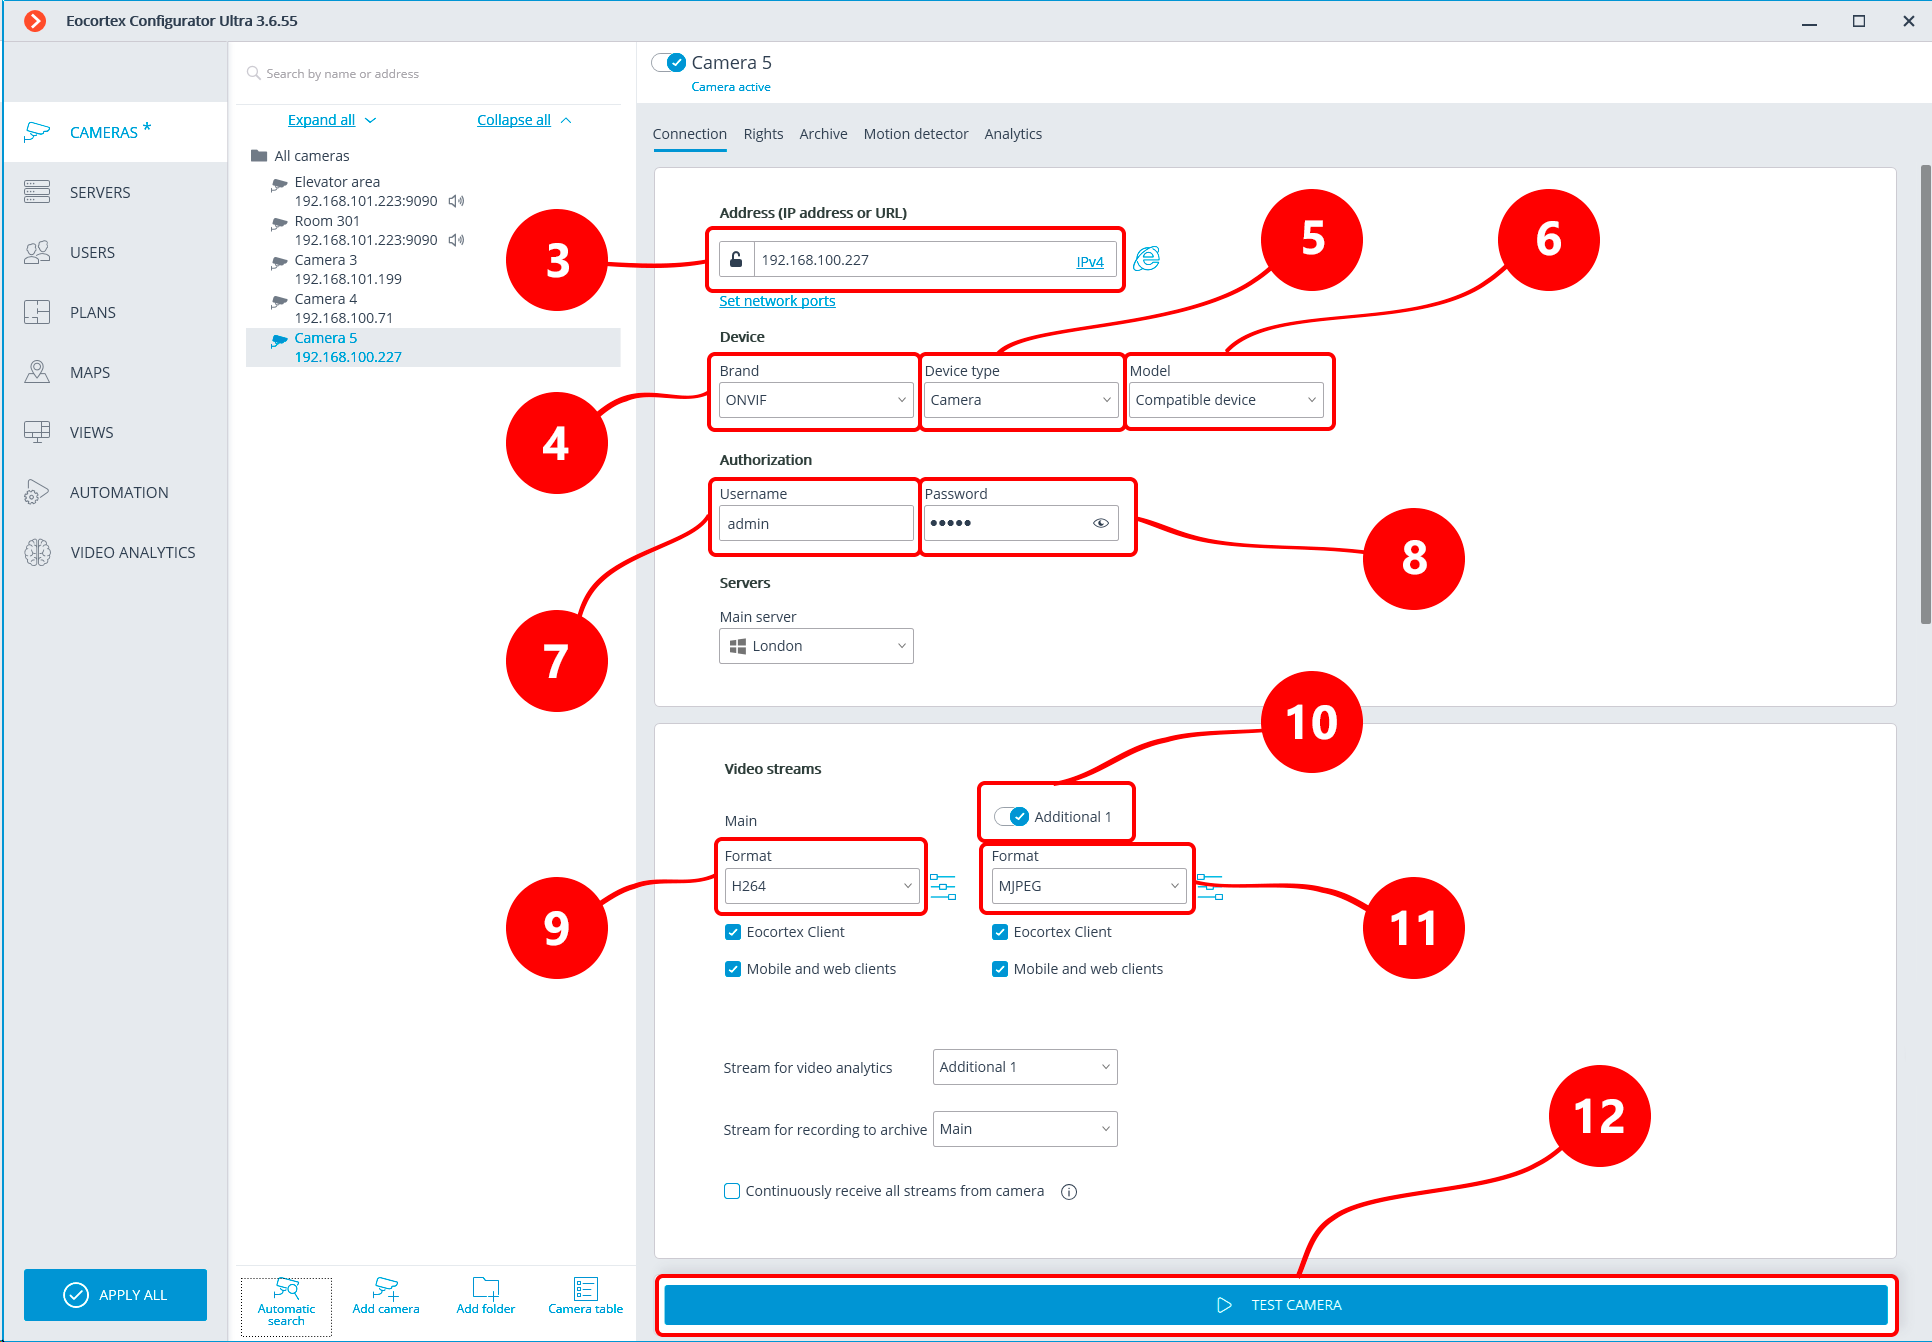
Set the camera address (IP or URI).
Set the camera manufacturer (brand) and model. If the connection will be carried out according to the ONVIF or PSIA standard, then set the name of the standard as the field value.
Set the Camera option in the device type field.
Set the camera model. The drop-down list may contain items that do not refer to a specific model, but to several models, series of models, or a single item for all cameras of a given manufacturer. For the connection standards listed above, the Compatible device value is automatically substituted.
7-8. Set the camera username and password.
Set a codec for the main stream.
10-11. If the camera is supporting multiple streams, enable the Additional 1, 2 or 3 options and select a codec for additional video streams.
Click the Test camera button – if the settings are correct, the live view will be displayed in this section.
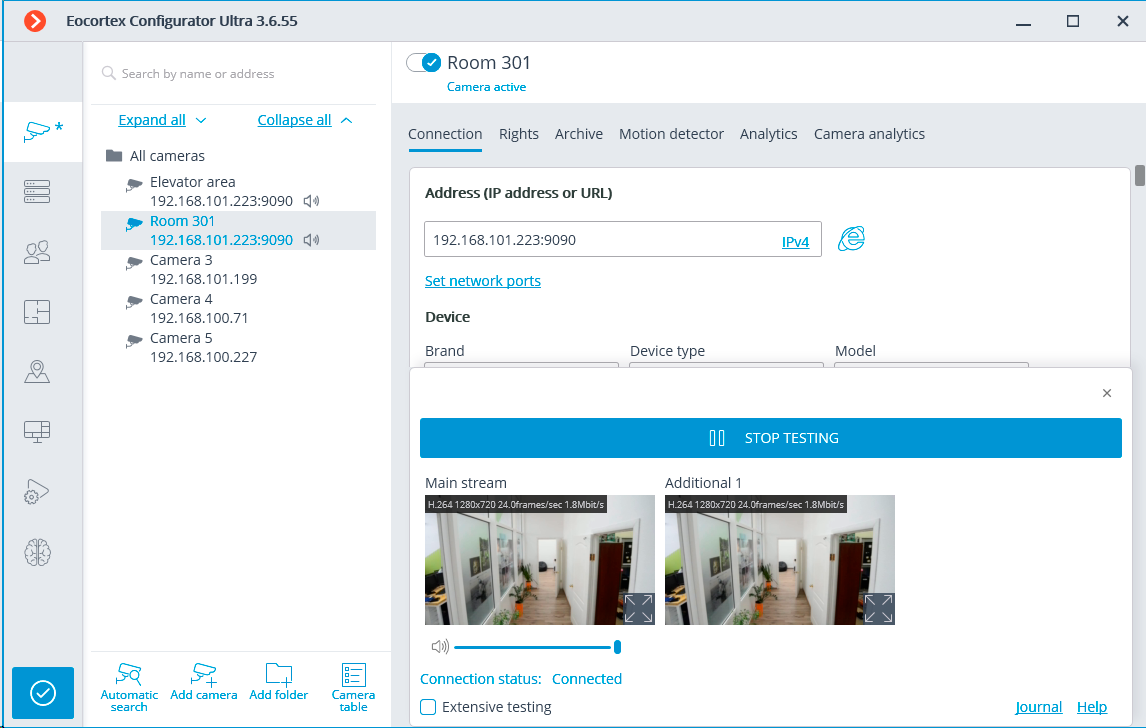
If the image does not appear, check that the camera is available from this computer through the camera's web interface. Then make sure that the address, username and password, as well as the codec are specified correctly. If the camera is available and the connection settings are correct, but the video from the camera is not displayed in the test section, then try to select other device models from the list.
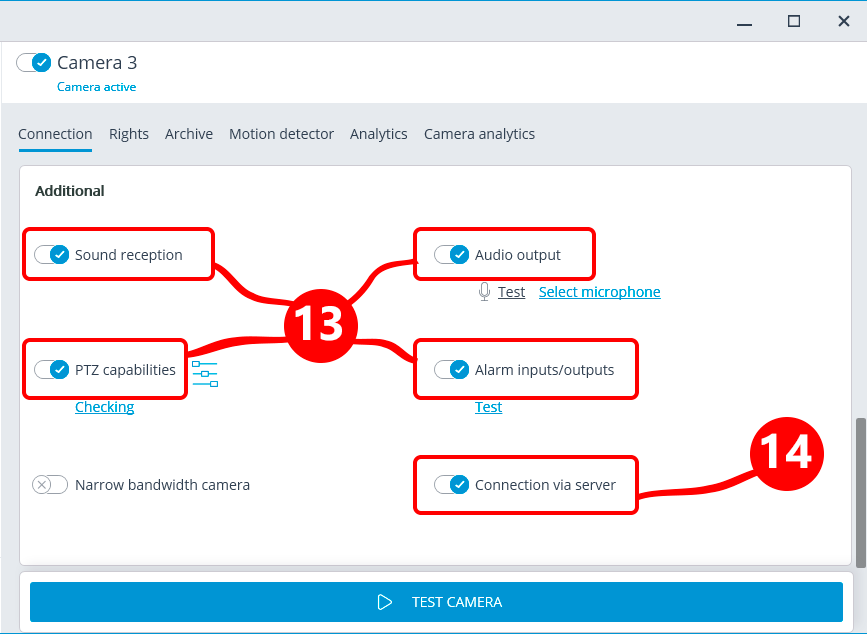
13-14. In the Additional settings section below, additional camera features can be configured (but only if these features are supported for this camera model in Eocortex): sound reception and transmission, alarm inputs and outputs, PTZ control interface. Also in this section it is recommended to enable the option Connect via server.
To use the Motion Detector, switch to the Motion detector tab.
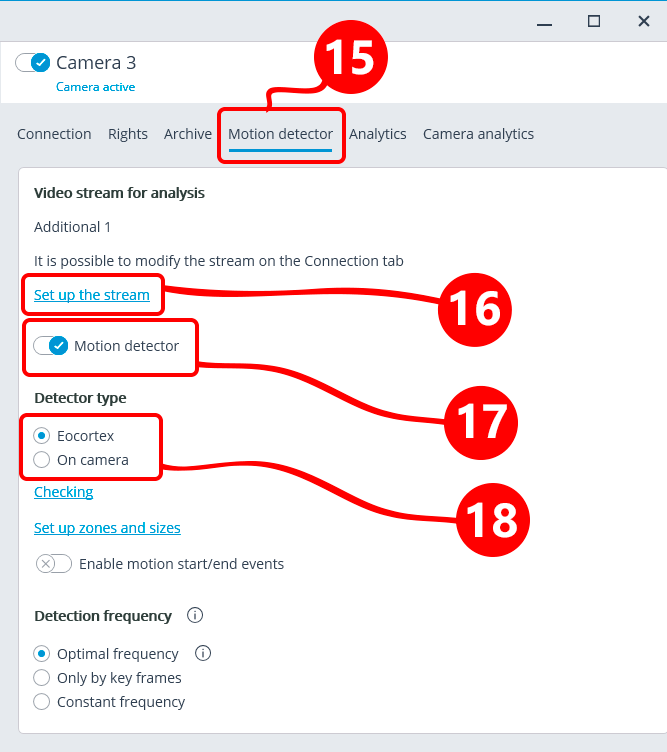
Switch on the Motion Detector.
Select the Detector type:
Eocortex: The server-based software Motion Detector will be used.
On camera: The camera's own Motion Detector will be used.
Warning
Using the Motion Detector built into the camera makes video analytics on the Eocortex server unavailable to this camera.
When using software motion detection with a camera that transmits multiple video streams, set up the Video stream for analysis. This parameter determines which stream will be used for software motion detection on the Eocortex server.
Note
Below is a recommendation on how to choose a stream for analysis, provided that the main stream has a higher resolution than the additional one; for example, the main stream is 1920×1080, the additional one is 640×480:
Note
Select Additional if no video analytics other than the Motion Detector will be used for this camera.
Note
Select Main if any video analytics will be used for this camera in addition to the Motion Detector.
To configure the recording of video and audio from the connected camera to the archive, switch to the Archive tab.
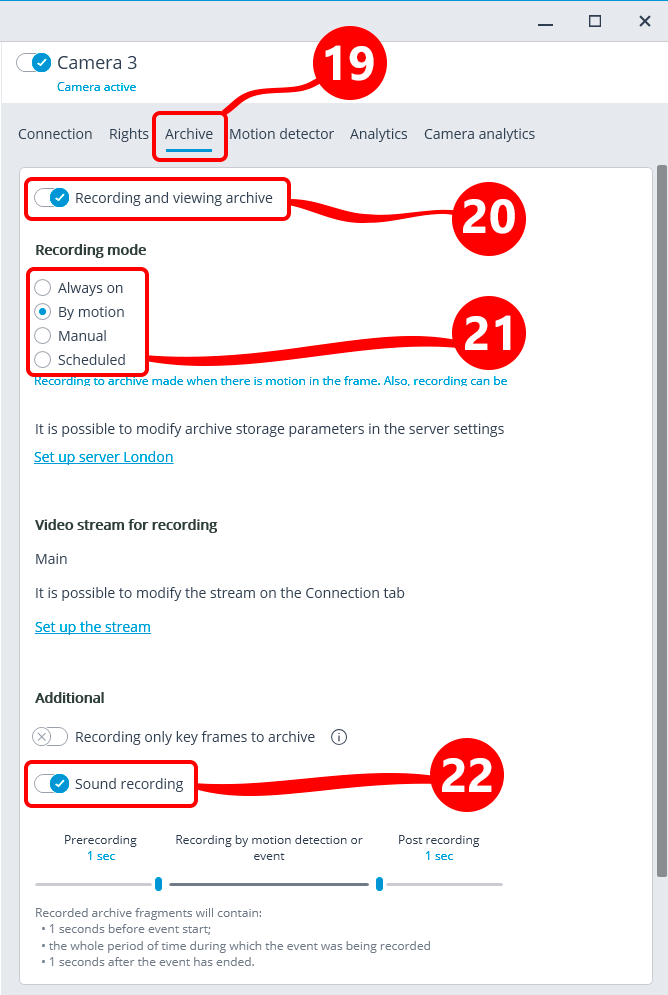
Recording to the archive will be performed only if the Recording and viewing archive option is enabled.
The archive recording settings set by default can be left unchanged: in this case, the video archive will be continuously recorded. On the other hand, if the Motion Detector is used, it is recommended to select the By motion mode: in this case, the archive will be recorded only when motion is detected in the frame, as well as at the command of the operator.
To record audio from the camera, enable the Sound recording option.
To connect additional cameras, repeat steps 1 to 22.
Applying settings🔗
Warning
Any changes made to the system settings will take effect only after the settings are applied.
Warning
Settings section titles that have unapplied changes are marked with an asterisk.
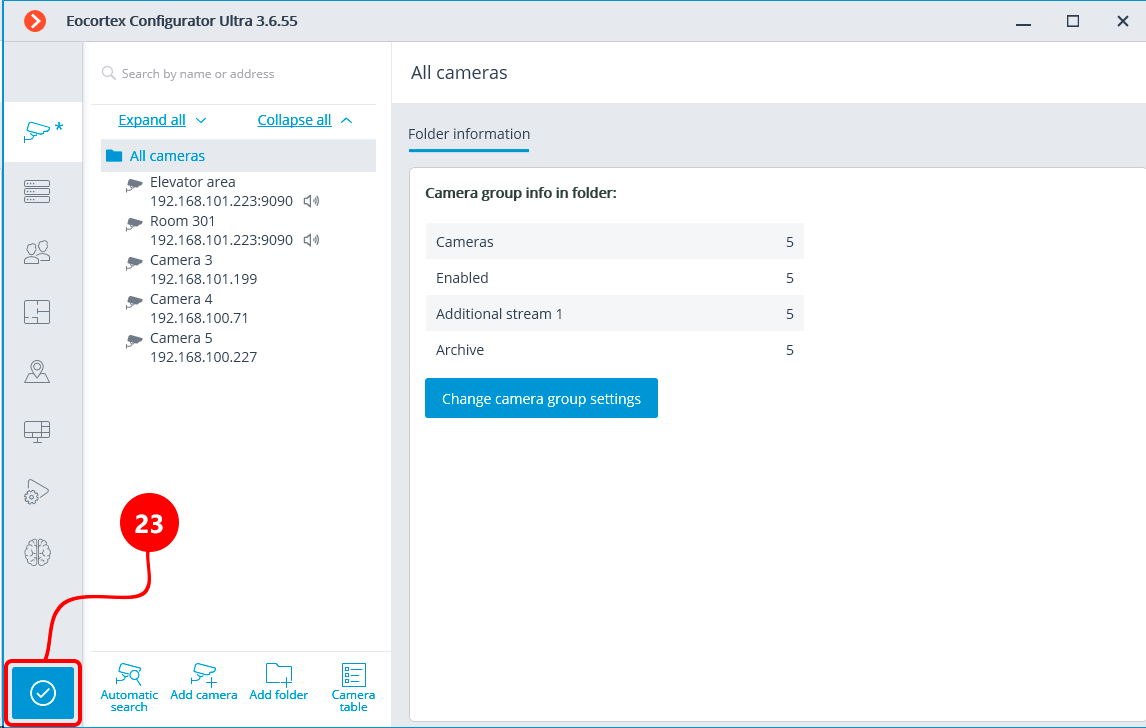
To apply system settings, click the
 Apply button.
The Application of settings window will open, in which the Configuration check tab will show the results of checking the settings before applying, and the Changes — current settings changes.
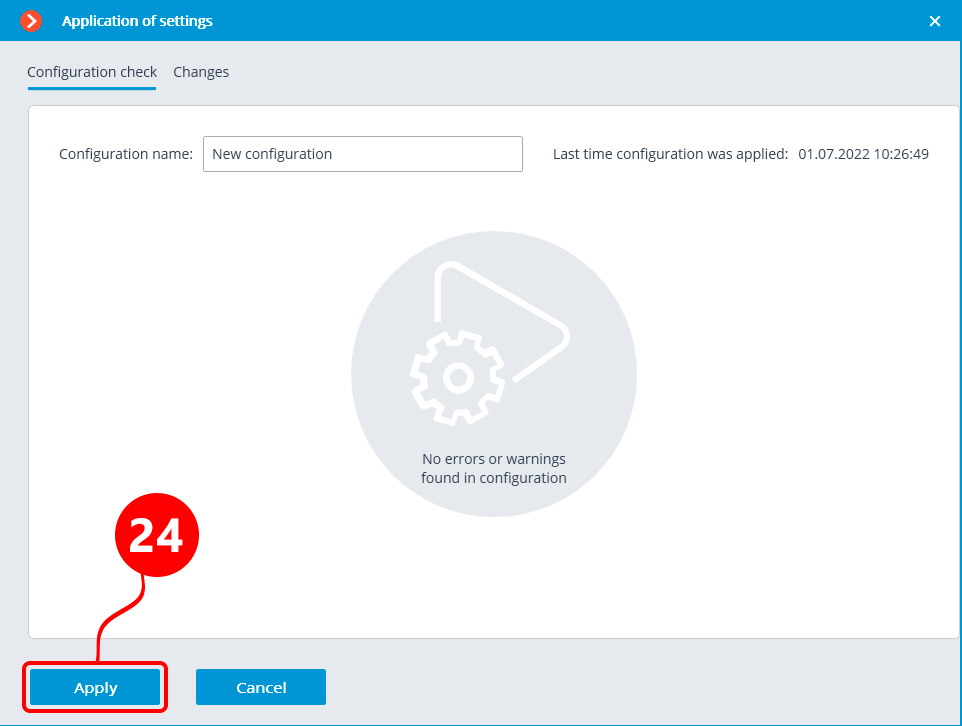
To apply the settings changes, click the Apply button. To return to changing the settings without applying them, click the Cancel button.
After applying the settings, the Eocortex Configurator application can be closed and the normal work in the video surveillance system can be started.