Connecting to a video systems🔗
When you first launch the Eocortex application, an authorization page will appear where you can log in to an existing account by clicking the Log in button, or create a new one by clicking the Sign up button.

When signing up, you'll need to fill in your email and create a password that must be at least six characters long and include numbers, uppercase letters, and lowercase letters.
Note
To complete the registration process, a code will be sent to the specified email address to confirm your account. The code is valid for 10 minutes.
Note
The user can skip authorization and proceed to connecting video systems Eocortex by clicking the Skip button.
The Log in page displays a list of available video systems. At the bottom of the screen, there is a button for viewing the Demo-server.

Adding a video system🔗
To start working with video systems, you need to add a server. Tap the 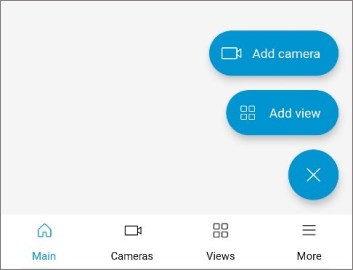 button in the lower-right corner of the screen.
The Adding a server window will open. Here, enter the IP address or hostname and port for the Eocortex server connection, along with your Eocortex username and password.

After that, a field with the added server will appear on the screen.

Note
The first time a server is added, or after migrating settings from the old app, its status will appear as "Connection has never been established". This status disappears after a successful connection to the server.
Changing settings and deleting a server🔗
To change settings or delete a server, tap the  within the server's cell.
A contextual menu will appear at the bottom of the screen, offering the following commands:
Delete: allows to remove a server from the list.

Change settings: allows to configure the server.

Enable auto connection: if turned on, the app will automatically connect to this server upon launch.
Warning
Only one server can be set as the auto-connect server.