Internal chat🔗
Eocortex has a functionality of messaging between system users — the internal chat.
Note
This capability is not present in some types of licenses.
Note
The internal chat is available only to those users who have the appropriate permissions granted by the system administrator and only on those Eocortex Client workstations where the use of chat allowed in settings.
Description
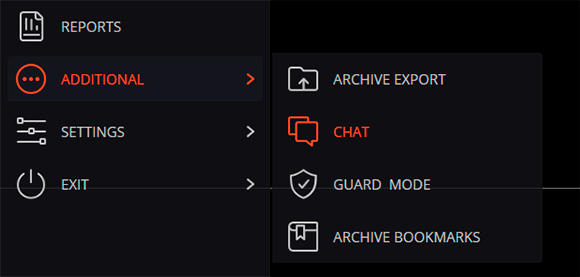
To open the internal chat, open the  Additional section on the control panel and select the
  Chat item.
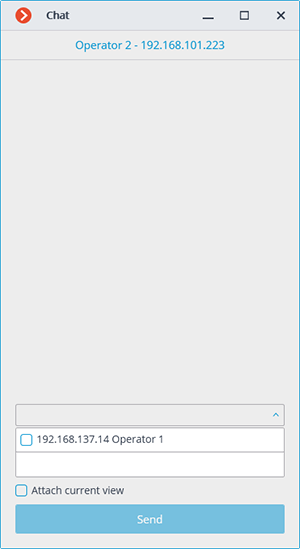
The Chat window will open, containing the following interface elements:
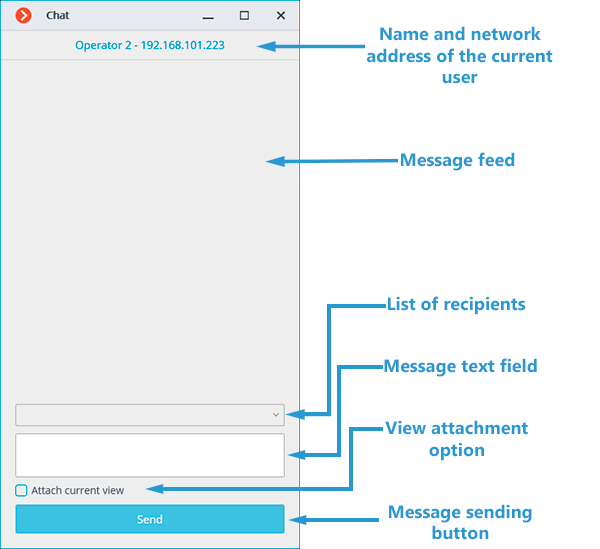
Chat window opens automatically for message recipients.
Sending a message
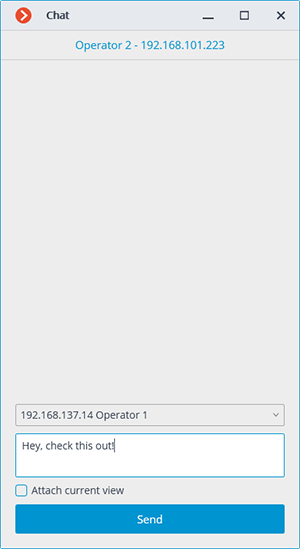
To send a message to one or several system users, select these users from the drop-down menu, type a message in the Message text field and click the Send button.
With the Attach current view checkbox enabled, the camera view that is used at the moment of sending the message, including all cameras assigned to cells, will be attached.
Note
The drop-down menu contains only those system users who are connected to the system at the moment of sending the message. If no user is logged into the system, the chat window will show the “There are no operators in the chat” message instead of the list of recipients.
Note
The message length cannot exceed 50 characters, including spaces.
Note
The recipient will be able to open the View attached to the message only if he has permission to view the cameras assigned to this View and access to use the View itself is allowed at his workplace.
Receiving a message
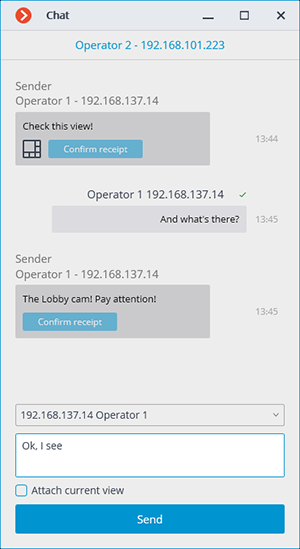
To confirm receipt of a message, click the Confirm message button located under the message text. If the message is not confirmed within the time set by the system administrator on the Messenger tab of the Application settings window, an entry about the missed message will be added to the Events log.
To open a camera grid attached to the message at the current workplace, click on the view icon to the left of the Confirm receipt button.
Replying a message
To reply to a received message, create a new message and specify a list of recipients.
