Viewing archive fragments🔗
The Fragment mode window displays and plays back fragments of the video archive of one of the cameras.
Warning
Fragment mode is available only to those users who have access for viewing the camera's archive.
Warning
The Fragment mode page displays only the archive stored on the Eocortex servers.
Switching to Fragment mode
Select the Fragment mode sub-item of the  Archive item in the Main menu.

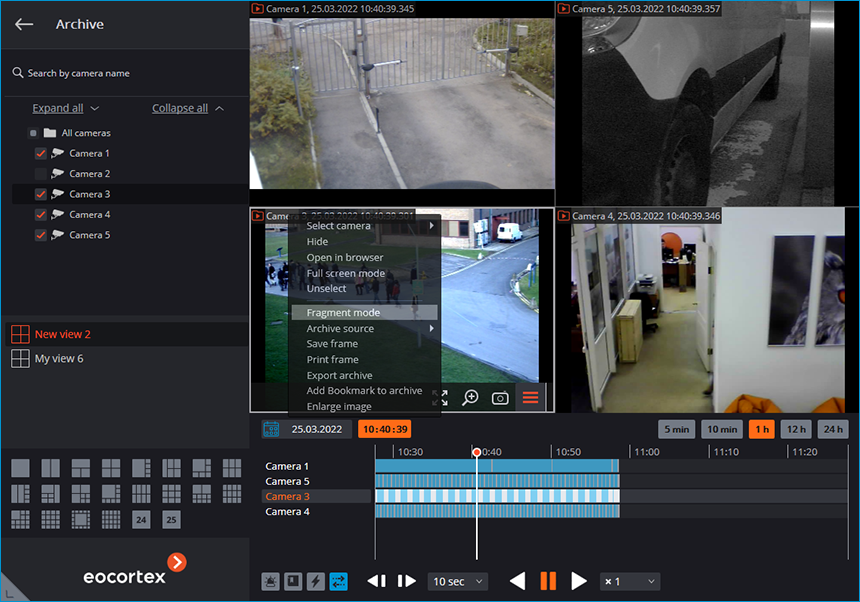
Select the Fragment mode item in the context menu of the camera cell when viewing archive in the Single camera or Simultaneous viewing of multiple cameras mode.
Note
To close the Fragment mode window, select the Exit fragment mode in the context menu or click the  button in the left upper corner.
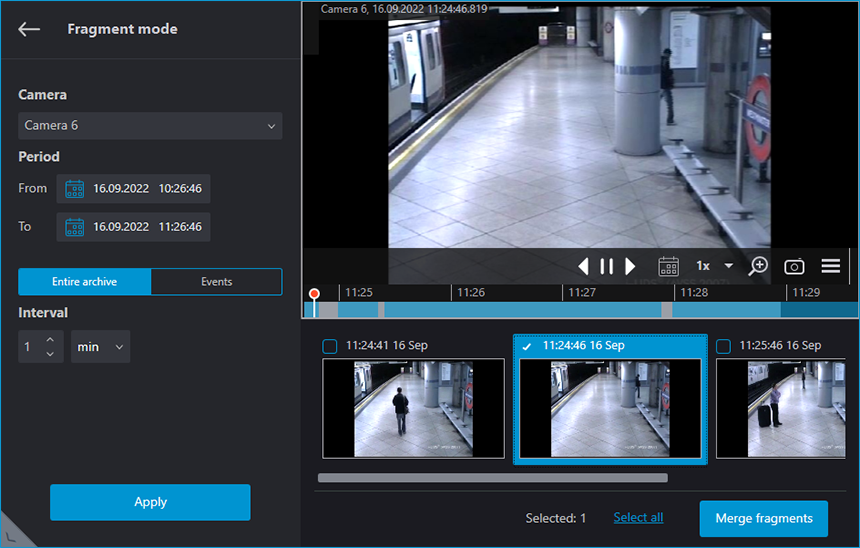
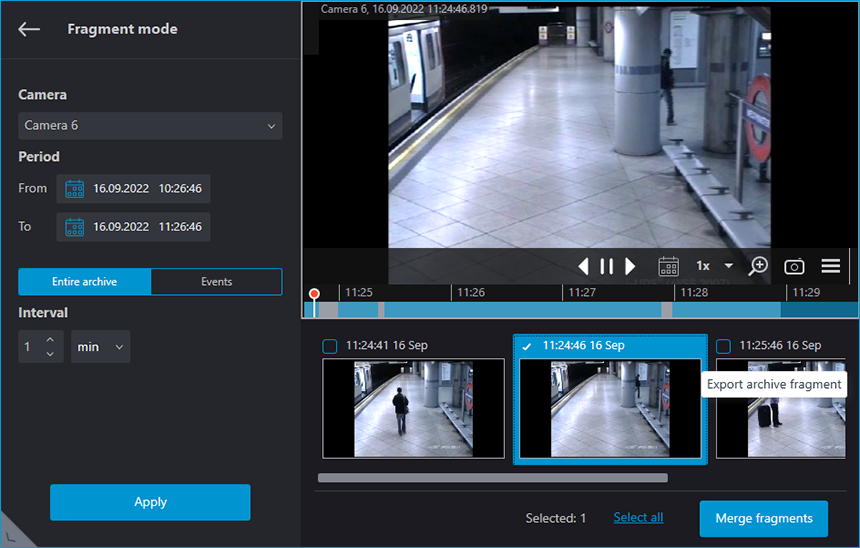
The main part of the window in the fragment view mode is filled by the archive playback screen, under which there is a timeline and the archive fragment panel. The left side of the window contains the parameters panel.
Parameters
Switching to Fragment mode will automatically generate fragments with default parameters.
Fragments can be generated in accordance with specific criteria. To do this, set the desired values in the parameters panel and click the Apply button.
The following parameters are used when generating fragments:
Camera: the camera for which archive fragments will be generated.
Period: the time interval for which the archive fragments will be generated. Allowed values: from 5 minutes to 4 days.
Clicking the Entire archive and Events buttons defines the fragments generation logic.
Entire archive: fragments will be generated for the entire archive. When using this option, it is necessary to set the length of an individual fragment with the Interval parameter.
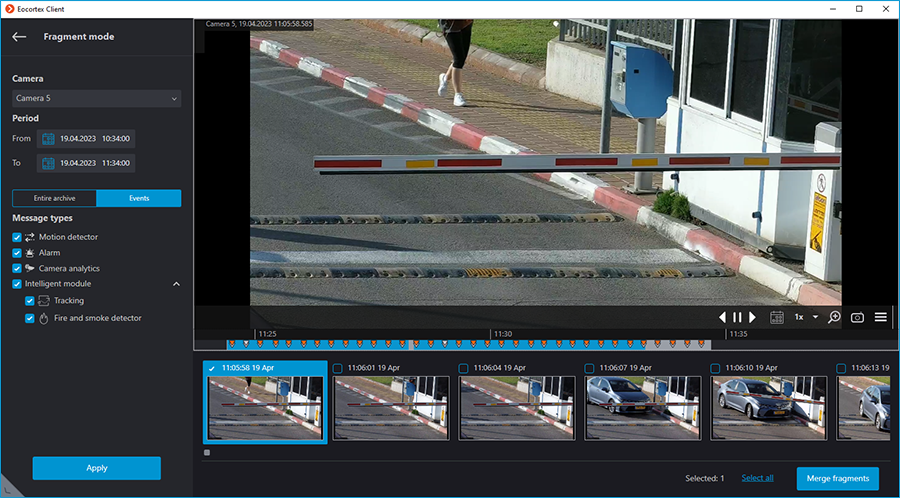
Events: fragments will be generated for the specific event types.
Message types:
Motion detector
Alarm
Camera analytics
Intelligent modules
The timeline displays marks for recorded events. When several events happened at the same time, they will be marked with the same mark.
Note
In the event selection list, only those video analytics modules available for selection that are enabled and configured for the selected camera.
The event types selection will be retained when switching to another camera.
Note
Selected parameters will not be saved when closing the Fragment mode window.
Fragments panel
The generated fragments are located in the fragments feed at the bottom part of the window and can be scrolled by rotating the mouse wheel.
Switching fragments can be performed by pressing ←, →, Page Up and Page Down buttons. Jumping to the first or last fragment in the sequence can be carried out by pressing the Home and End buttons, respectively.
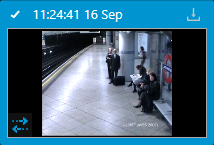
Each object in the fragment feed contains a preview with the first frame of the fragment in the middle and the date and time of the fragment in the left upper corner. The right upper corner contains the  fragment export button.
Fragments generated by events have an icon in the lower left corner corresponding to the event type.
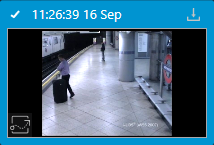
Note
If the event is an alarm event, the icon displayed will be orange.
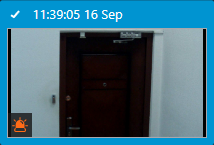
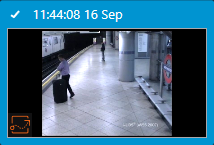
Note
If two different events occurred within the same fragment, the respective icons for each event will be displayed in the fragments feed.
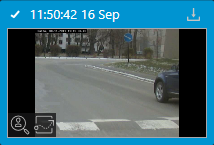
Note
If multiple events of the same type occurred within the same fragment, the number of detected events will be displayed next to the event icon.
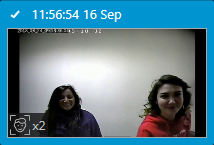
Hovering the cursor over an event icon displays the event information.
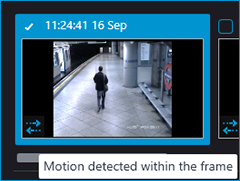
Note
If a fragment does not have archive records throughout its length, then such fragment will not be displayed in the fragments feed.
If there are no fragments within the specified period, the feed will remain empty.
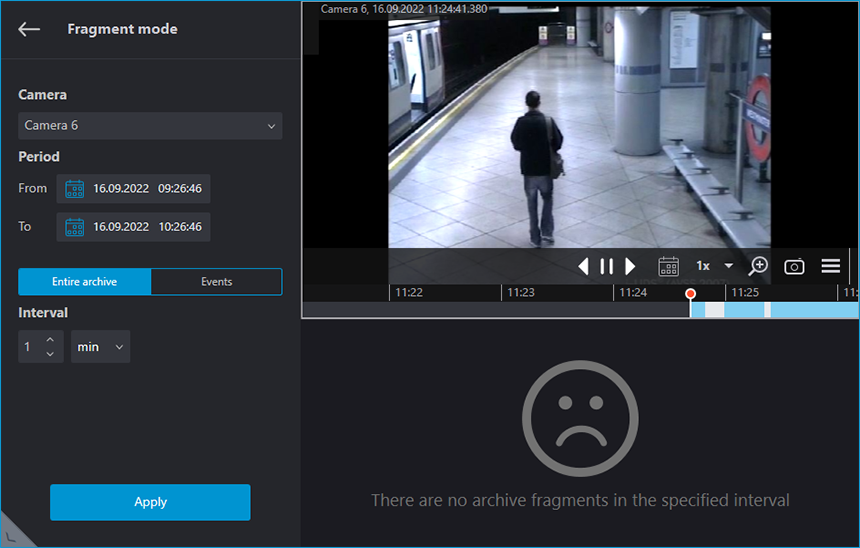
The selected fragment is loaded into the playback buffer. In such a case, a download indicator is displayed below the playback screen.
Playback can be controlled with the  buttons.
Note
When a fragment is selected, the time pointer on the timeline will be automatically set to the moment the selected fragment starts.
If any fragment is selected during archive playback, the time pointer on the timeline will jump to the start of the selected fragment and playback will continue from this position.
When the playback of the selected fragment is finished, the playback will continue from the next fragment of the archive, but the selection will remain on the fragment from which playback began.
Viewing and exporting fragments
To view and export fragments as a single video, select the desired fragments and merge them.
Multiple fragments can be selected in the following ways:
By enabling checkboxes in the upper left corner of the desired fragment in the feed.
By clicking fragments in the feed while holding down Ctrl.
Having selected the first desired fragment and holding Shift, select the last desired fragment. All fragments between the first and last will be selected.
To select all fragments in the feed, click the Select all button.
Note
Selection of multiple fragments can be removed by clicking one of the not yet selected fragments.
One fragment is always selected by default.
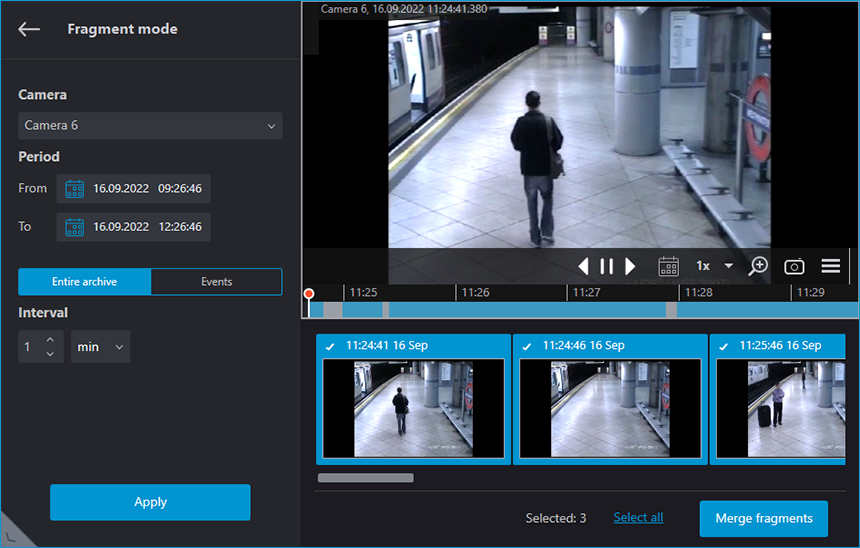
To merge the selected objects to a single video, click the Merge fragments button. In the window that opens, the timeline will display archive with only those fragments that have been selected.
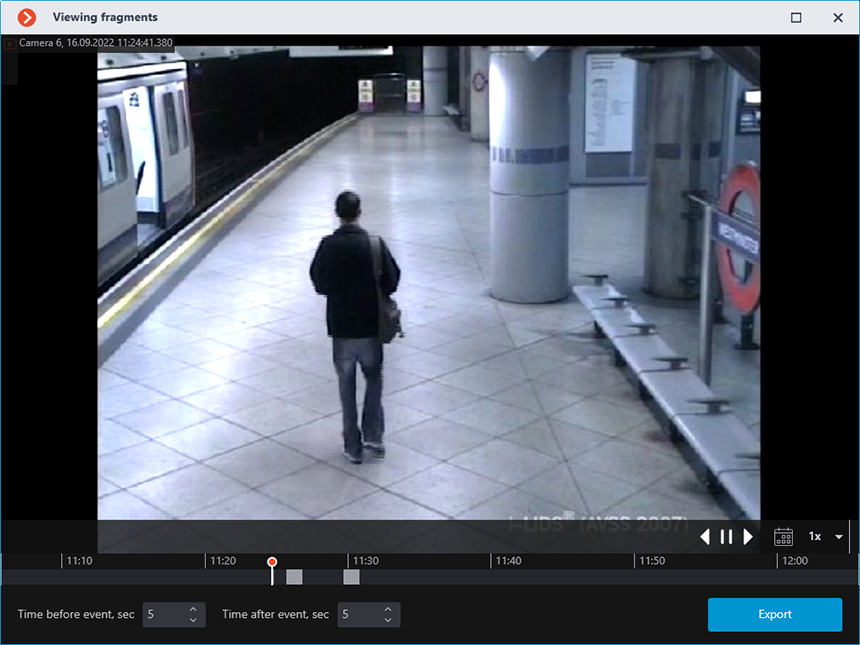
The Time before event, sec and Time after event, sec parameters increase the fragment length by specified time before and after the event. Allowed values: from 5 minutes to 4 days.
Note
Fragments with increased length must not exceed the value of the Period parameter.
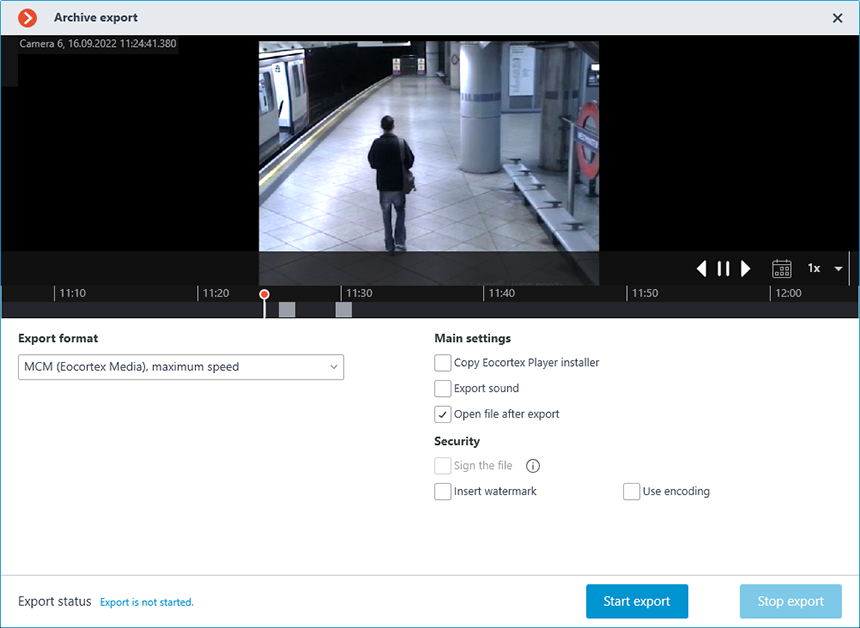
Clicking the Export button opens a window for exporting a video clip merged from selected fragments.
