Configuring the Traffic Density Heat Map module🔗
To use the module, enable and configure it.
Launch the launch the Eocortex Configurator application, go to the  Cameras tab, select a camera in the list located on the left side of the page, and set up the motion detector on the Motion detector tab on the right side of the page.
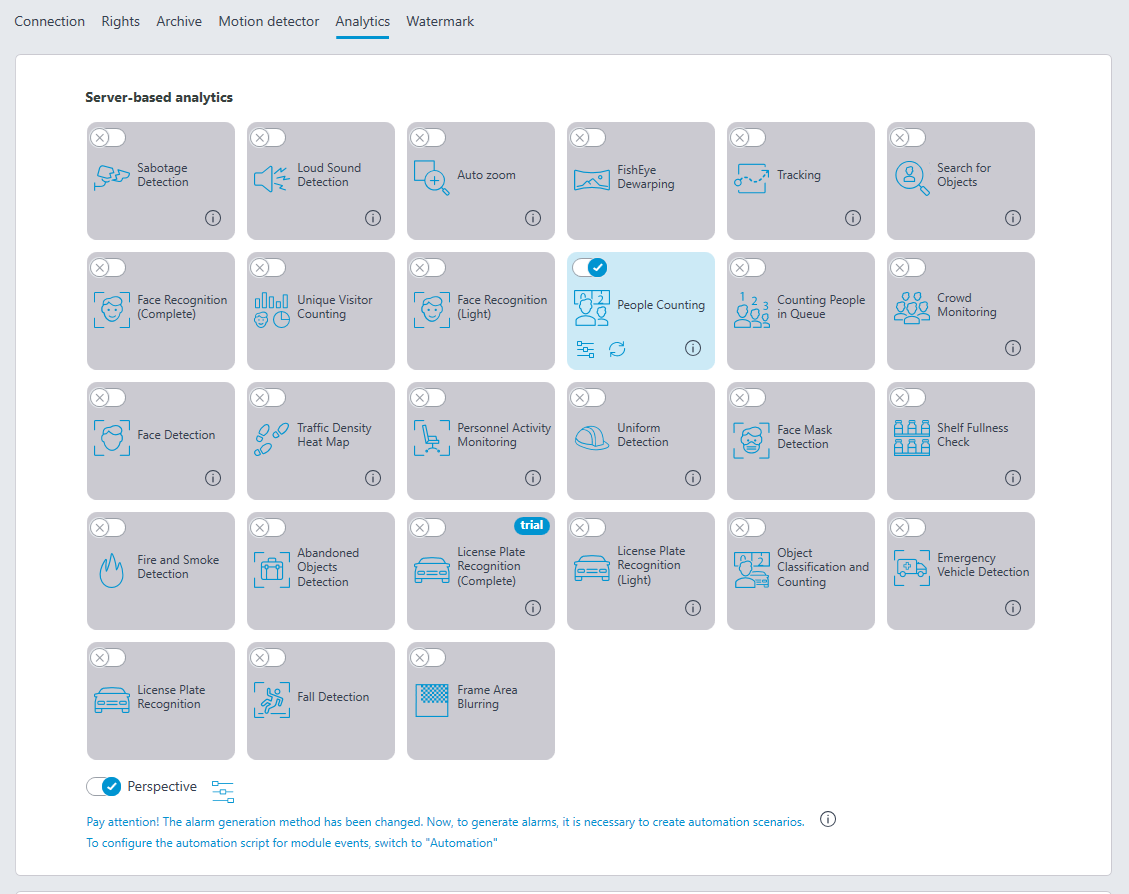
Then switch to the Analytics tab and enable the module using the  toggle.

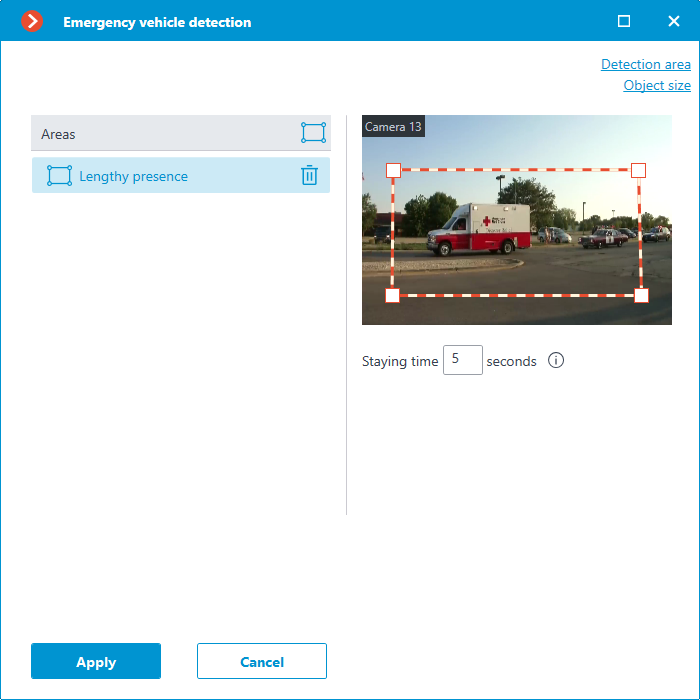
Clicking the  button opens the module setup window.

The following settings must be made in the opened window:
Wake decay time when viewing in real time: sets the time during which the wake of the moving object in the frame disappears completely.
Autosaving of data on plan: when this option is enabled, the server, with the indicated regularity, will save the plan images with the superimposed heat maps for the specified period. This option will work only if the camera being set up and its field of view are placed on the plan.
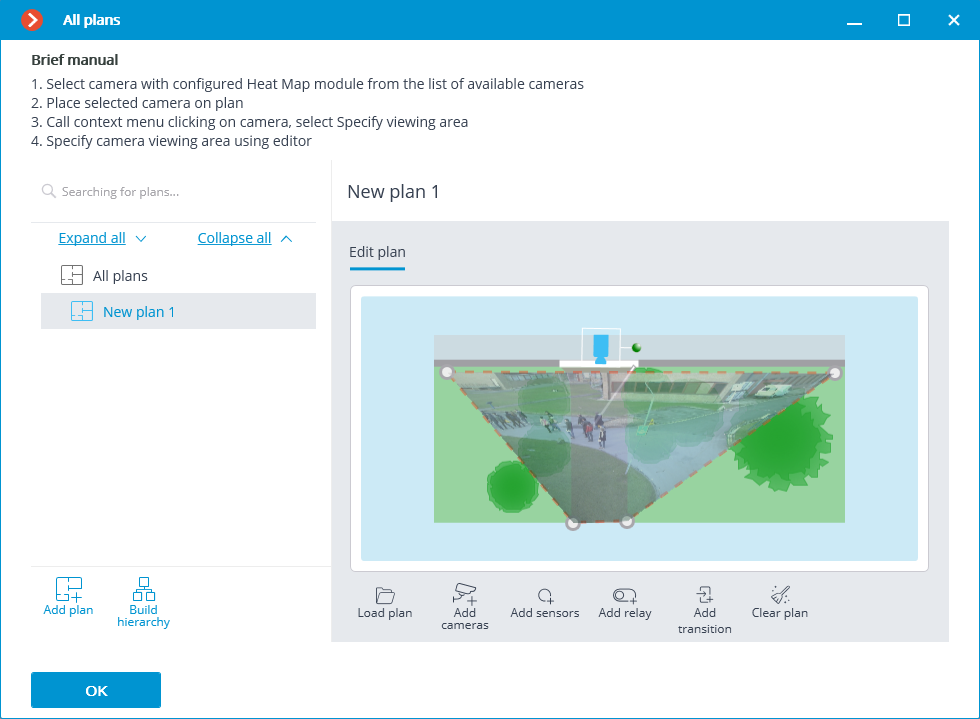
Clicking on the Open plans link will open the plan setup window.

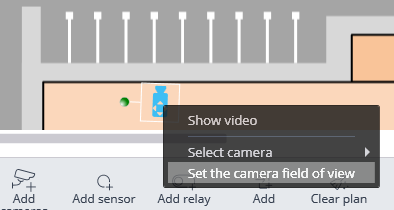
For setting up the field of view, it is required to load the plan, place the camera on it, select the Set the camera field of view item in the context menu, then stretch the field of view by the corners to make the image correspond with the plan, then save the field of view settings by pressing OK.

For interactive selection of a folder on the drive, click on the Select folder link.
Warning
It is only advisable to select the folder interactively if the Eocortex Configurator application is launched directly on the server, because in case of performing remote setup, the file explorer of a local computer used for making adjustments will be opened when selecting a folder. Consequently, when performing adjustments from the remote computer, the path shall be entered as text, thereupon the folder must already exist on the server.
Warning
The module will start working only when the settings are applied.