Users of messengers🔗
To configure the rights of messengers that interact with the Eocortex video surveillance system, it is required to open the Eocortex Configurator application, go to the Users  tab and switch on the Users of messengers button.
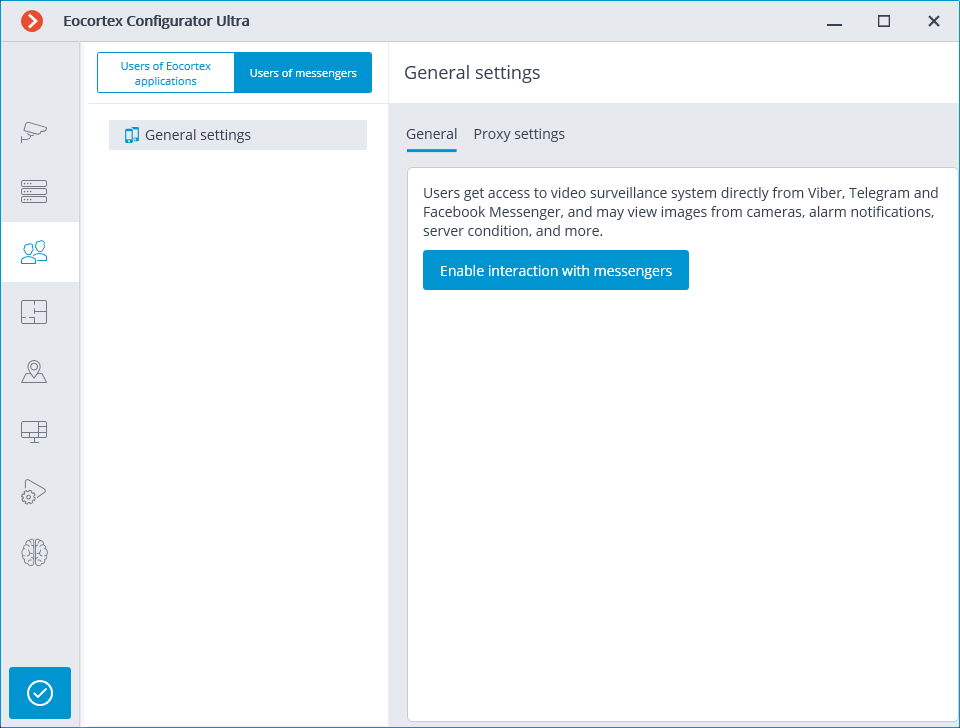
Initially, the subsystem of interaction with messengers is disabled, and the list of messenger users is empty. To enable interaction with messengers, it is required to press the Enable interaction with messengers button. The authorization window for the Eocortex Messengers service will open.
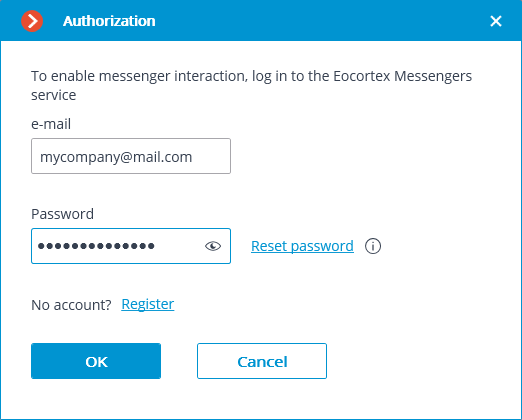
The e-mail address and password are used for authorization. Thus, in case of availability of an account with the Eocortex Messengers service, it is required to specify an e-mail address and a password in the corresponding fields, and then click OK. To restore the password, it is required to use the Reset password link.
When no account exists, it is required to create one using the Register link.
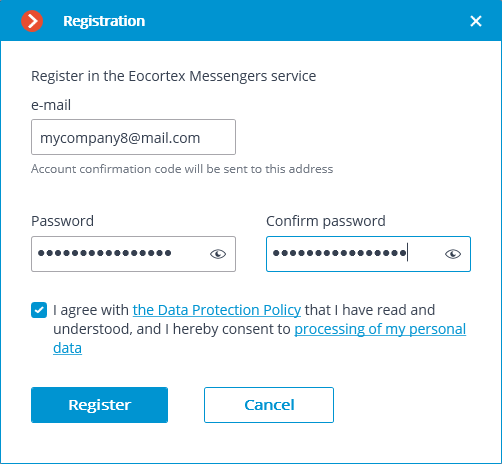
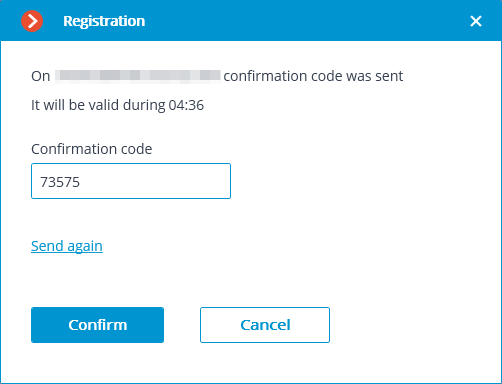
In the registration window that opens, it is required to specify the e-mail address and password that will be used for authorization in the Eocortex Messengers service. Upon clicking on the Register button, an email with an activation code will be sent to the specified email address. The code is to be entered in the confirmation window that opens.
The interface and features available when interaction with messengers is enabled are described below.
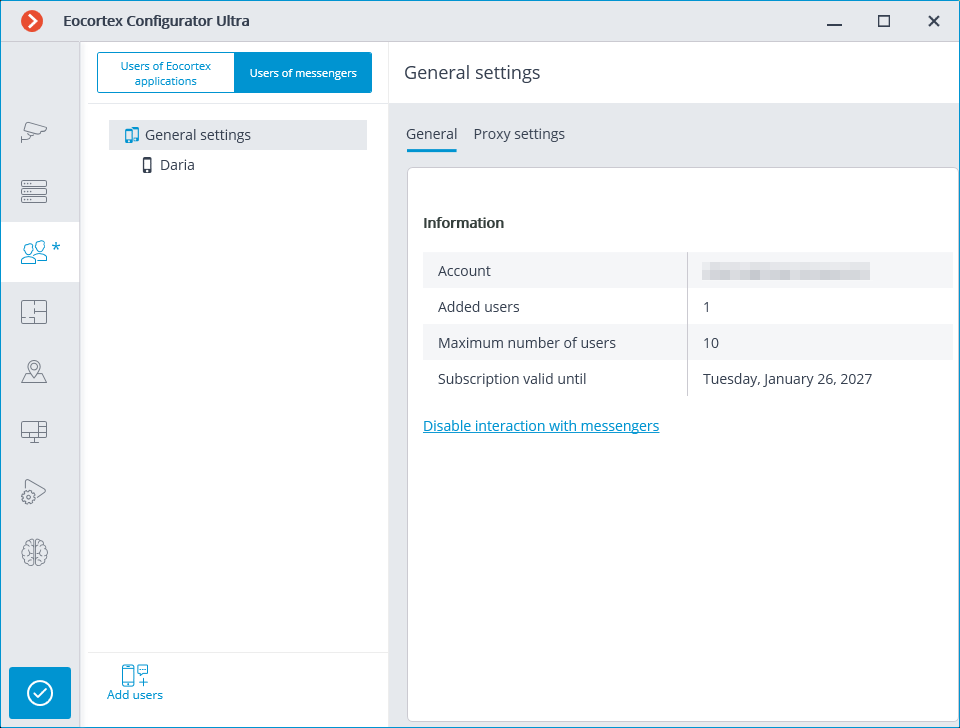
When selecting the item General settings in the list of users, the General tab will display the account settings.
Warning
Disabling the interaction with messengers (using the corresponding link on the General tab) will lead to the deletion of all messenger user settings.
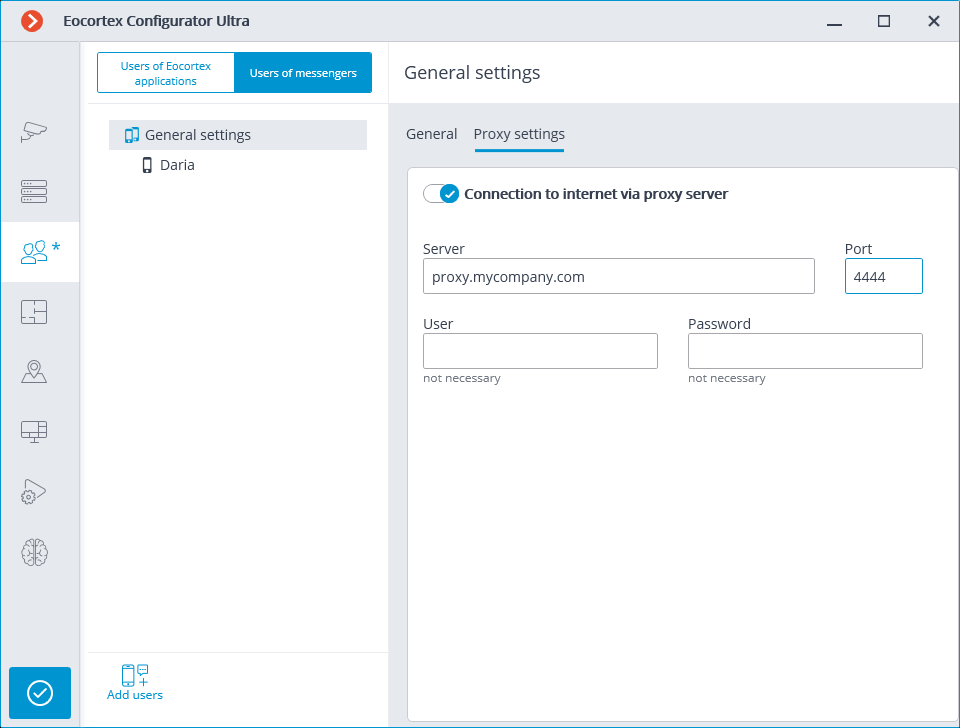
Selecting the General settings item in the list of users and proceeding to the Proxy settings tab allows to configure the settings for connecting to the Eocortex Messengers service via a proxy server.
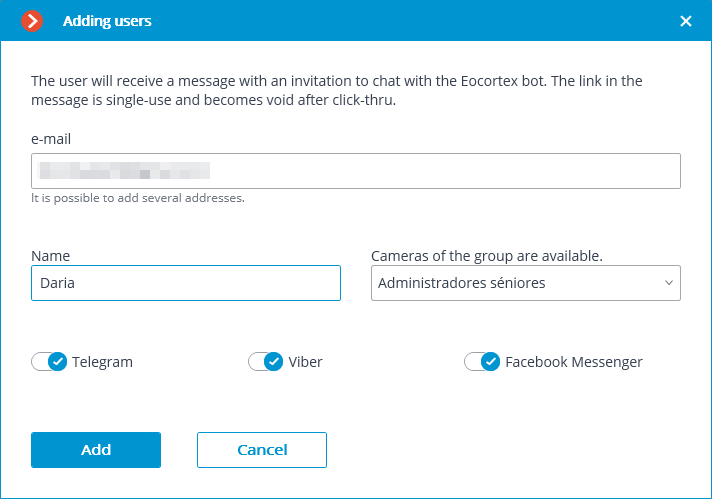
To add a user, it is required to click the Add users button. In the window that opens, it is required to specify the user's e-mail address, the name under which the user will appear in the system, the Eocortex video surveillance system user group, and the messengers that are available to the user for interacting with Eocortex. In this case, the user will only have access to the cameras that are available to the specified Eocortex user group.
Note
It is possible to add several users by specifying their addresses followed by a comma, semicolon, or space.
After clicking on the button Add, the users are added to the list, and emails containing links for connection in the appropriate messengers are sent to their addresses. These links are single-use, and the period of their validity is limited.
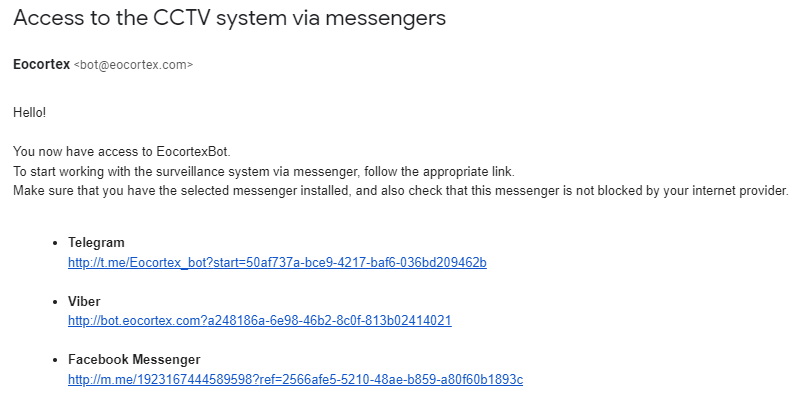
After the user clicks on the link in the appropriate messenger, a greeting will be sent to them.
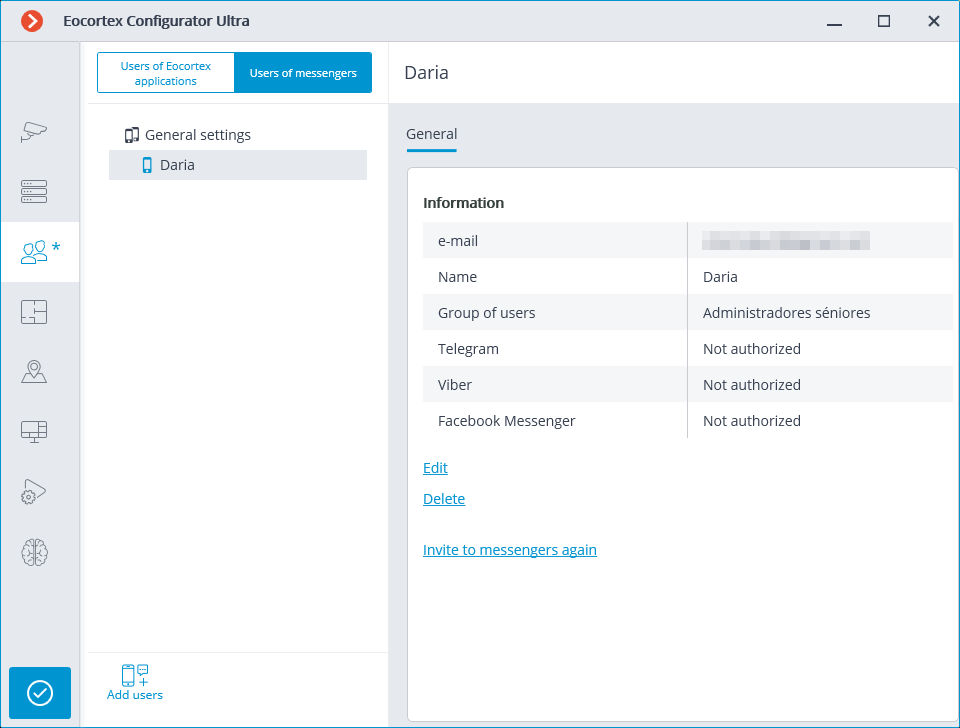
When selecting a user in the list, the information about that user will be shown on the General tab. In addition, using the corresponding links, it is possible to delete a user, change their settings, and resend the links with invitations to their messengers.
Warning
The changes will only take effect after the application of the settings.
Note
Added users are bound to the system to which they have been added rather than to the account. If the same account is used to connect to another system, the list of users in that system will initially be empty. At the same time, if a different account is used to connect to the system, the users added to that system will be transferred to the new account.
Warning
If the same account is used to connect to different systems, all added users in all systems will be added together. At the same time, the same user in different systems will be regarded as a different user. Thus, the current number of users bound to the account will correspond to the sum of all users in all systems.
Note
The same user interacting with the same system through different messengers does not interact in different messengers with themselves. That is, the actions of this user in one messenger have no effect on the sessions of the same user in other messengers.