Extended integration with BioStar 2🔗
This integration allows to add devices from BioStar 2 to Eocortex on maps and plans and display the current state of these devices.
Note
Integration is available in Eocortex version 4.3 and above.
Integration implemented with BioStar 2 version 2.9.0.80.
Setting in Eocortex Configurator
Before the Eocortex server can to interact with the BioStar 2 ACS, it is necessary to launch the Eocortex Configurator application and then go to the  Integrations tab.
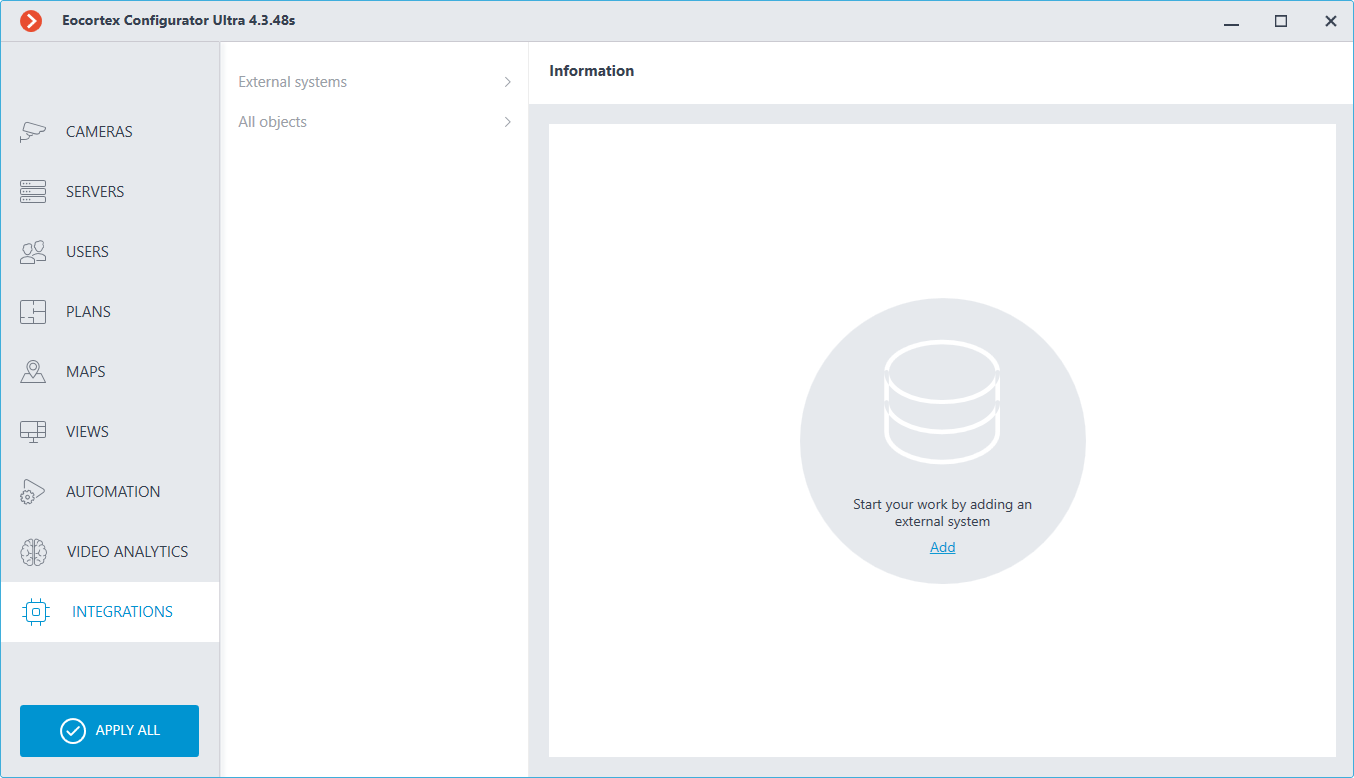
There are two partitions available on the  Integrations tab:
External systems
All objects
To add a new connection to the external system, click the Add button.
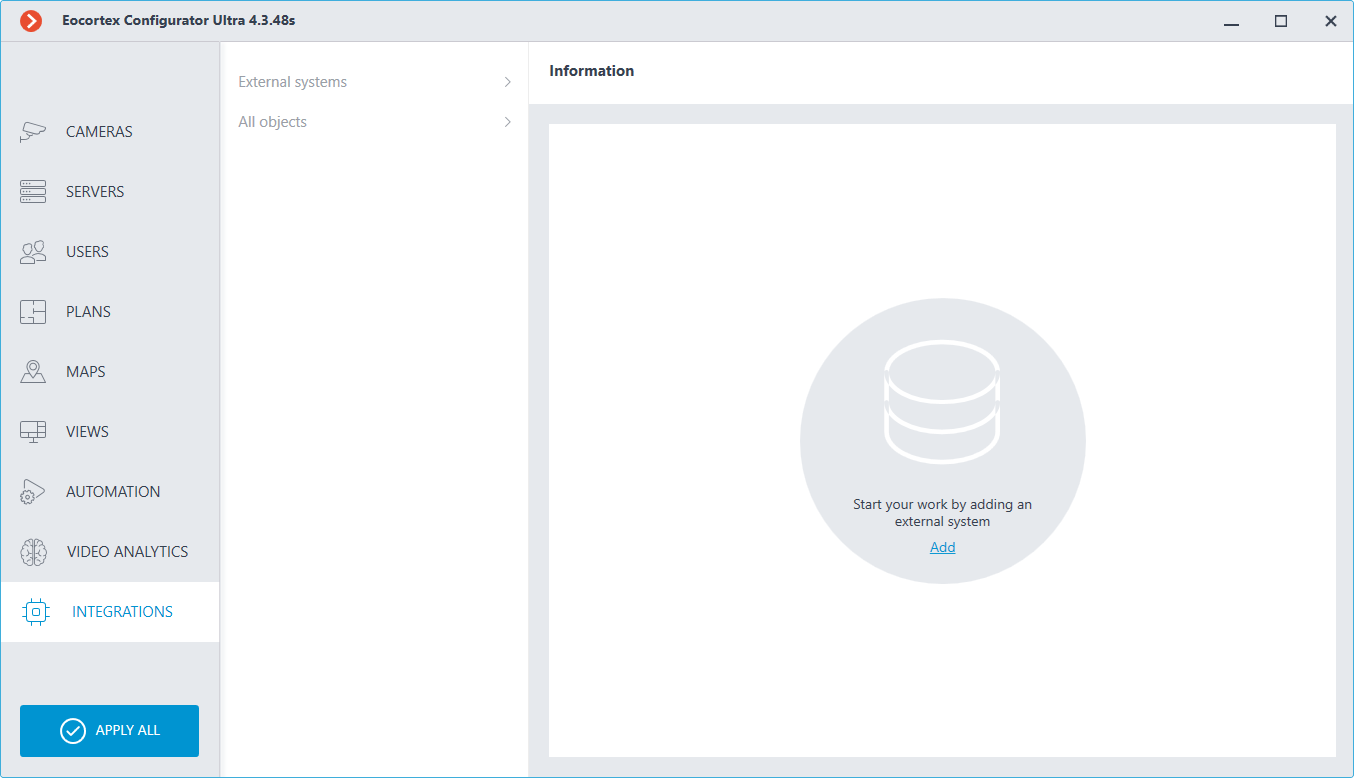
Note
Also, if the system already has connections, adding a new external system connection is available by clicking the  Add button at the bottom of the page.
After that, the Configuration Wizard window will open. You should select BioStar 2 in the External system drop-down list .
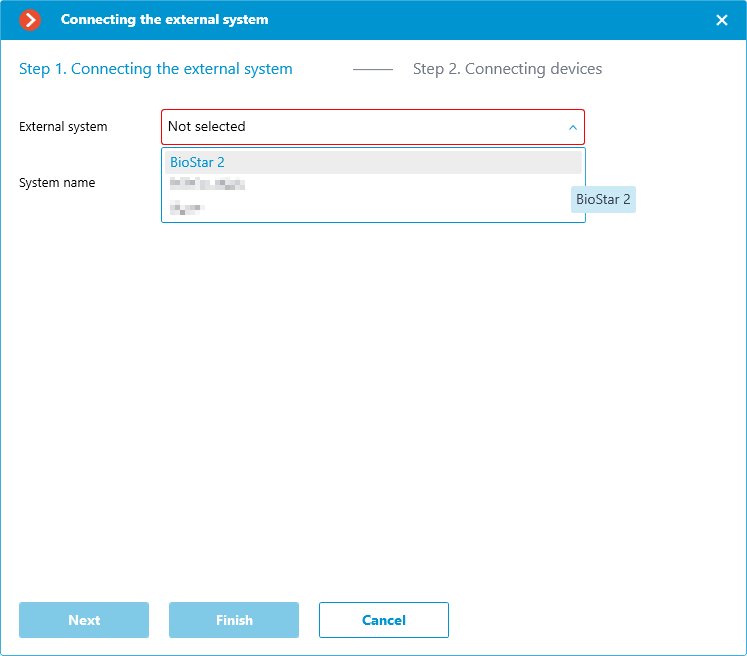
When you add a connection to an external system, the External System Connection Settings Wizard window will open.
Available settings are as follows:
Server address
Server port
Username
Password

The Status field contains the result of the check:
Not tested
Testing...
Connection succeeded
Wrong login details.
Server is unavailable
Request timeout
Unknown error: More detailed information about such errors can be found in Eocortex log files, which can be passed to technical support for analysis.
After the connection is configured and verified, the second step of the setup wizard Connecting Devices will be available.

After clicking Done button, the added system will appear in the list of systems in External systems.
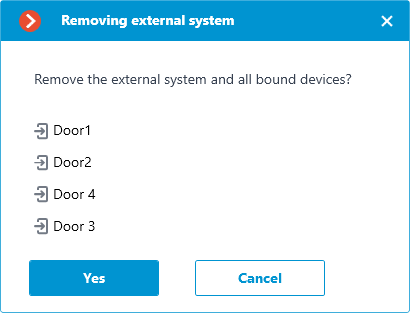
If an external system is deleted, a warning message will appear with a list of devices of the system being deleted.
Note
Connecting settings can be changed by clicking the Edit button.
When a connection is selected, the Rights tab is available on the right side of the window. The tab contains an administrator groups list with rights to configure the external system.
Note
If there is no right for Configuring, the user will not see the connection to the external system and the devices added to it in the Eocortex Configurator application but will be able to create any other connection and add devices to it.
For the group Senior administrators, it is not possible to change the rights to configure an external system because the rights for such a group are not restricted.
The external system configuration right is not available for the Operators group.
Warning
For users of the LS, ST licenses, only groups with configuration right enabled on the  Users tab have configuration rights.
Also, changing the settings of external system configuration rights is available on the  Users tab.
If you select All objects, the tree of added devices from External systems is displayed.
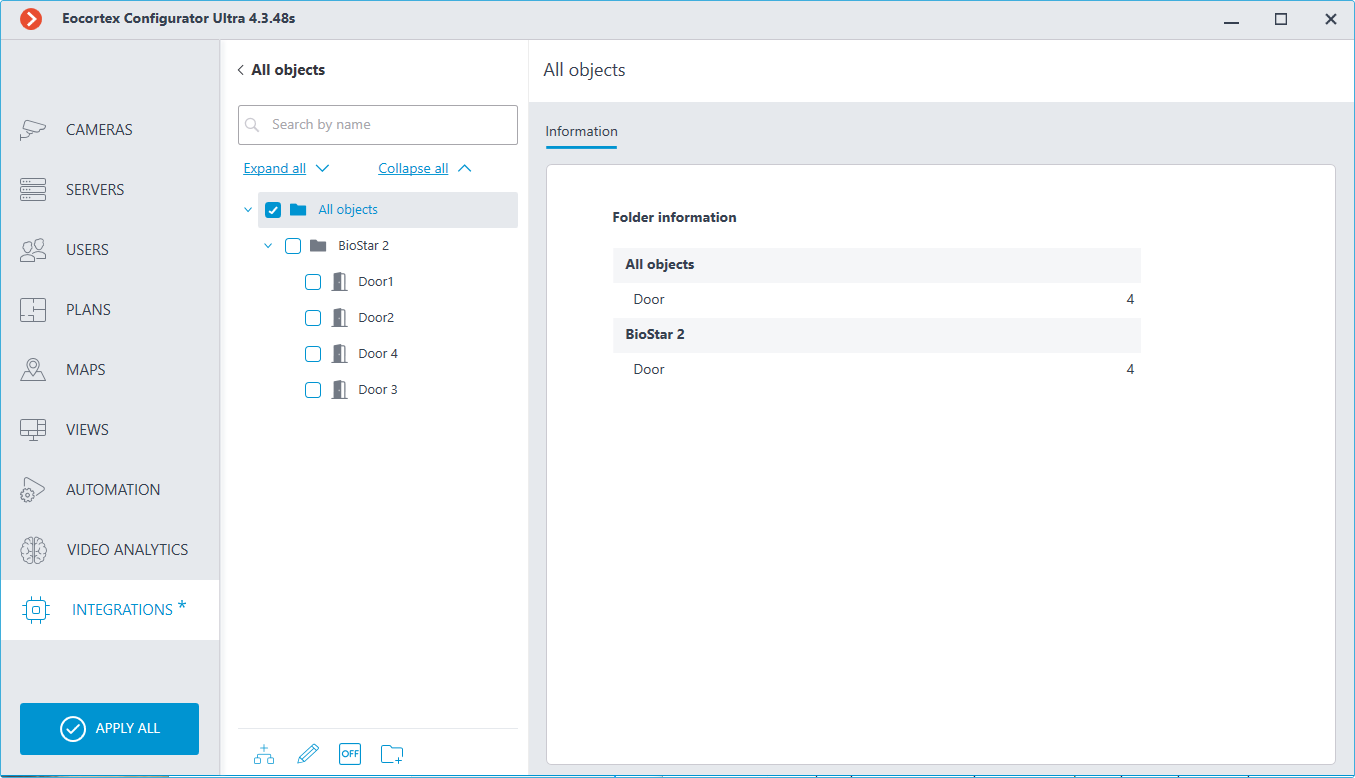
When you select a folder, the Information tab displays information about the contents of the folder.
The following commands are also available for added folders:
 Add devices. Opens the wizard for configuring the connection to the external system.
 Edit object group settings. Opens group settings that will be applied to all objects nested in the folder.
 Disable. Allows you to turn off all objects nested in a folder.
 Enable. Allows you to turn on all objects nested in a folder.
 Add folder
 Rename
 Copy. Allows you to copy a folder along with its contents to the clipboard.
 Cut. Allows you to cut a folder along with its contents to the clipboard.
 Paste. Allows you to paste a copied or cut folder, along with its contents, from the clipboard into a specified folder.
 Delete. Allows you to delete folders and all its contents.
Note
The commands are also available from the context menu.
When a device is selected, the Rights tab is available on the right side of the window. This tab contains a list of user groups with rights to the selected device.
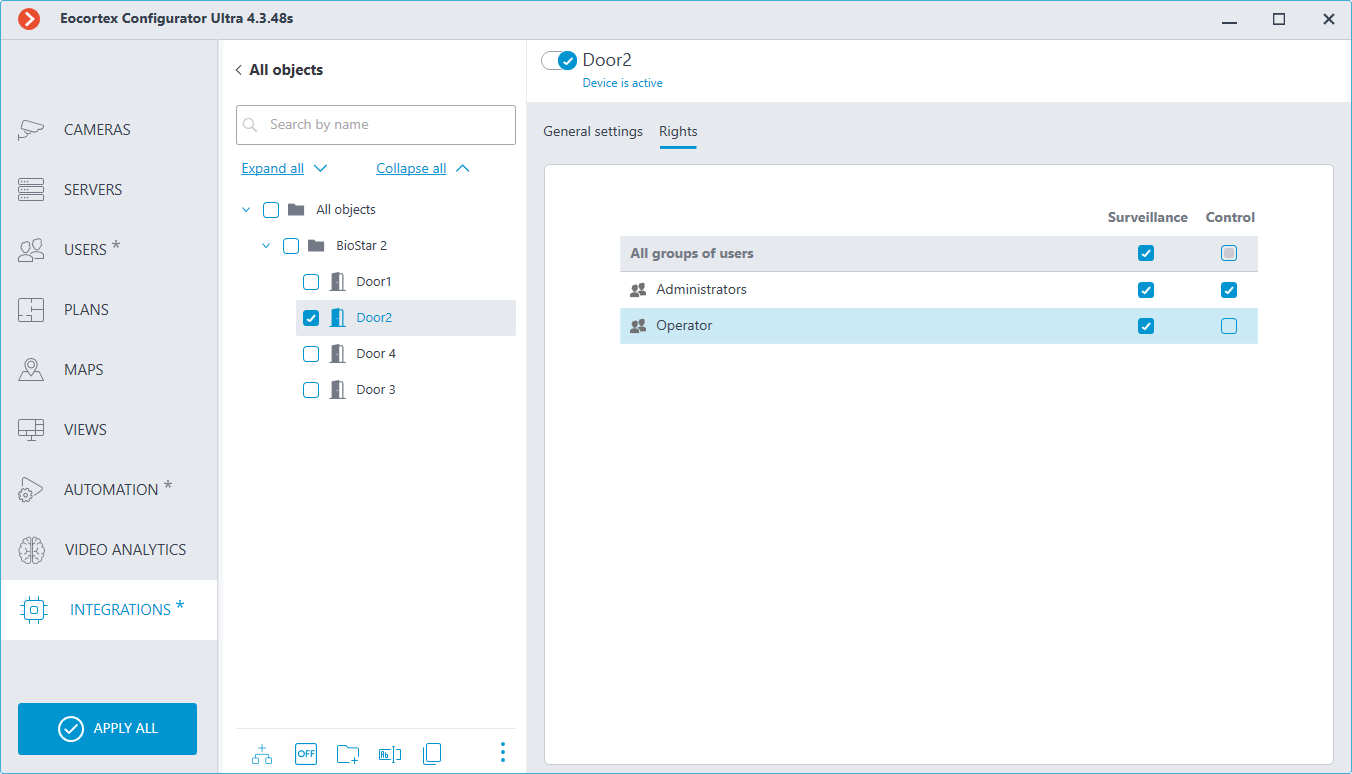
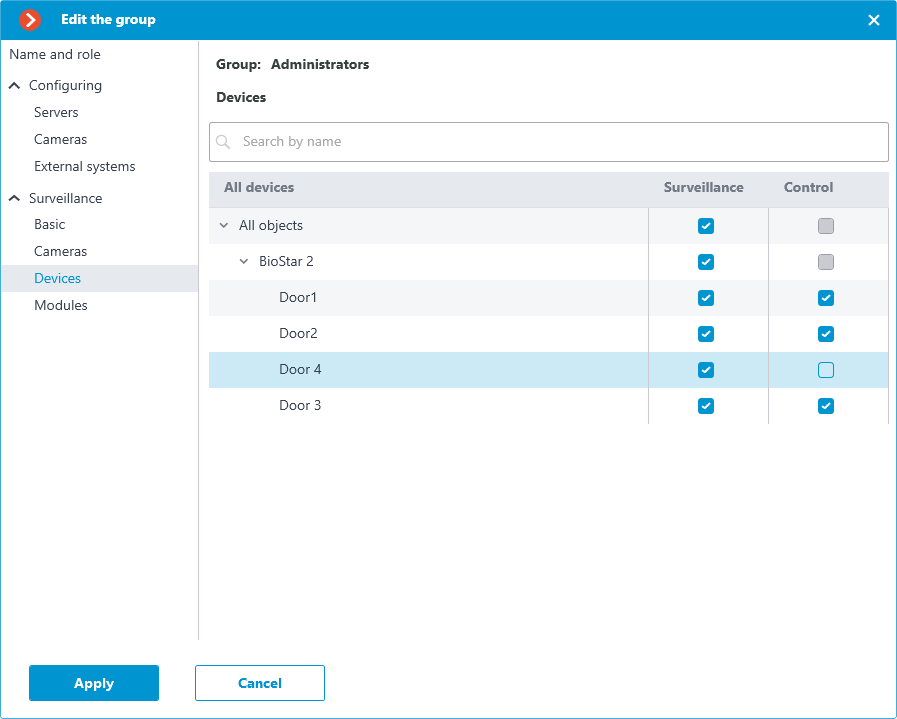
The Surveillance right determines whether the device will be displayed in the Eocortex Client application.
The Control right allows you to invoke commands supported by the device from the Eocortex Client application on maps and plans.
Warning
If the Surveillance right is unavailable, the Control right is automatically cleared.
For the Senior administrators group, it is not possible to change the device rights, because the rights for this group are not limited.
Also, changing device right settings is available on the  Users tab.
Users tab
The  Users tab is available for setting rights for working with devices of the external system. When selecting a user group, the Integrations tab is displayed in the right part of the window.
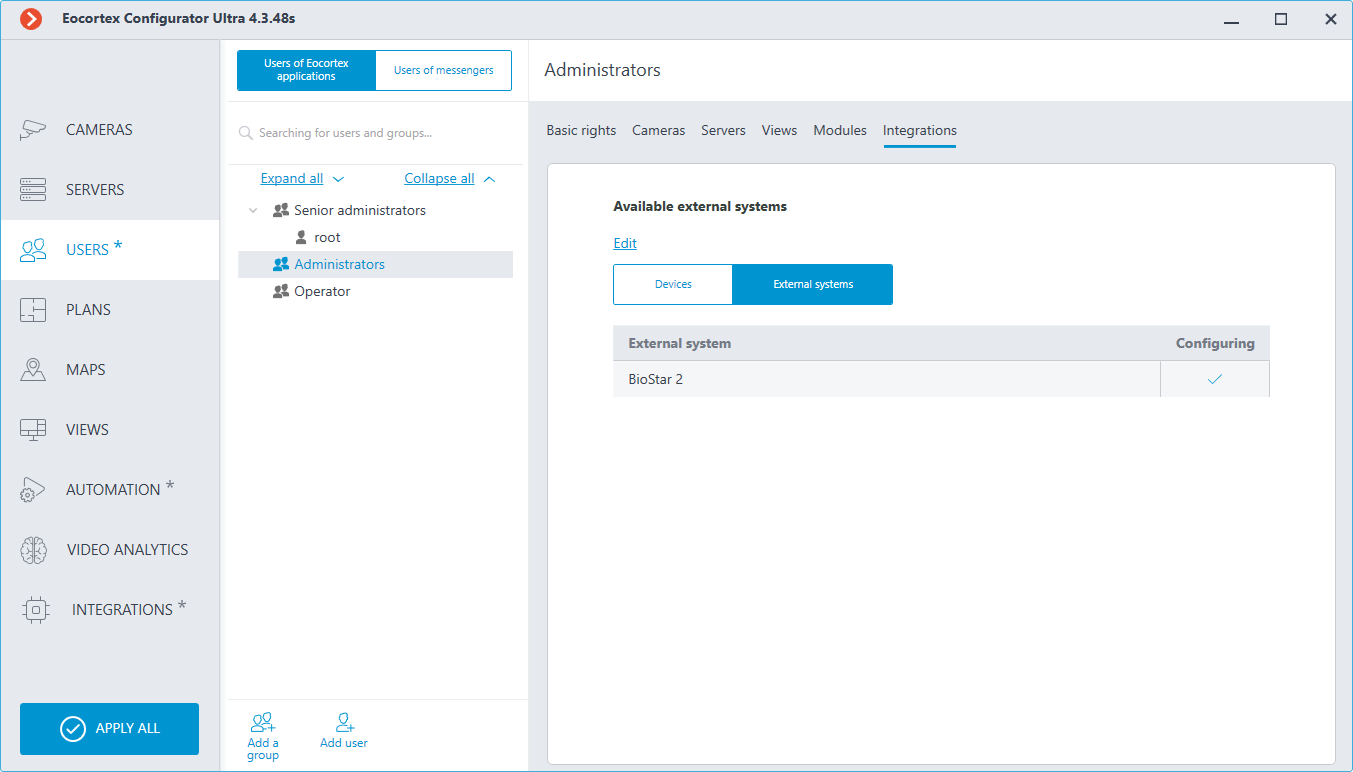
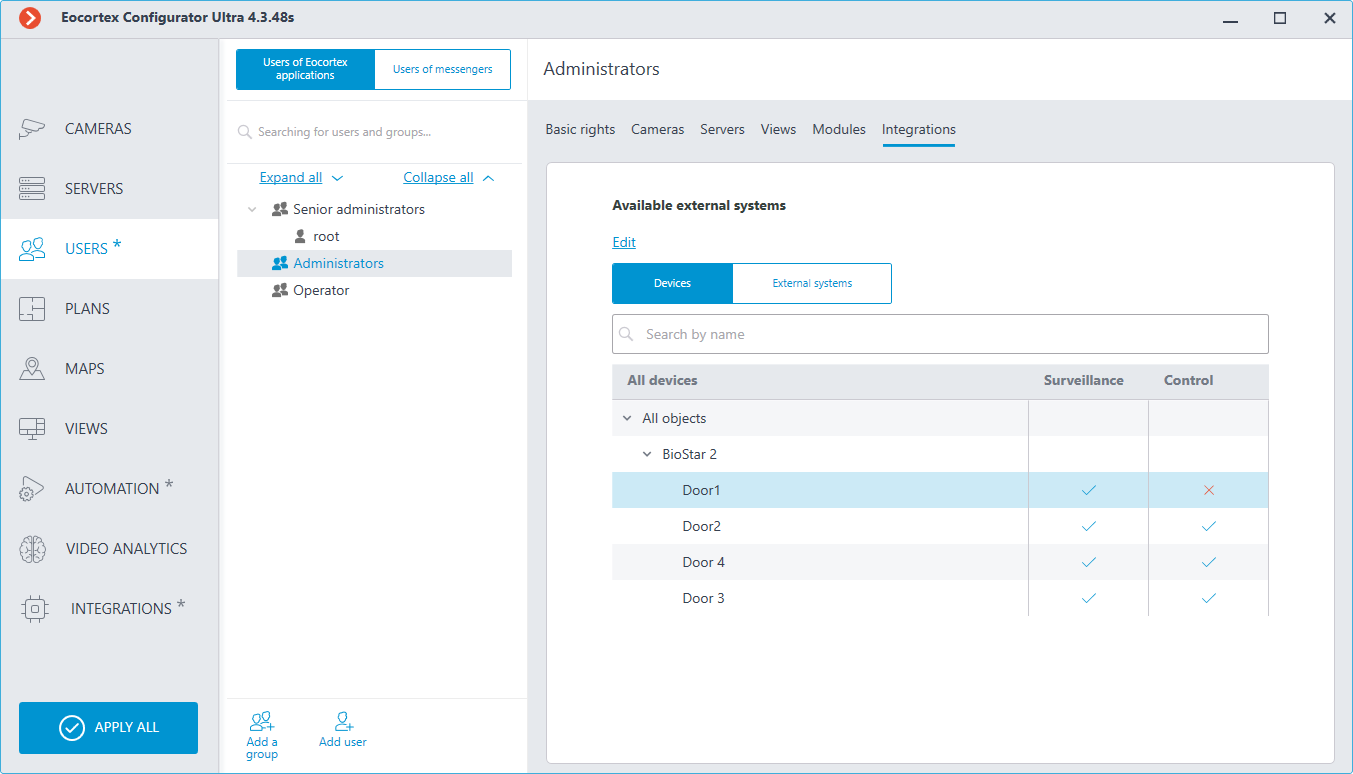
In this tab, you can see a button with switchable states: Devices, External systems.
When the Devices state is selected, a hierarchical structure of folders and devices is displayed with the Surveillance and Control right for the specific device.
When the External systems state is selected, a flat list of external systems with the Configuring rights for a particular system is displayed.
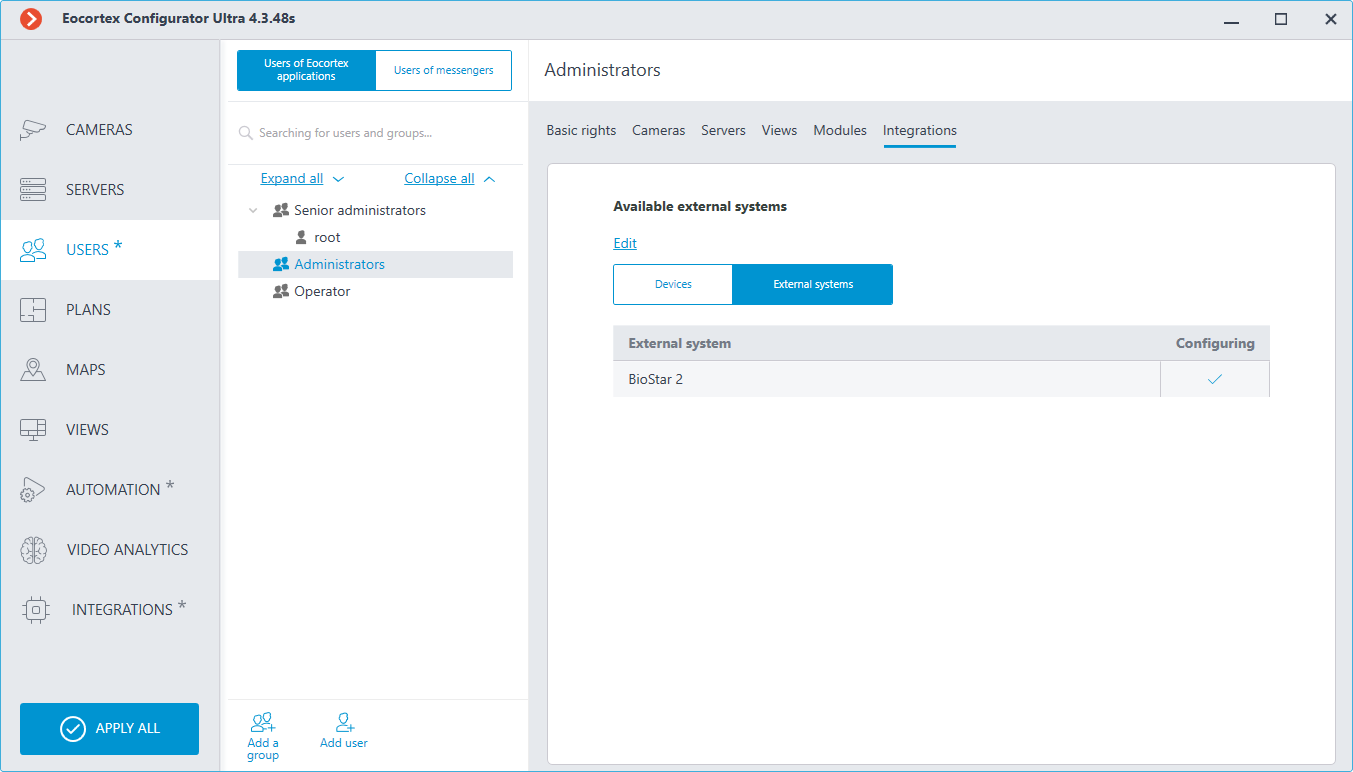
To change the rights settings for specific devices or systems, click the  Edit button.
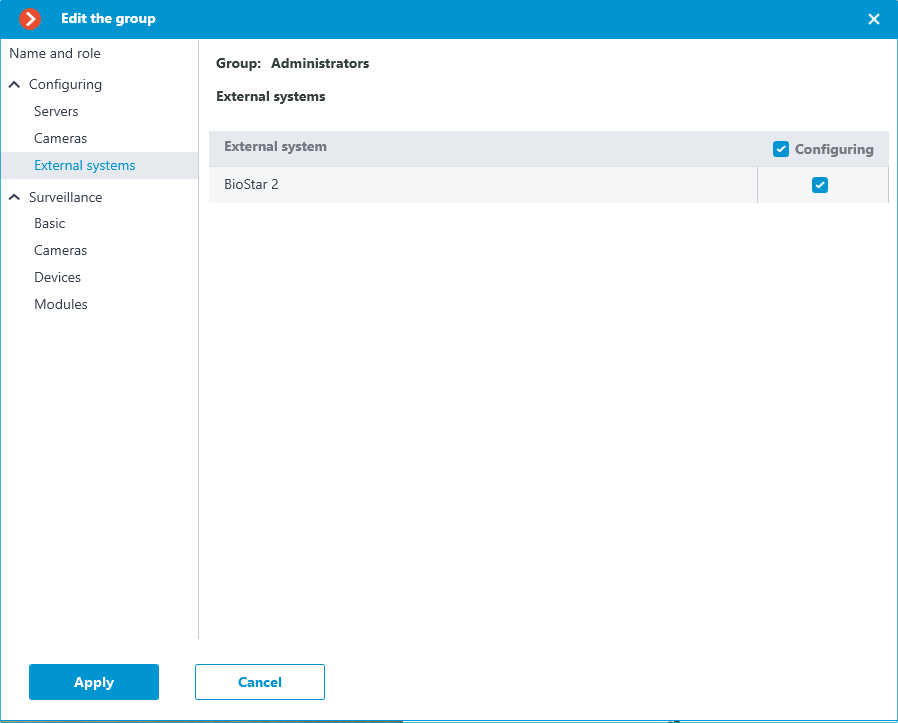
Clicking on the Edit text button opens the Group editing window of the selected user group.
In Configuring, on the External systems tab, you can configure the rights to configure the external system connection.
In Surveillance, on the Devices tab, you can configure device monitoring and management rights.
Placement on Maps and Plans
To work with the external system devices, it is necessary to place the added devices on Maps and Plans.
To add devices, for example, to a map, click on the  Eocortex Configurator tab Maps in the Eocortex Configurator application, then select the Placement of devices section. The created hierarchical structure of the devices added to the Eocortex system is displayed here.
To place a device on the maps, you need to click the left mouse button on the device and drag it to the map.
Note
The procedure for placing devices on Plans is similar.
The following commands are available for the device marker:
Show in tree. Allows you to switch from a marker on a map or plan to the device tree displayed in the Placement of devices.
Edit parameters. Opens a window with the ability to change the color of the device marker icon.
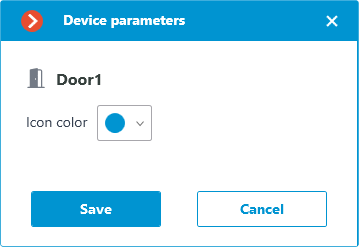
Delete. Allows you to delete the device marker from the map or plan.
After you have added devices from external systems to the plan or map, it becomes available for operation in the Eocortex Client application.
Use in Eocortex Client
Devices of external systems configured and added to Maps or Plans in Eocortex Configurator are available for operation in Eocortex Client in Maps or Plans partitions.
The Suprema BioStar 2 ACS device is displayed as a round marker with a door image. Status icons are displayed around the edges of the marker, depending on the device status:
 Closed. Displayed as a closed door icon.
 Open. Displayed as an opened door icon.
 Access point blocked. Specifies the status of the door lock, displayed as a green closed lock.
 Unlocked. Specifies the status of the door lock, displayed as a red open lock.
 Alarm. Occurs when the door is broken in (event code 0x4000), forced open (event code 0x5600), or held open (event code 0x5800).
 Unknown. No connection with the Eocortex server. Also displayed when Eocortex Client is started before the device status is received from the Eocortex server.
 Connection failed. Occurs in case of connection errors between the Eocortex Client server and the external system server.
To control devices and zones, left-click on the marker, and the Perform the command button will become available. When you click it, the list of commands supported by the Suprema BioStar 2 device is displayed:
Open. Sends a command to open the door to Suprema BioStar 2.
Release. Sends a command to change the access mode, in which the door access control will be determined by the ACS.
Manual lock. Sends a command to set the access Access point blocked mode. In this mode, access to the door is denied to everyone. More detailed information can be found in the Suprema BioStar 2 ACS documentation.
Manual unlock. Sends a command to set the access the Unlocked mode. In this mode, everyone is allowed access to the door. More detailed information can be found in the Suprema BioStar 2 ACS documentation.
Clear alarm. Sends a command to clear alarms on the device.
Also, it is possible to show the corresponding device in the tree for a marker using the Show in tree command.
If there are several adjacent markers on the map or plan, the markers can be grouped into a Grouped Marker when you change the display scale.
Grouped markers display the number of grouped external system devices
The same commands are available for grouped markers of devices as for single markers.
Warning
The selected command will be applied to each device in the grouped marker if the device supports the command.